
Restoration
How to Restore Old Photos on Android
By the Retrocap Team · Updated
TL;DR
To restore an old photo on Android, photograph the print in soft daylight with your phone camera, open Retrocap and import the photo, then tap Restore and choose Standard or Deep. Turn on Fix Scratches & Tears, Enhance Faces or Remove Stains as needed, compare the result and save it to your gallery.
An Android phone is all you need to restore an old family photo. With an AI restoration app you can remove scratches, repair creases, fix fading and sharpen faces without a scanner or a computer. This guide walks through the process in Retrocap, from capturing a good copy of the print to saving the restored photo in your gallery.
What you need
- An Android phone running Android 7.0 or later
- The Retrocap app from Google Play
- An internet connection (the AI runs in the cloud)
- The old photo, or a digital copy of it in your gallery
- Soft, even daylight, such as near a window but out of direct sun
Step 1: Photograph the print
A sharp, glare-free copy is the most important ingredient of a good restoration.
- Take the photo out of its frame or sleeve. Glass and plastic create reflections.
- Lay it flat on a dark, matte surface.
- Use soft daylight and switch off the flash.
- Hold the phone parallel to the print so the edges stay straight. Many Android camera apps can show grid lines; turn them on in the camera settings to help line up the shot.
- Fill the frame using the main lens instead of zooming in.
- Take a few shots and keep the sharpest.
Already have a scan? Skip ahead. Our guide to scanning old photos with your phone explains light and framing in more depth.
Step 2: Open the photo in Retrocap
- Open Retrocap.
- Pick the photo from your gallery or take it from inside the app.
- Crop the image so only the photo remains, without the table or album page.
When Android asks for permission to access your photos, you can choose to allow access to selected photos only on recent Android versions.
Step 3: Tap Restore and choose your options
In the Restore tool, pick a restoration level:
- Standard for light scratches, dust and fading
- Deep for heavily damaged prints with many creases, tears or stains
Then turn on the options that match the damage:
- Fix Scratches & Tears for lines, scuffs, folds and small tears
- Enhance Faces for soft or blurry faces
- Remove Stains for water marks, tape residue and spots
Begin with Standard. If the result isn’t enough, run it again with Deep.
Step 4: Check the result
Retrocap shows the restored photo next to the original. Drag the slider and zoom in on faces, edges and small details. If a face looks unlike the person or a repaired area looks smudged, try different options or the other restoration level.
Step 5: Save and share
Save the restored photo to your gallery. You’ll find it in Google Photos or your phone’s Gallery app, ready to share with family, back up or send for printing. Keep the original copy too.
Photos from WhatsApp and other messaging apps
Relatives often share old photos through messaging apps. These apps compress images to save data, which removes fine detail. For the best restoration:
- Ask the sender to share the photo as a document or original file rather than as a regular photo, if the app allows it.
- If you only have the compressed copy, restore it first and then use Enhance with Sharpen & Deblur or Upscale x2 to recover some sharpness.
Going further
After restoring, you can:
- Colorize black-and-white or sepia photos in four styles
- Enhance exposure, color and resolution before printing
- Animate portraits into short videos
Common problems on Android
The result looks soft. Retake the photo with better light and a steadier hand, or start from a higher-quality copy.
There are bright patches on the photo. These are reflections. Move the print away from direct light or tilt it slightly.
Processing doesn’t start. Check your connection. Retrocap needs internet access to restore photos.
My credits are missing after purchase. Open Retrocap and tap Restore Purchases, using the same Google account you bought with.
Summary
To restore an old photo on Android, start with a sharp, glare-free copy, open it in Retrocap’s Restore tool and choose the level and options that match the damage. Compare the result with the original, save it to your gallery and keep the original safe.
Frequently asked questions
Which Android phones can run Retrocap?
Retrocap runs on Android 7.0 or later and is available on Google Play.
Where are restored photos saved on Android?
Restored photos are saved to your phone's photo gallery, where you can find them in Google Photos or your phone's built-in Gallery app.
Do I need an internet connection?
Yes. Retrocap's AI runs in the cloud, so your phone needs Wi-Fi or mobile data while the photo is being restored.
Can I restore photos sent to me on WhatsApp?
Yes. Save the photo to your gallery and open it in Retrocap. Messaging apps compress images, so ask for the original file if possible, or use Enhance to sharpen a compressed copy.
Related guides
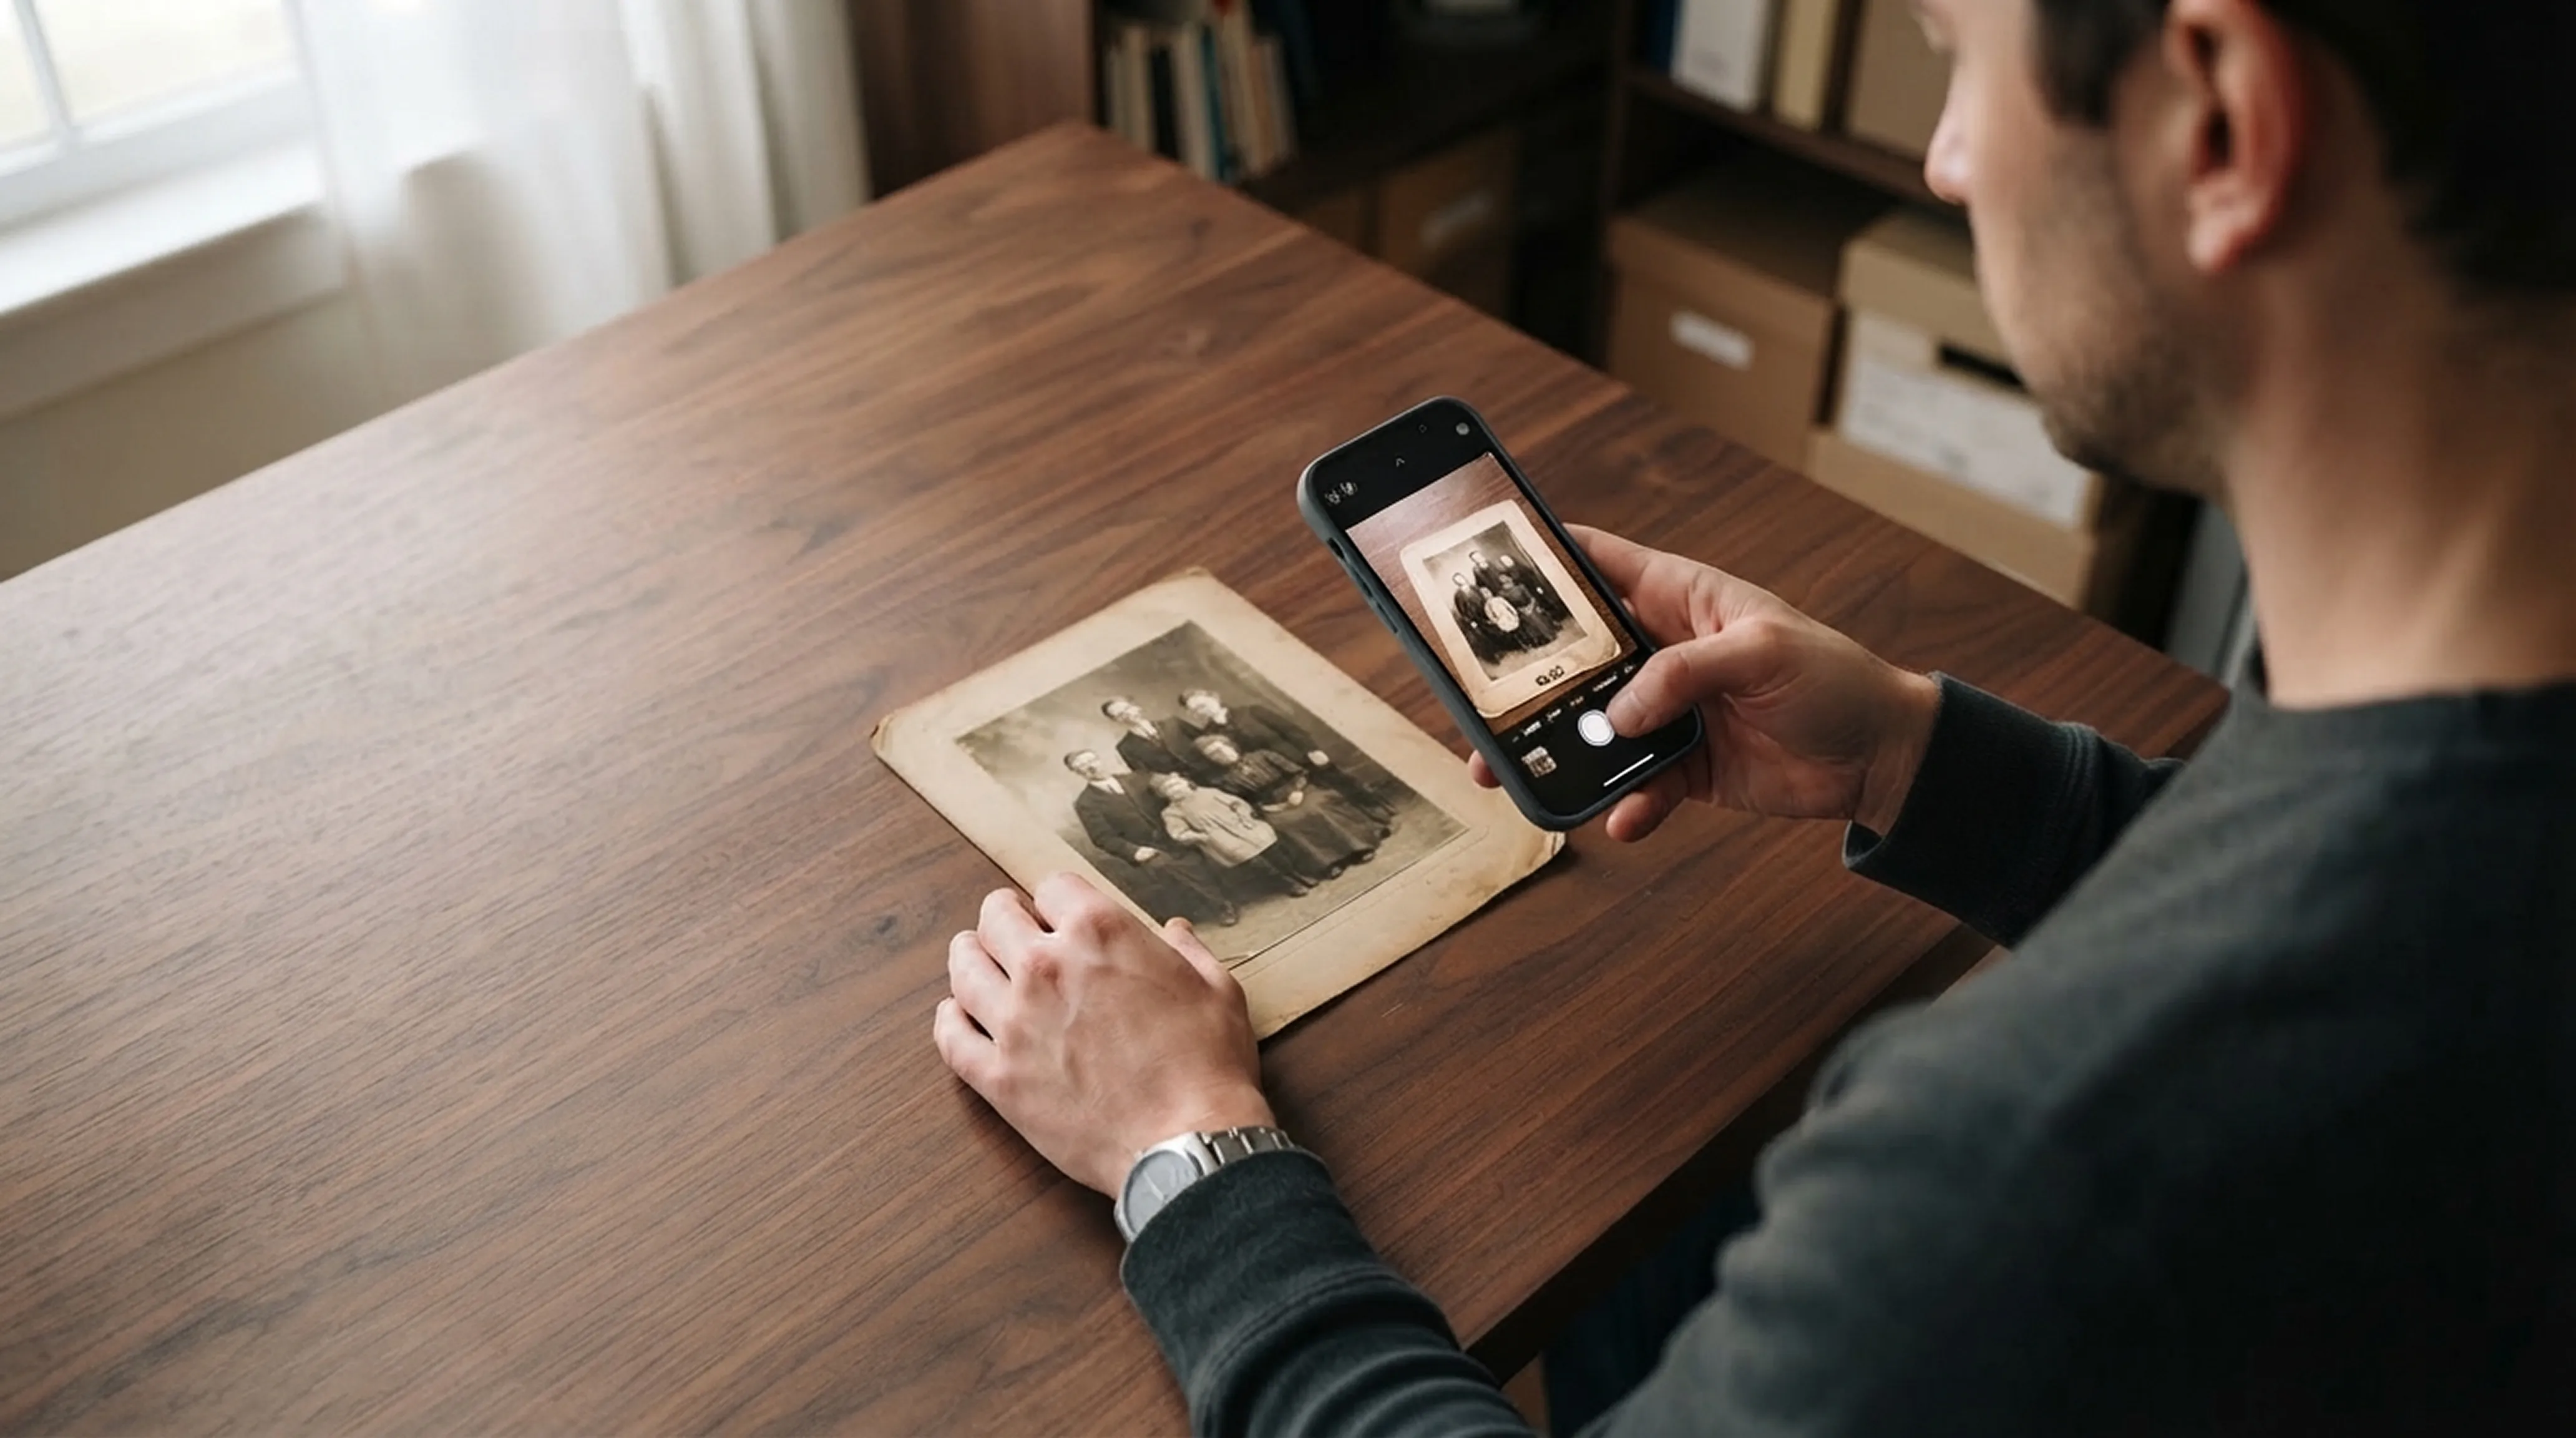
Scanning technique
How to Scan Old Photos with Your Phone Without Glare
Lighting tricks, angle secrets and lens cleaning practices for getting flatbed scanner quality from your smartphone.
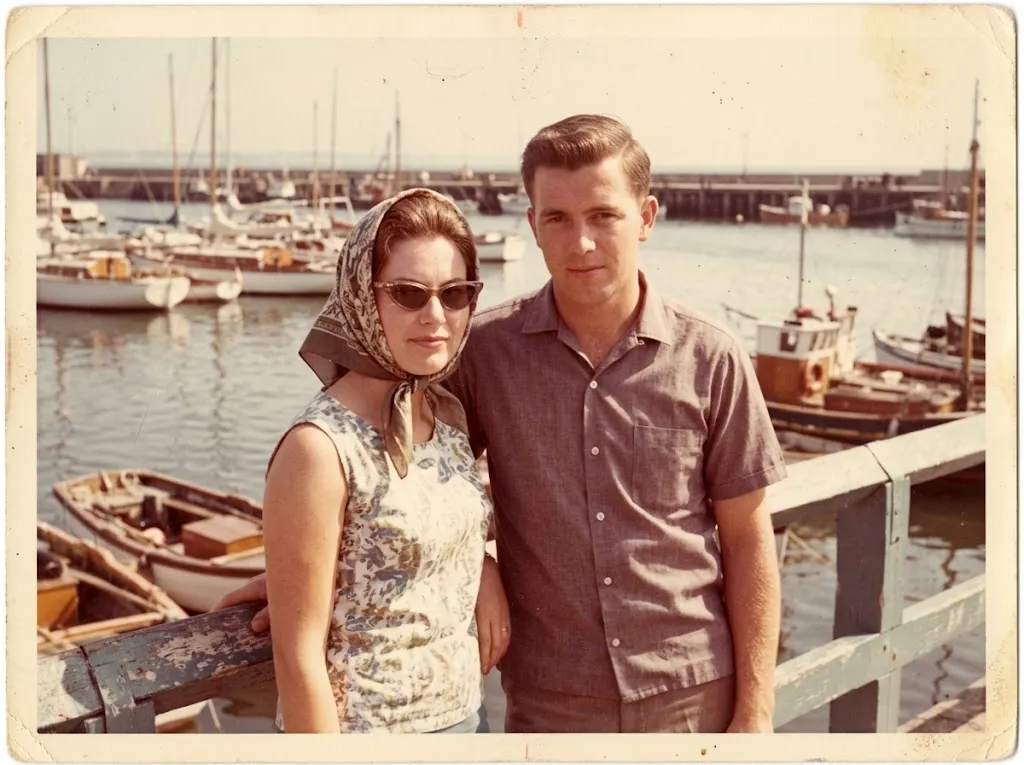 Before
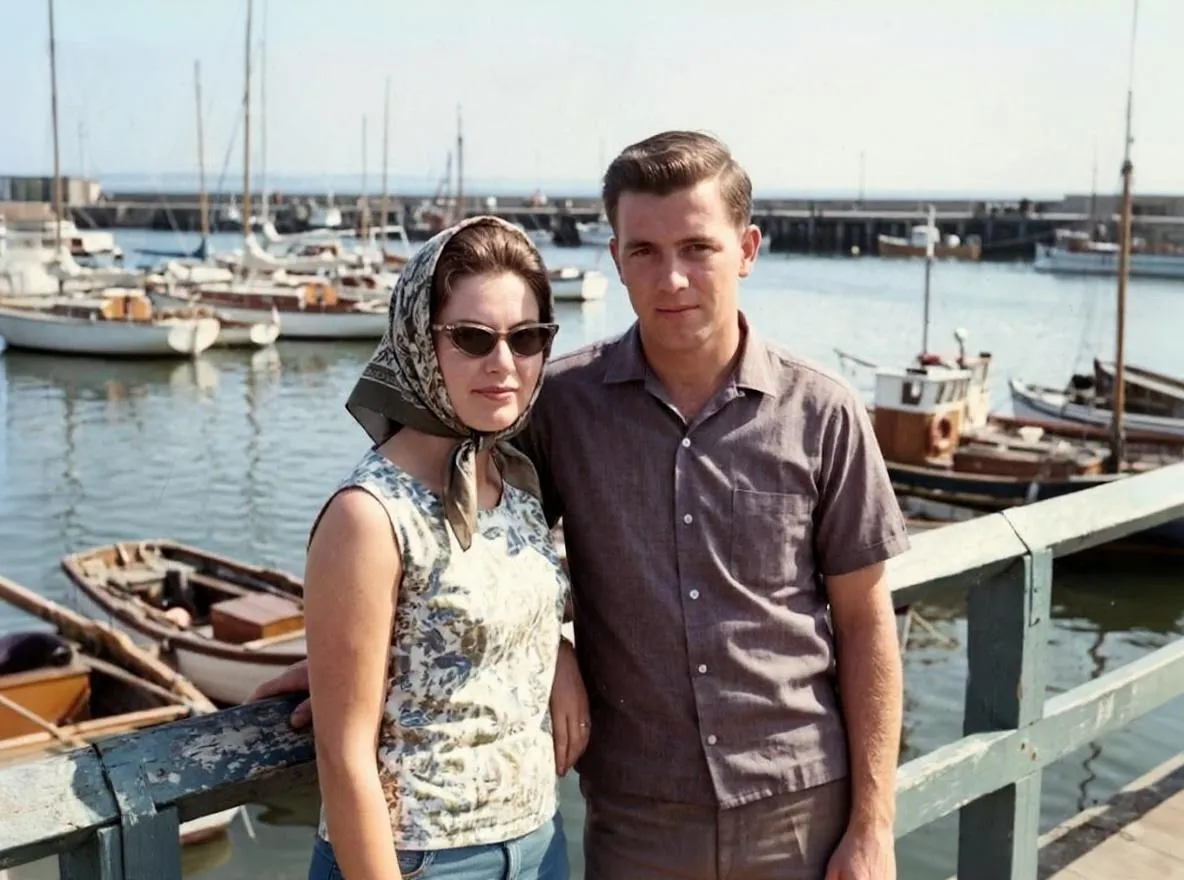 After
AfterRestoration
How to Restore Old Photos on iPhone
Restore old, scratched and faded photos on iPhone with AI. Capture a good copy of the print, repair it in Retrocap and save it to your Photos library.
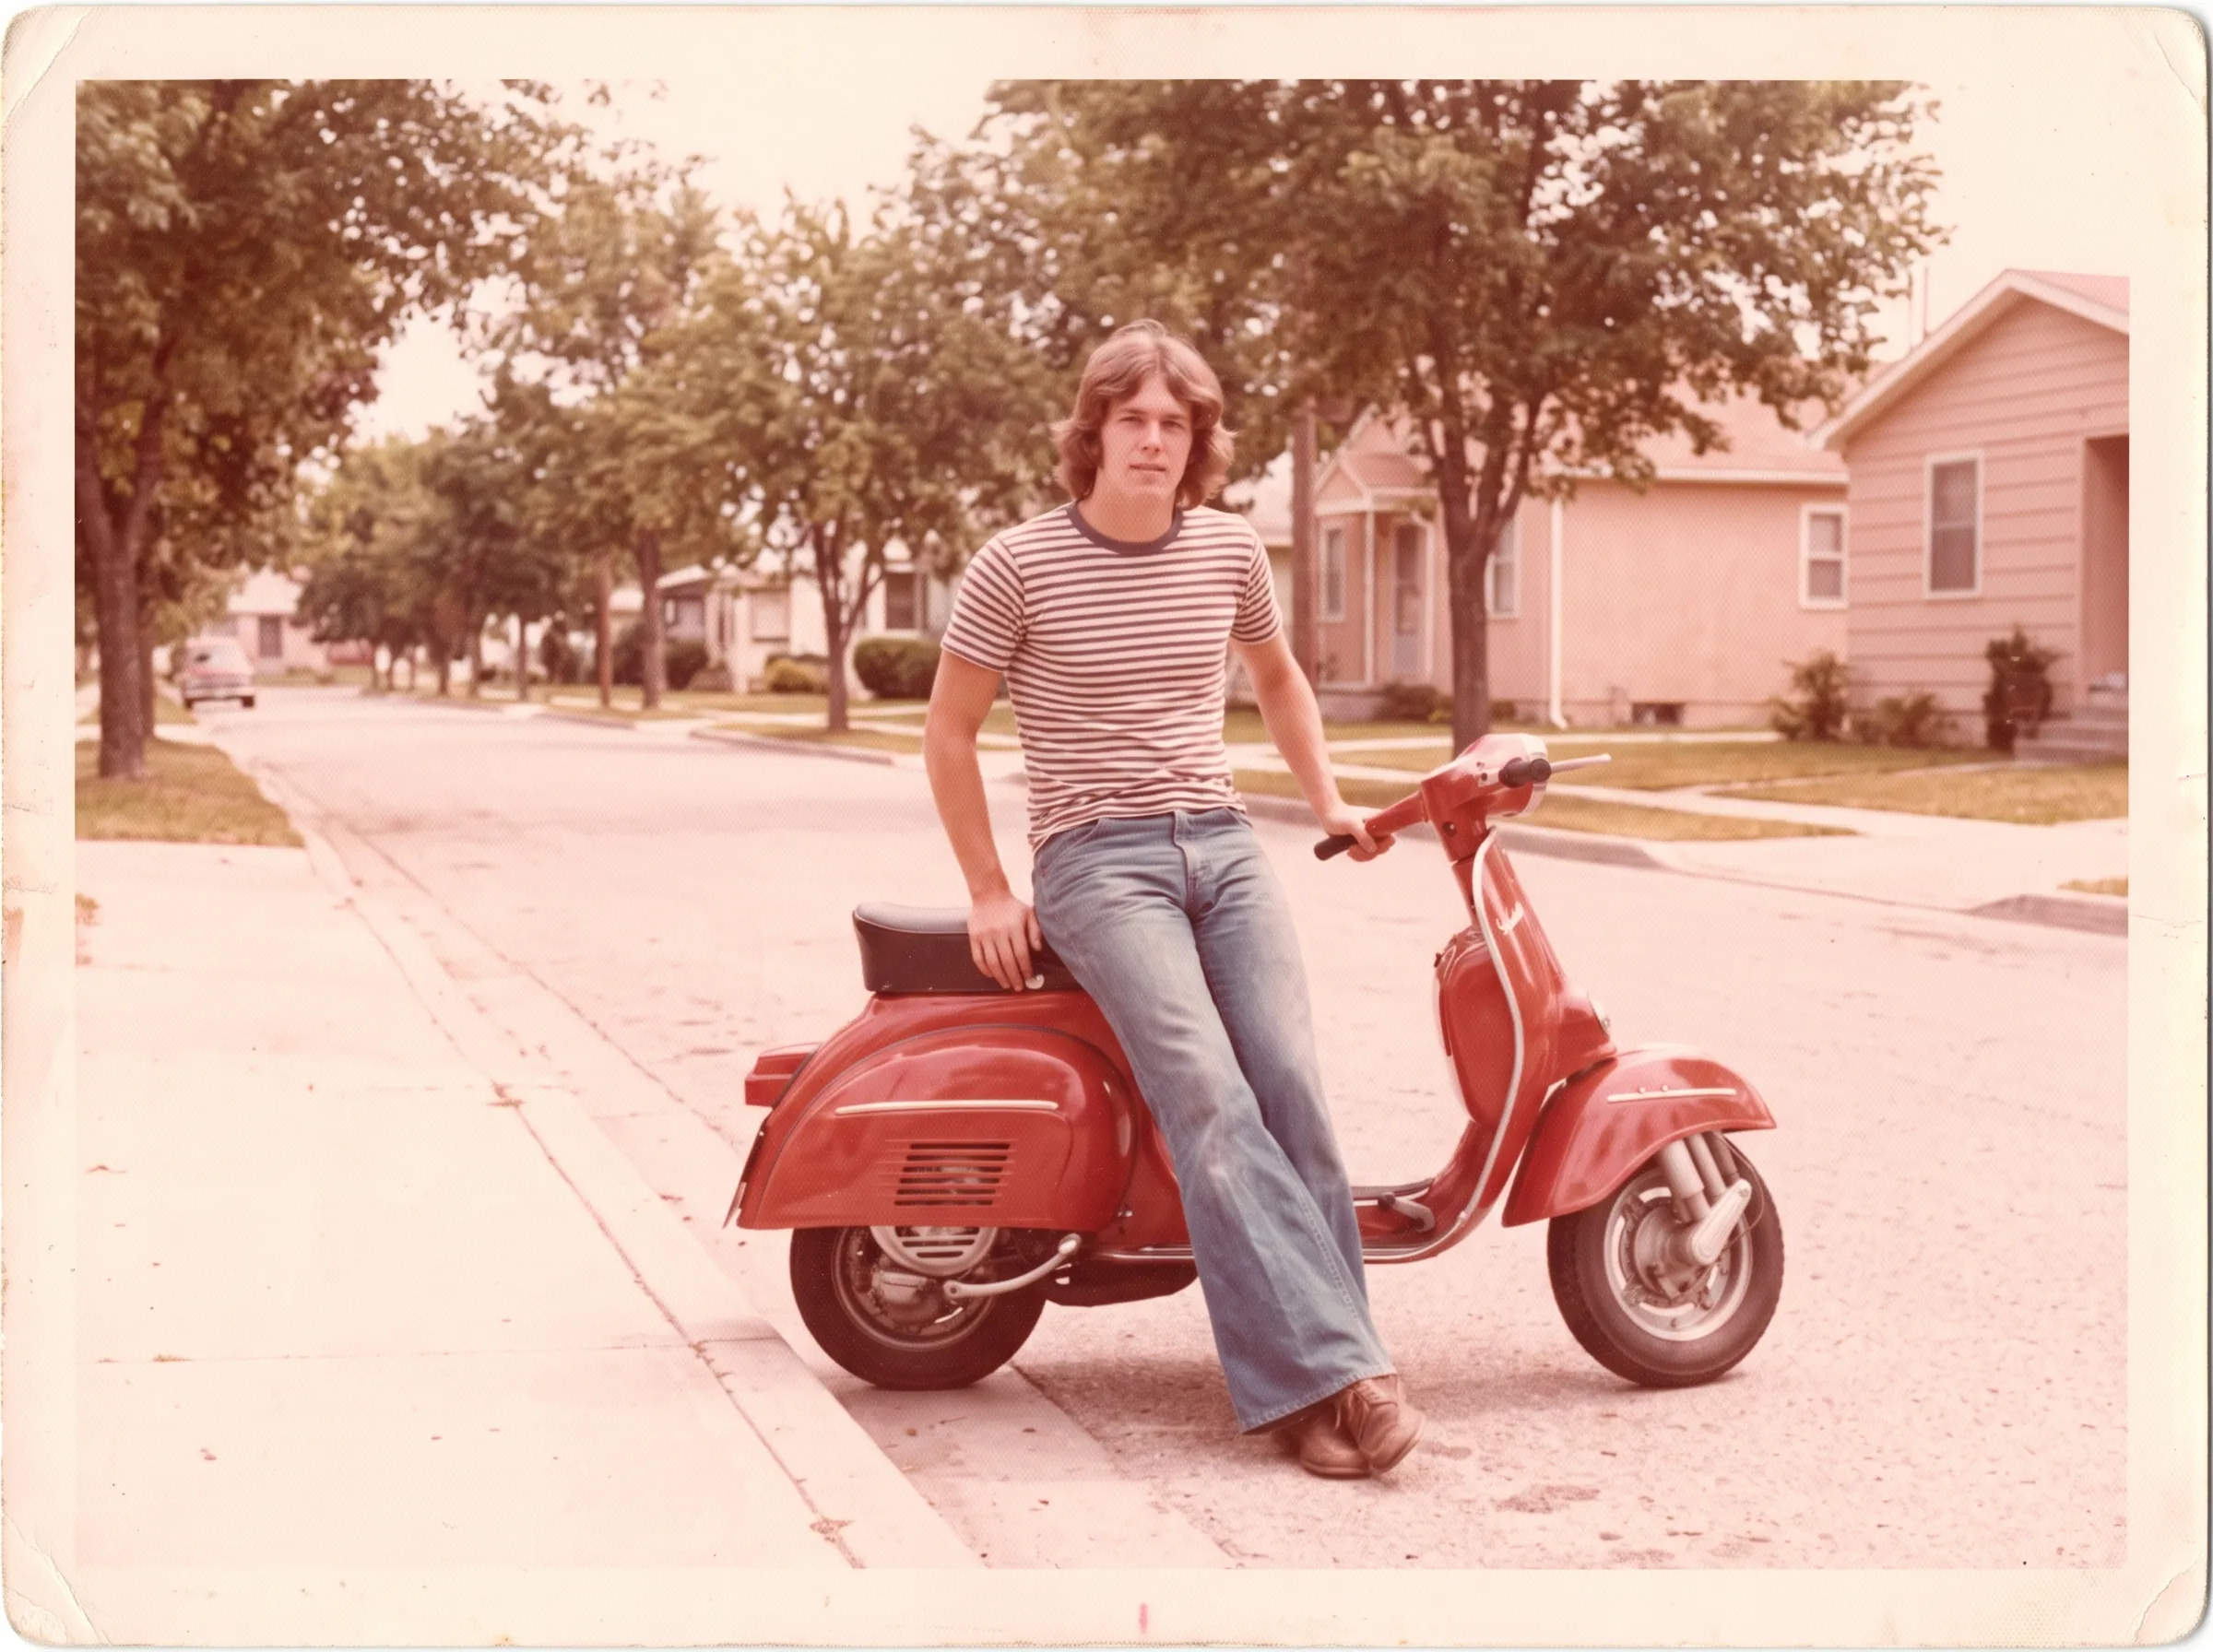 Before
 After
AfterRestoration
How to Restore Faded Photos and Fix Color Casts
Why old photos fade and turn red, yellow or pale, and how to bring back contrast and natural color with AI restoration and color correction.