
Restoration
How to Restore Faded Photos and Fix Color Casts
By the Retrocap Team · Updated
TL;DR
Old photos fade because their dyes and paper break down with light, heat and humidity, often leaving a red, yellow or washed-out look. To fix a faded photo, photograph it in neutral daylight, run Retrocap's Restore tool, then use Enhance with Color Correction or Fix Exposure if the tones still look off.
Fading is the most common kind of damage in old photos. Colors drift toward red or yellow, blacks turn grey, and faces lose their definition. Unlike a tear or a scratch, fading affects the whole image, so it is easy to accept it as “just how old photos look”. In most cases, though, the detail is still there under the fade, and AI restoration can bring it back. This guide explains why photos fade and how to fix them with Retrocap.
Why old photos fade
Photographic prints are made of dyes or silver particles held in a gelatin layer on paper. Over decades, three things break them down:
- Light, especially sunlight and fluorescent light, bleaches dyes.
- Heat and humidity speed up chemical reactions in the print.
- Acidic materials, such as cheap album pages and cardboard, react with the paper and image.
Different kinds of photos fade in different ways:
| Type of photo | Typical fading |
|---|---|
| Color prints (1950s–1980s) | Strong red, orange or magenta cast as the cyan dye fades first |
| Color prints (1990s onward) | Overall loss of saturation, slight yellowing |
| Black-and-white prints | Grey, low-contrast look; sometimes yellowing or silvery patches |
| Sepia and toned prints | Brown tones become pale and uneven |
| Instant photos | Yellow or green tint, faded edges |
Knowing the cause helps you judge the result: the goal is to bring back natural tones and contrast, not to make the photo look brand new.
Step 1: Capture the true colors
Your copy needs to show the photo’s real colors, or the AI will correct the wrong problem.
- Use neutral daylight. Warm indoor bulbs add their own yellow tint; cool fluorescent lights add green.
- Avoid direct sun and flash, which wash out contrast and cause glare.
- Turn off filters and any automatic “enhance” effect in your camera app.
- Hold the phone parallel to the print and fill the frame.
Our guide to scanning old photos with your phone covers light and framing in more detail.
Step 2: Restore the photo
- Open Retrocap and choose the photo.
- Open Restore.
- Choose Standard for mild fading or Deep for photos that are very pale or have a strong color cast.
- Turn on Fix Scratches & Tears, Remove Stains or Enhance Faces if the photo has other damage too.
Restoration rebalances faded tones and rebuilds contrast as part of the repair.
Step 3: Fine-tune color and exposure
If the restored photo still has a tint, or looks too dark or too flat, use Enhance:
- Color Correction removes remaining color casts and brings tones back toward natural.
- Fix Exposure brightens photos that are too dark and adds depth to washed-out ones.
Apply one at a time and compare. Over-correcting can make an old photo look artificial.
Black-and-white and sepia photos
Faded black-and-white photos usually need contrast rather than color. Restore brings back deep blacks and clean whites. For brown, sepia-toned prints, you can either keep the warm tone after restoring or colorize the photo. Our guide to colorizing sepia photos explains the options.
What to expect
AI can bring back a surprising amount from faded photos, but there are limits:
- If a face has faded to almost blank paper, the AI has little to work with and will estimate the missing detail.
- Restored colors are a best estimate of the original tones, not a measurement.
- Some photos look best with a little warmth left in. Fully “neutral” color can feel out of place in a 1970s print.
Compare the result with the original and choose what feels right for the photo.
Keep your originals from fading further
- Store prints in acid-free sleeves or boxes, away from direct light.
- Keep them in a cool, dry room, not in attics, basements or garages.
- Avoid magnetic, self-adhesive album pages.
- Digitize your albums, so a faded print is never your only copy.
Summary
Old photos fade because light, heat and humidity break down their dyes and paper, often leaving a red, yellow or grey cast. Capture the photo in neutral daylight, restore it in Retrocap with Standard or Deep restoration, and fine-tune with Color Correction or Fix Exposure if needed. The detail is usually still there; restoration brings it back into view.
Frequently asked questions
Why do old color photos turn red or orange?
Many color prints from the 1950s to the 1980s use three dye layers. The cyan dye often fades faster than the others, which leaves the photo with a red, orange or magenta cast.
Can a very faded photo be restored?
In most cases, yes. As long as the outlines and shapes are still visible, AI can rebuild contrast and rebalance color. Areas that have faded to blank paper can only be estimated.
Should I use Restore or Enhance for a faded photo?
Start with Restore, which rebalances fading and repairs any other damage. If the colors still look off, use Enhance with Color Correction, or Fix Exposure if the photo looks too dark or too washed out.
How do I stop my photos from fading further?
Keep prints out of direct sunlight, away from heat and humidity, and in acid-free sleeves or boxes. Digitize them so you always have a copy.
Related guides
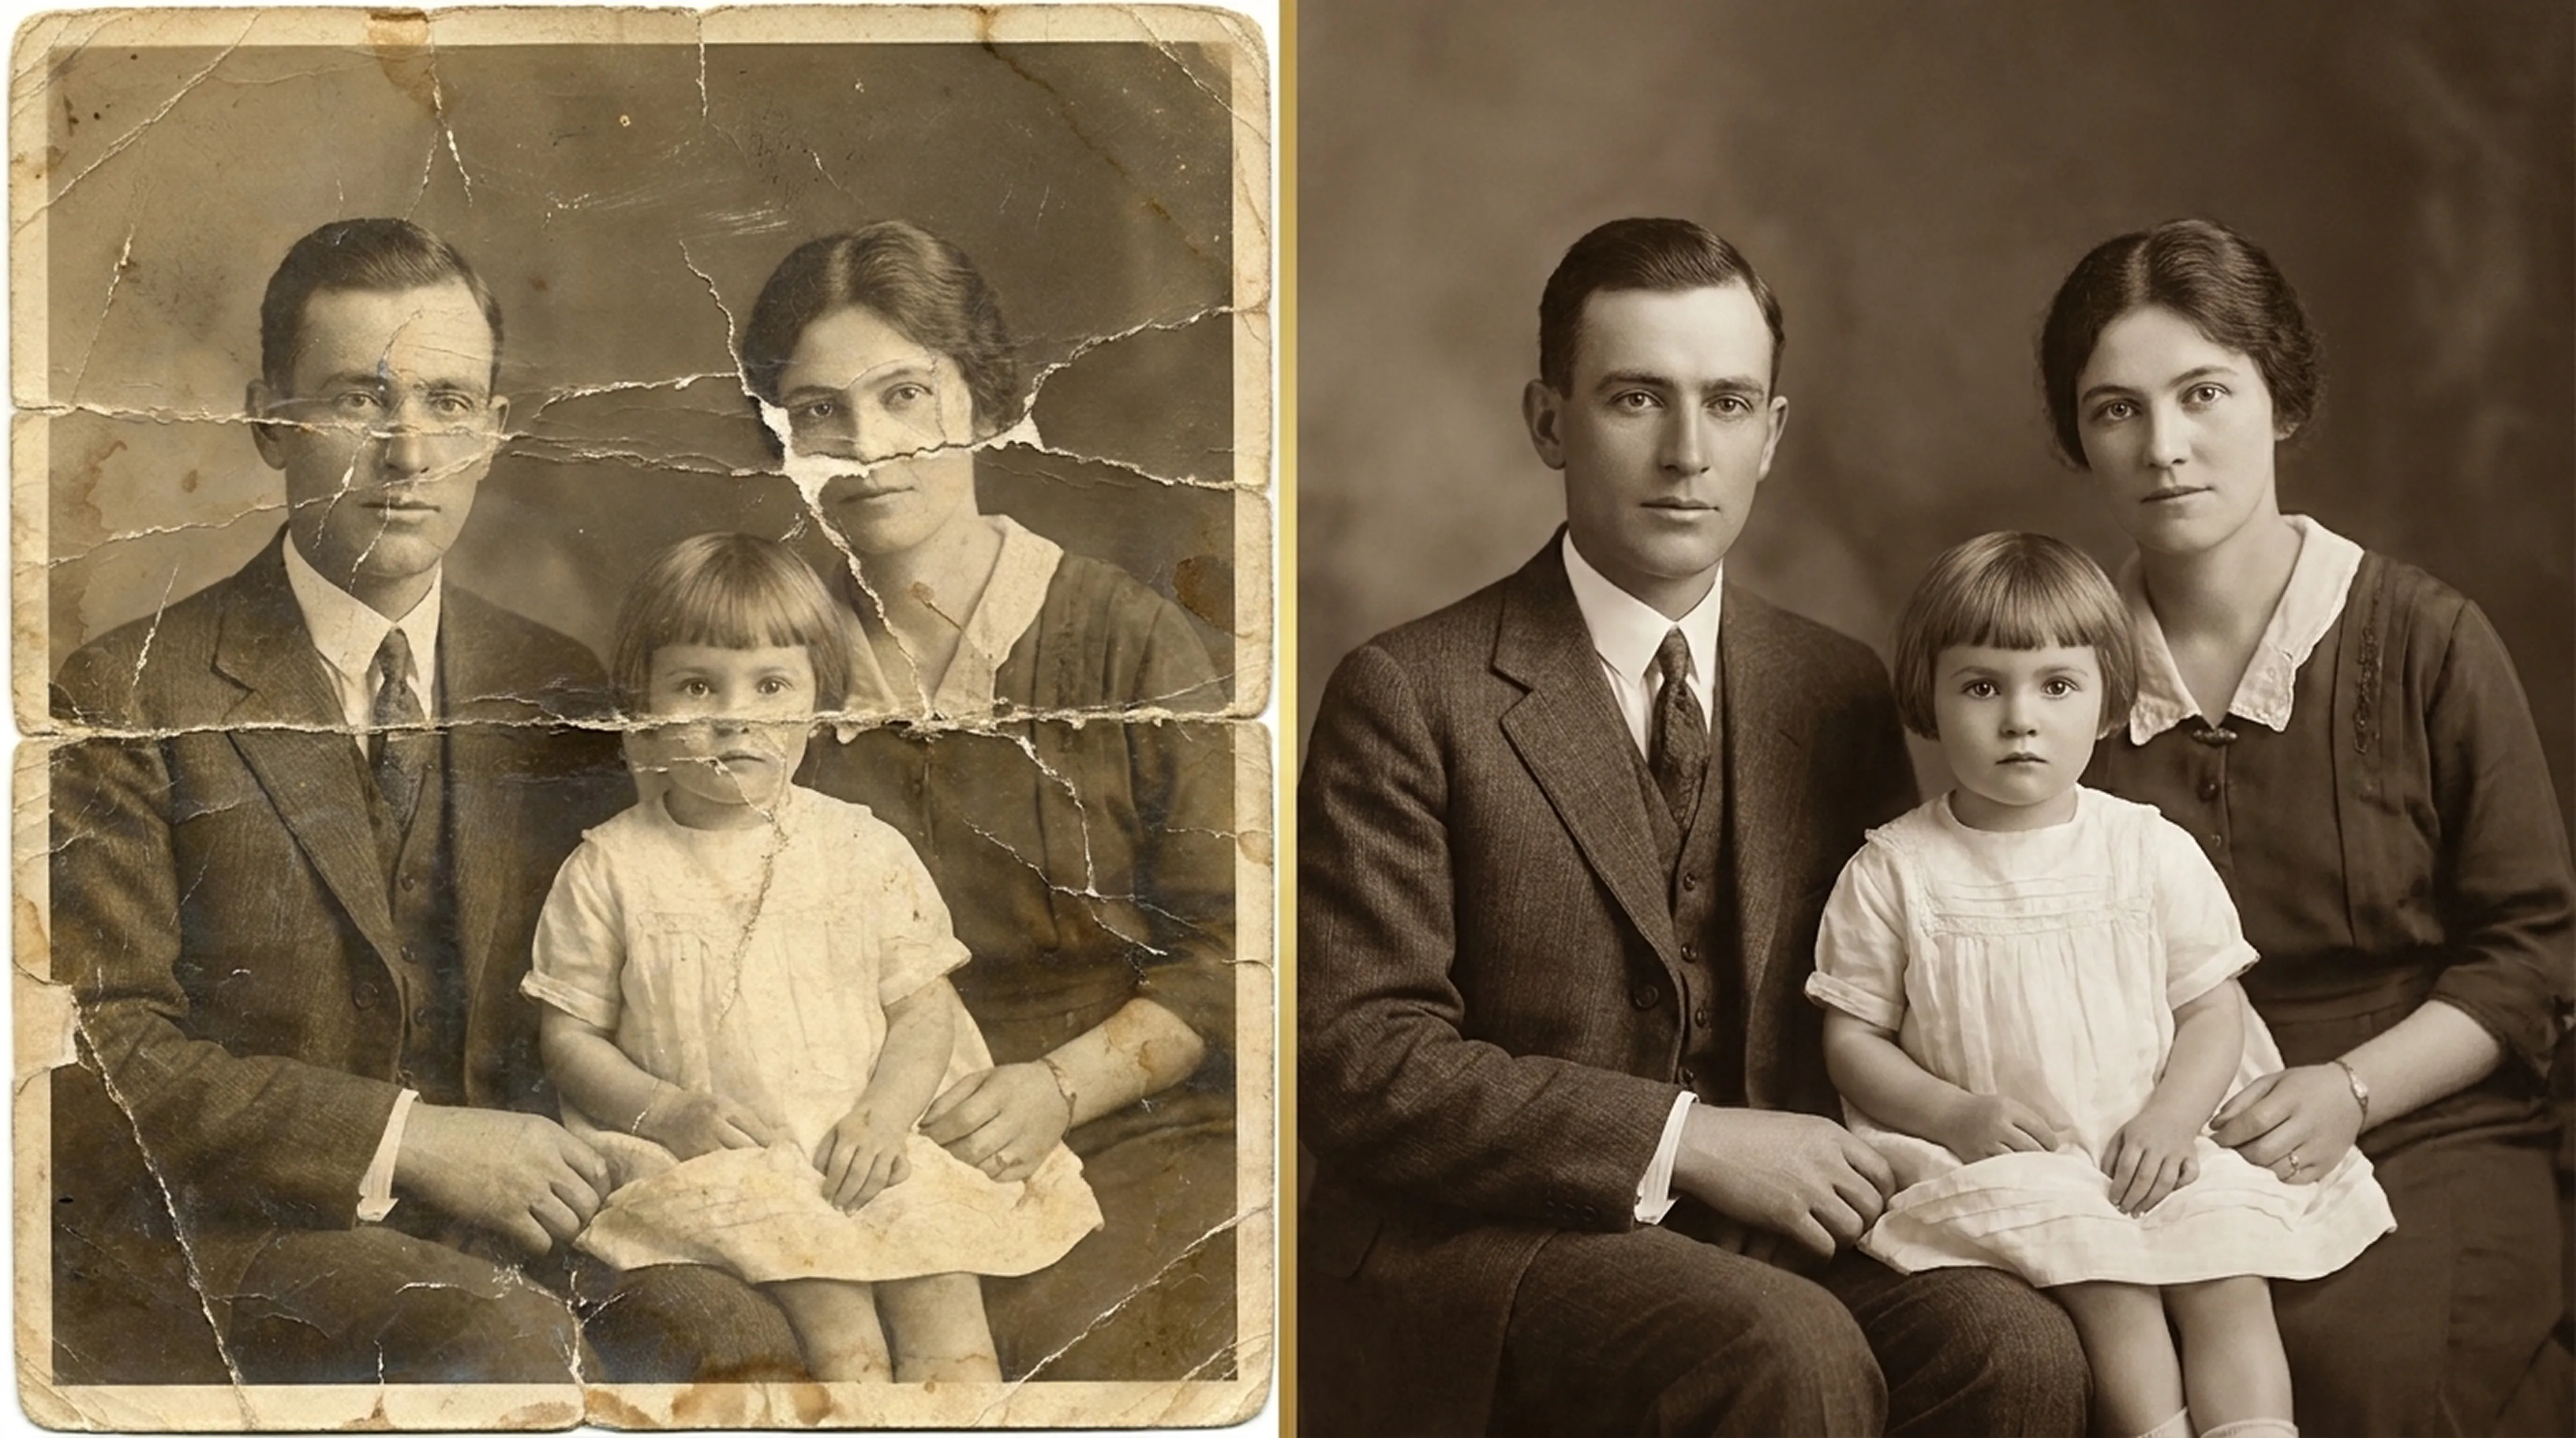
Beginner guide
How to Restore Old Photos: A Complete Beginner’s Guide
Step-by-step instructions on handling vintage prints, digitizing delicate negatives and using AI tools safely.
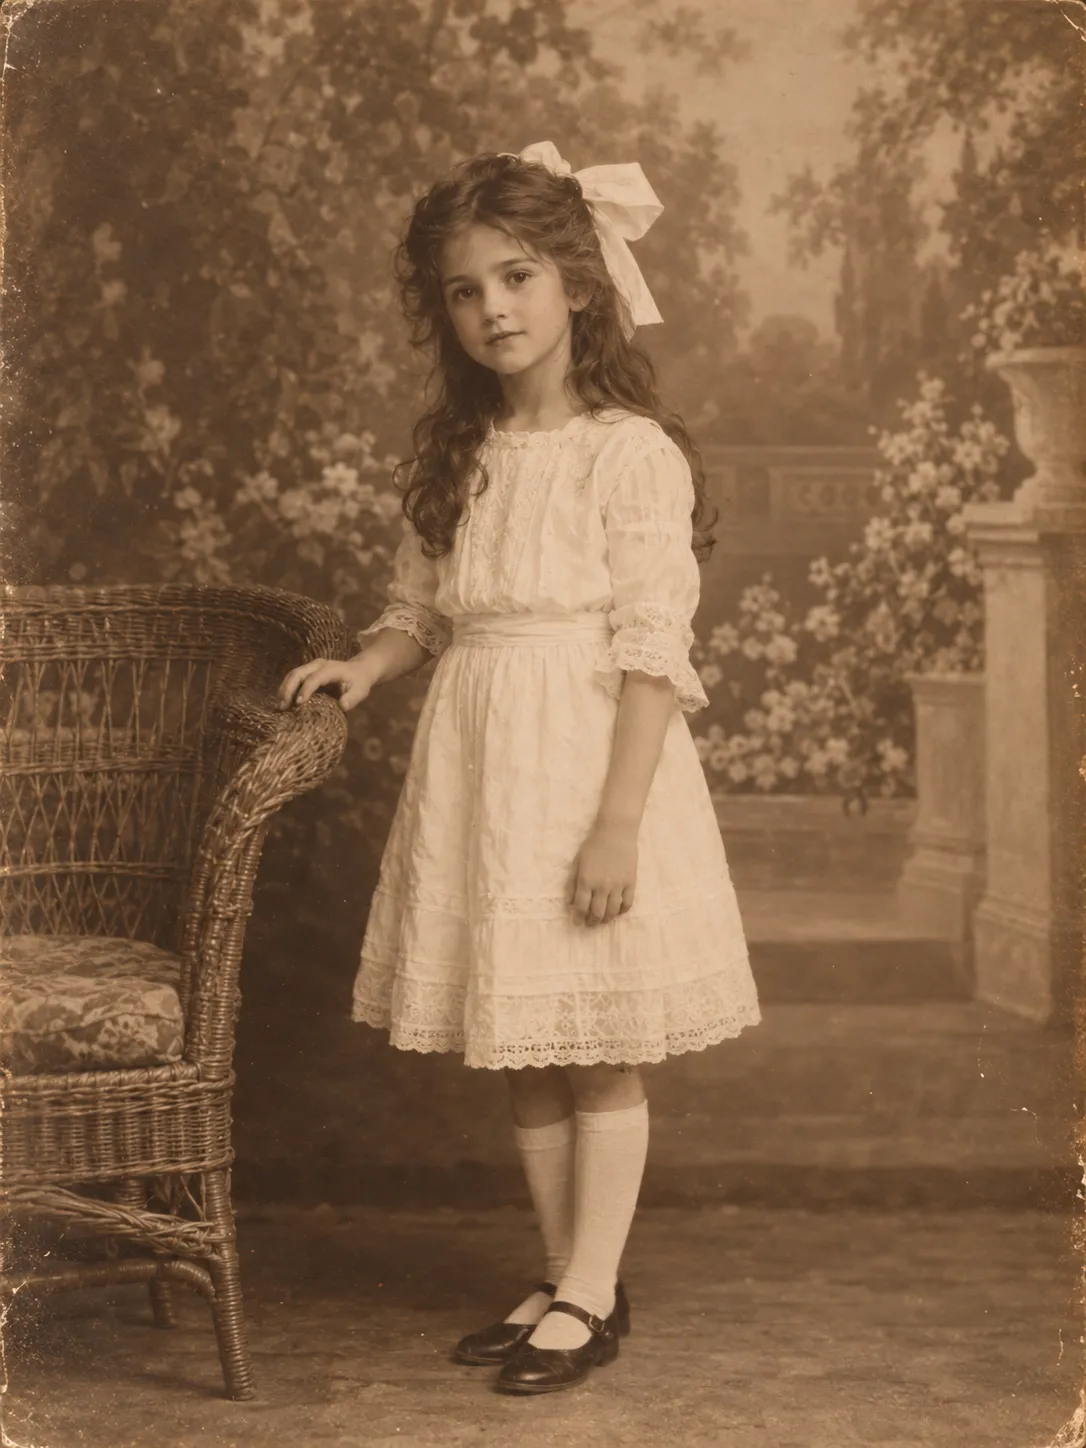 Before
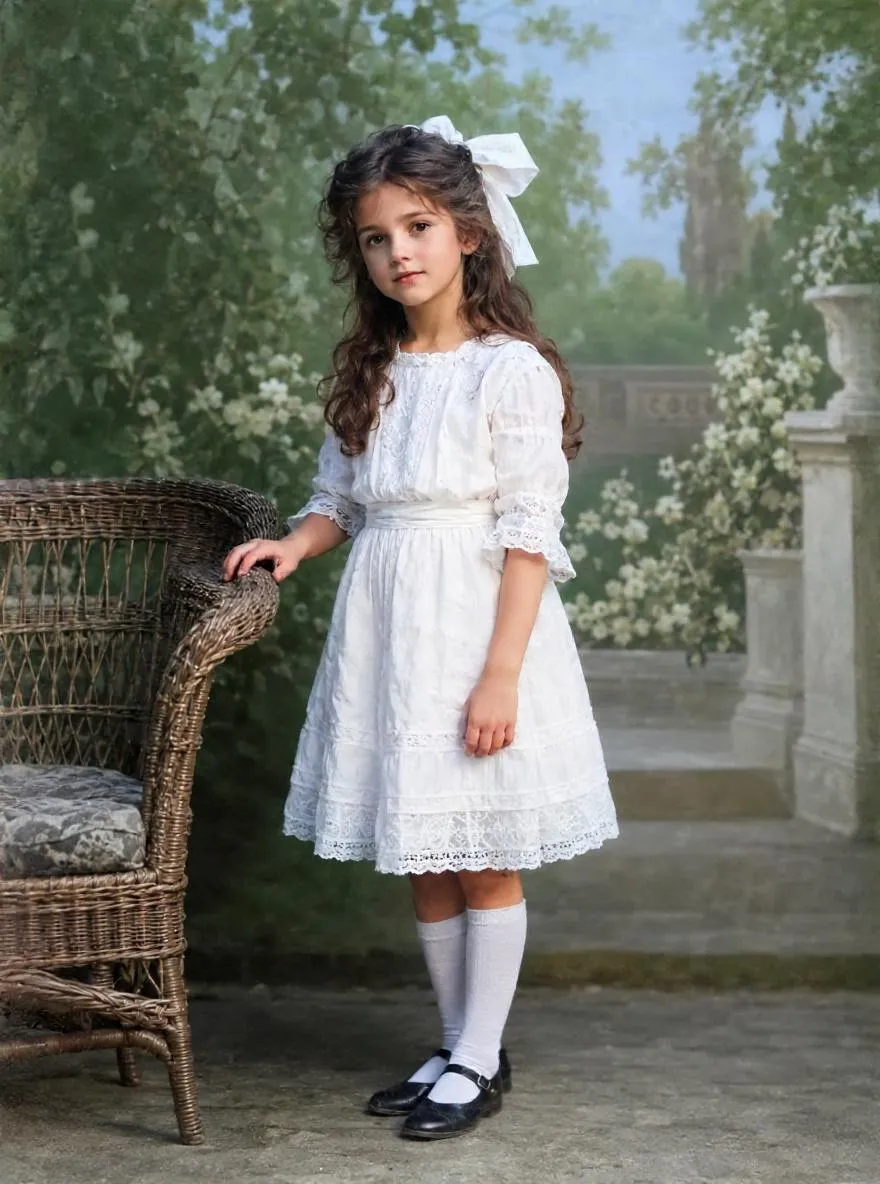 After
AfterColorization
How to Colorize Sepia Photos with AI
Colorize brown, faded sepia prints with AI. Learn what makes a photo sepia, whether to keep the tone and how to use Natural, Vivid, Vintage or Cool styles.
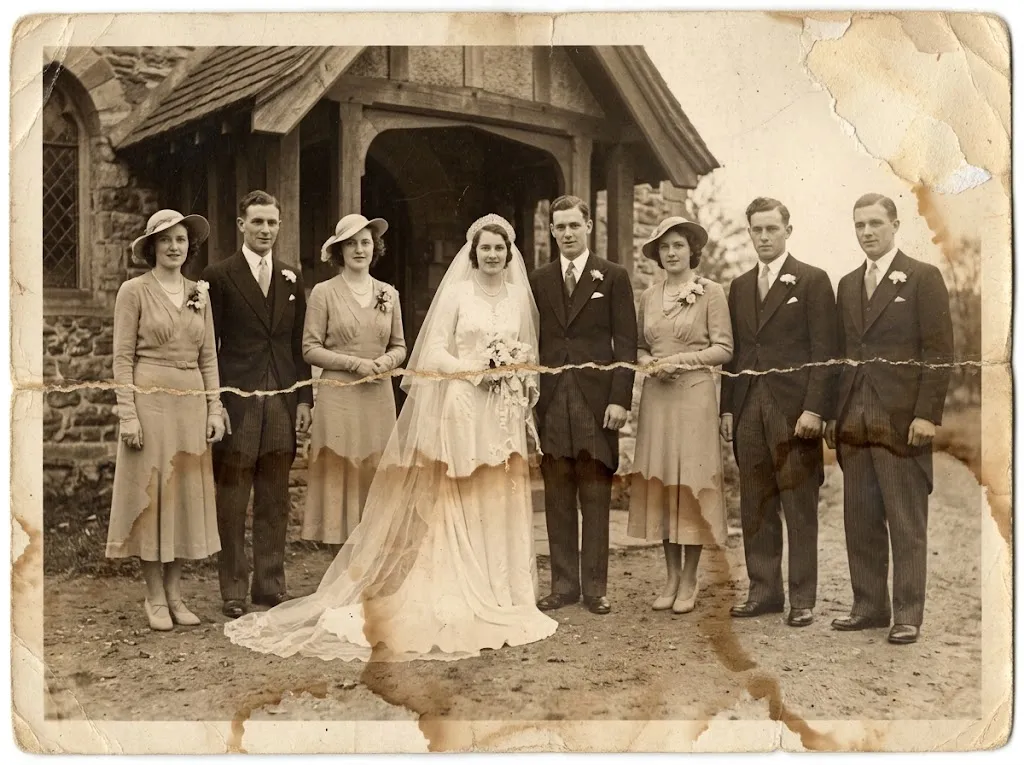 Before
 After
AfterRepair
How to Restore Water-Damaged Photos
What to do with wet or water-damaged photos: dry them safely, photograph the damage and remove water stains and marks with AI restoration.