
Beginner guide
How to Restore Old Photos: A Complete Beginner’s Guide
Step-by-step instructions on handling vintage prints, digitizing delicate negatives and using AI tools safely.
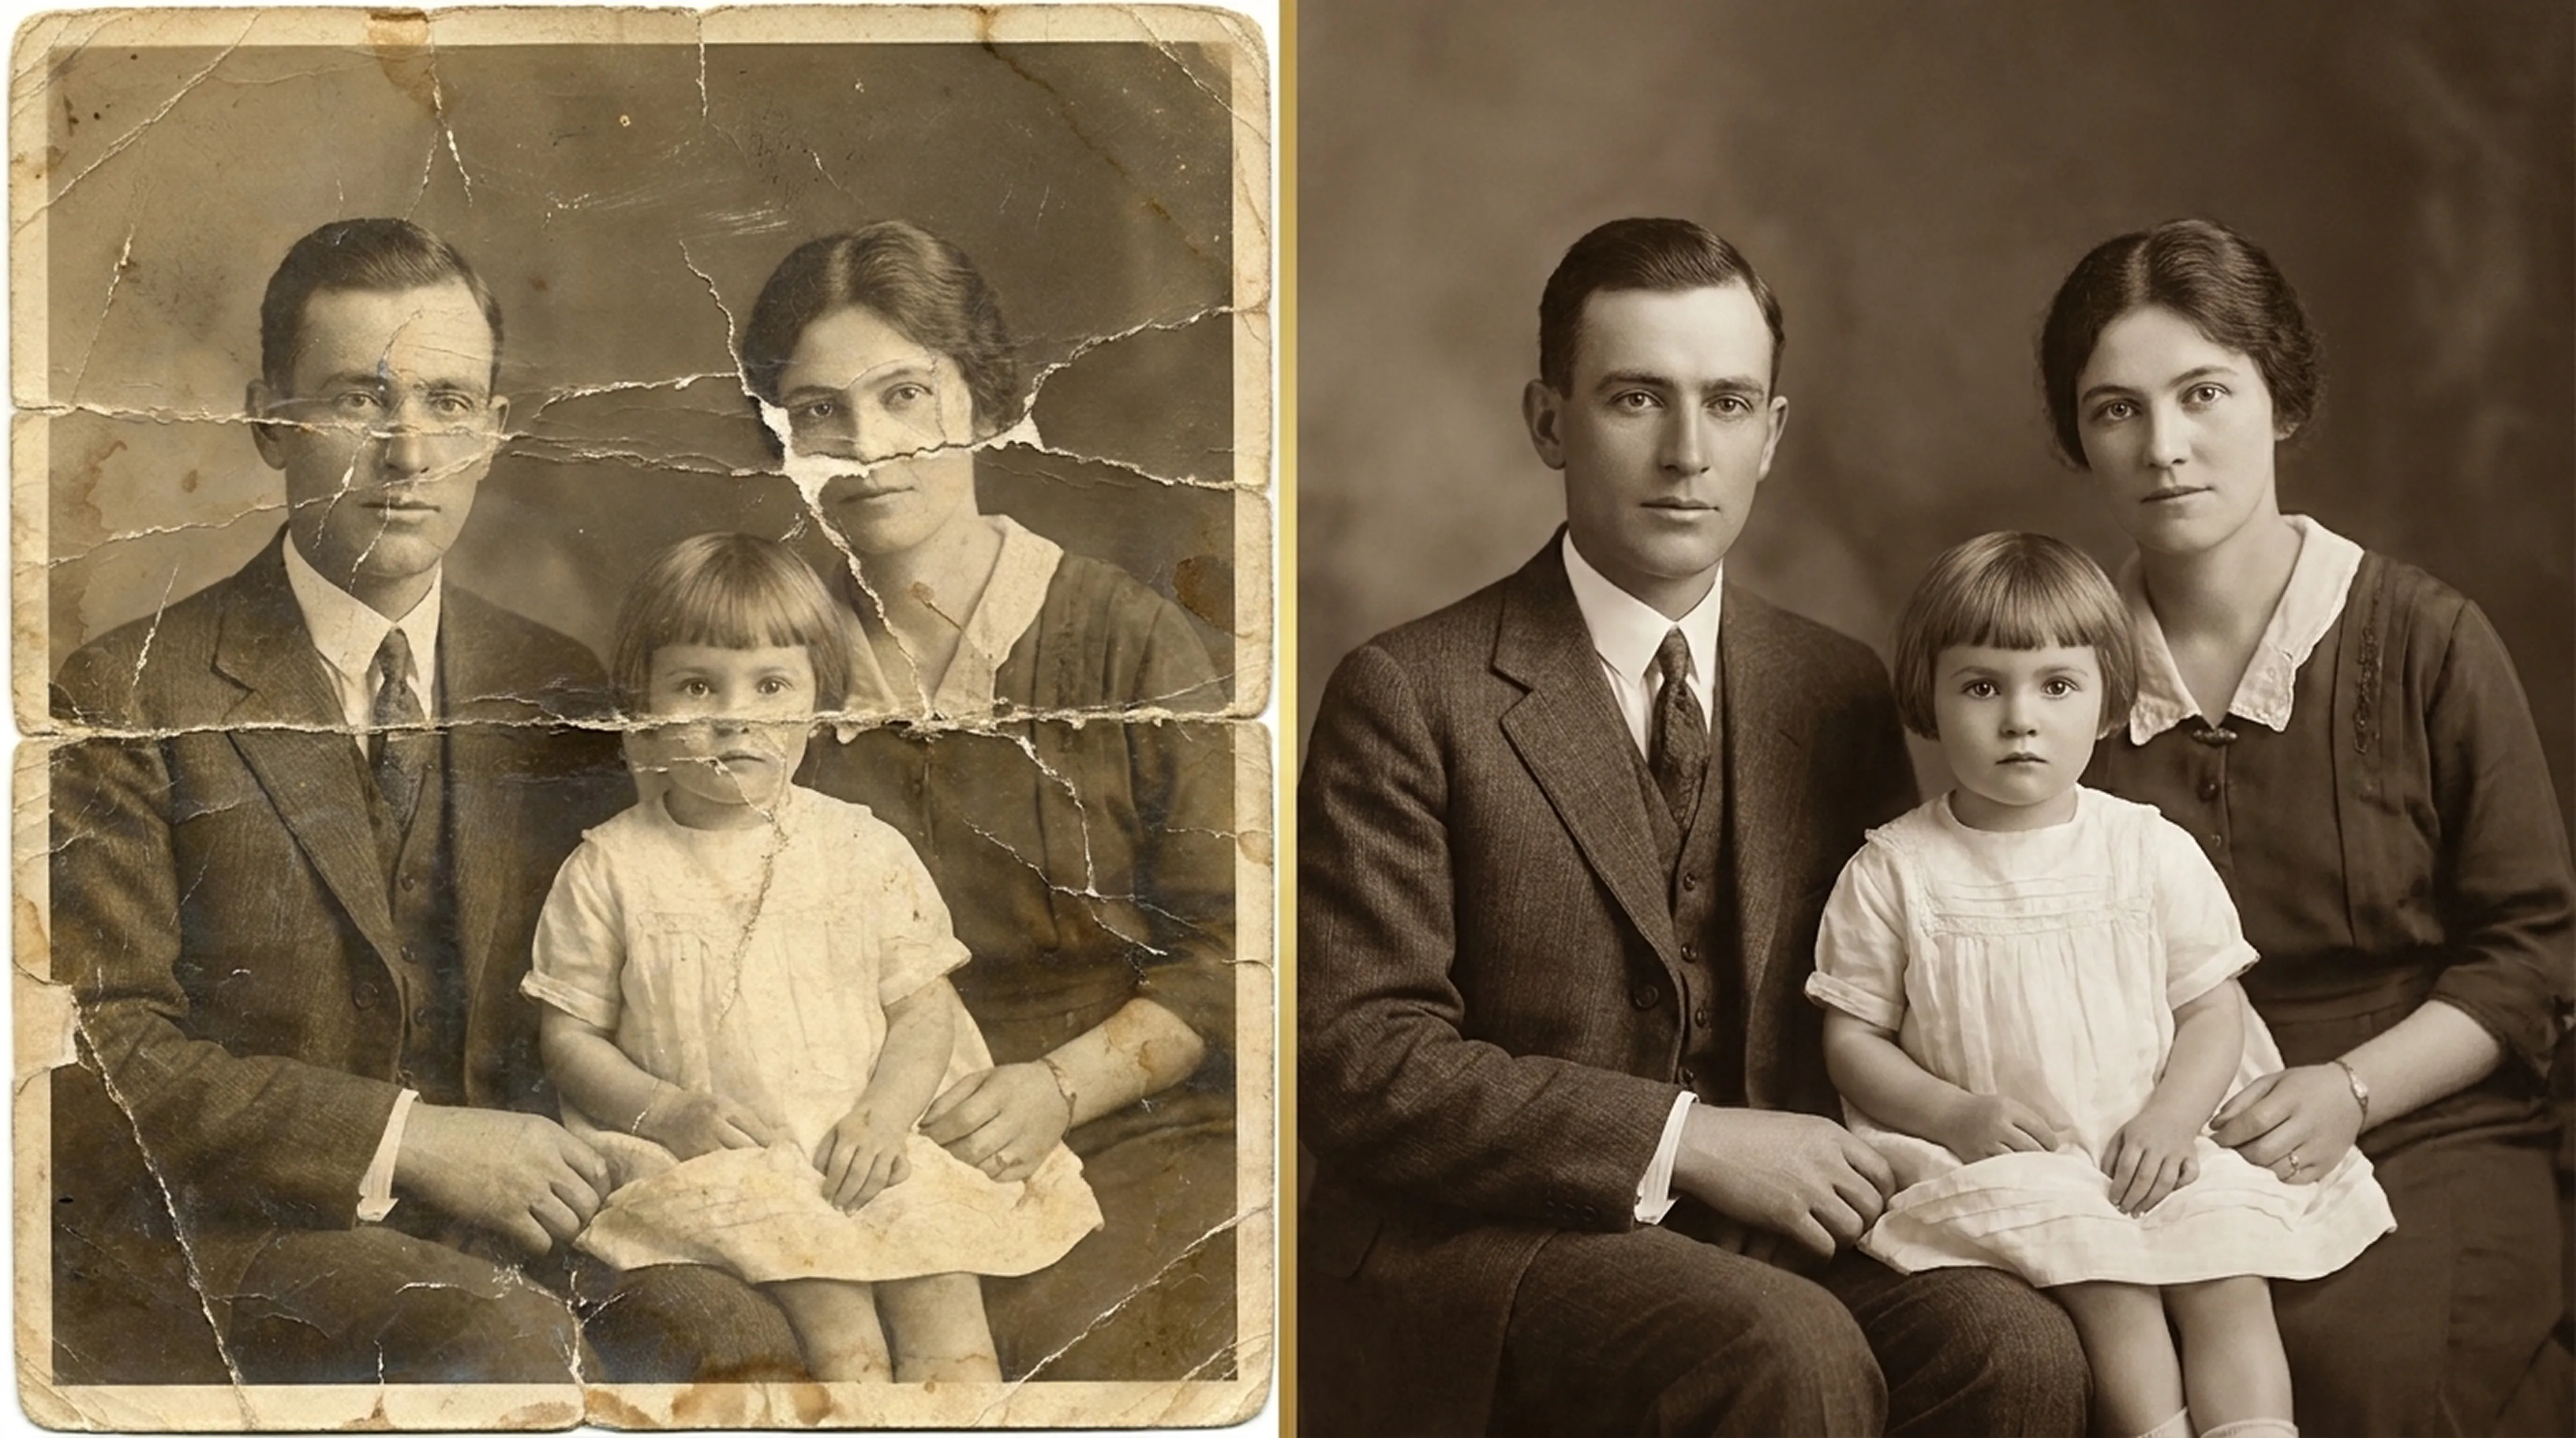
Retrocap removes scratches, dust, creases, tears and water stains from old photos with AI on iPhone and Android. Photograph the damaged print, open Restore and turn on Fix Scratches & Tears or Remove Stains, and the AI fills in the damaged areas from the surrounding image in seconds, while keeping the people and details of the original.


Free to download · iPhone & Android · Private
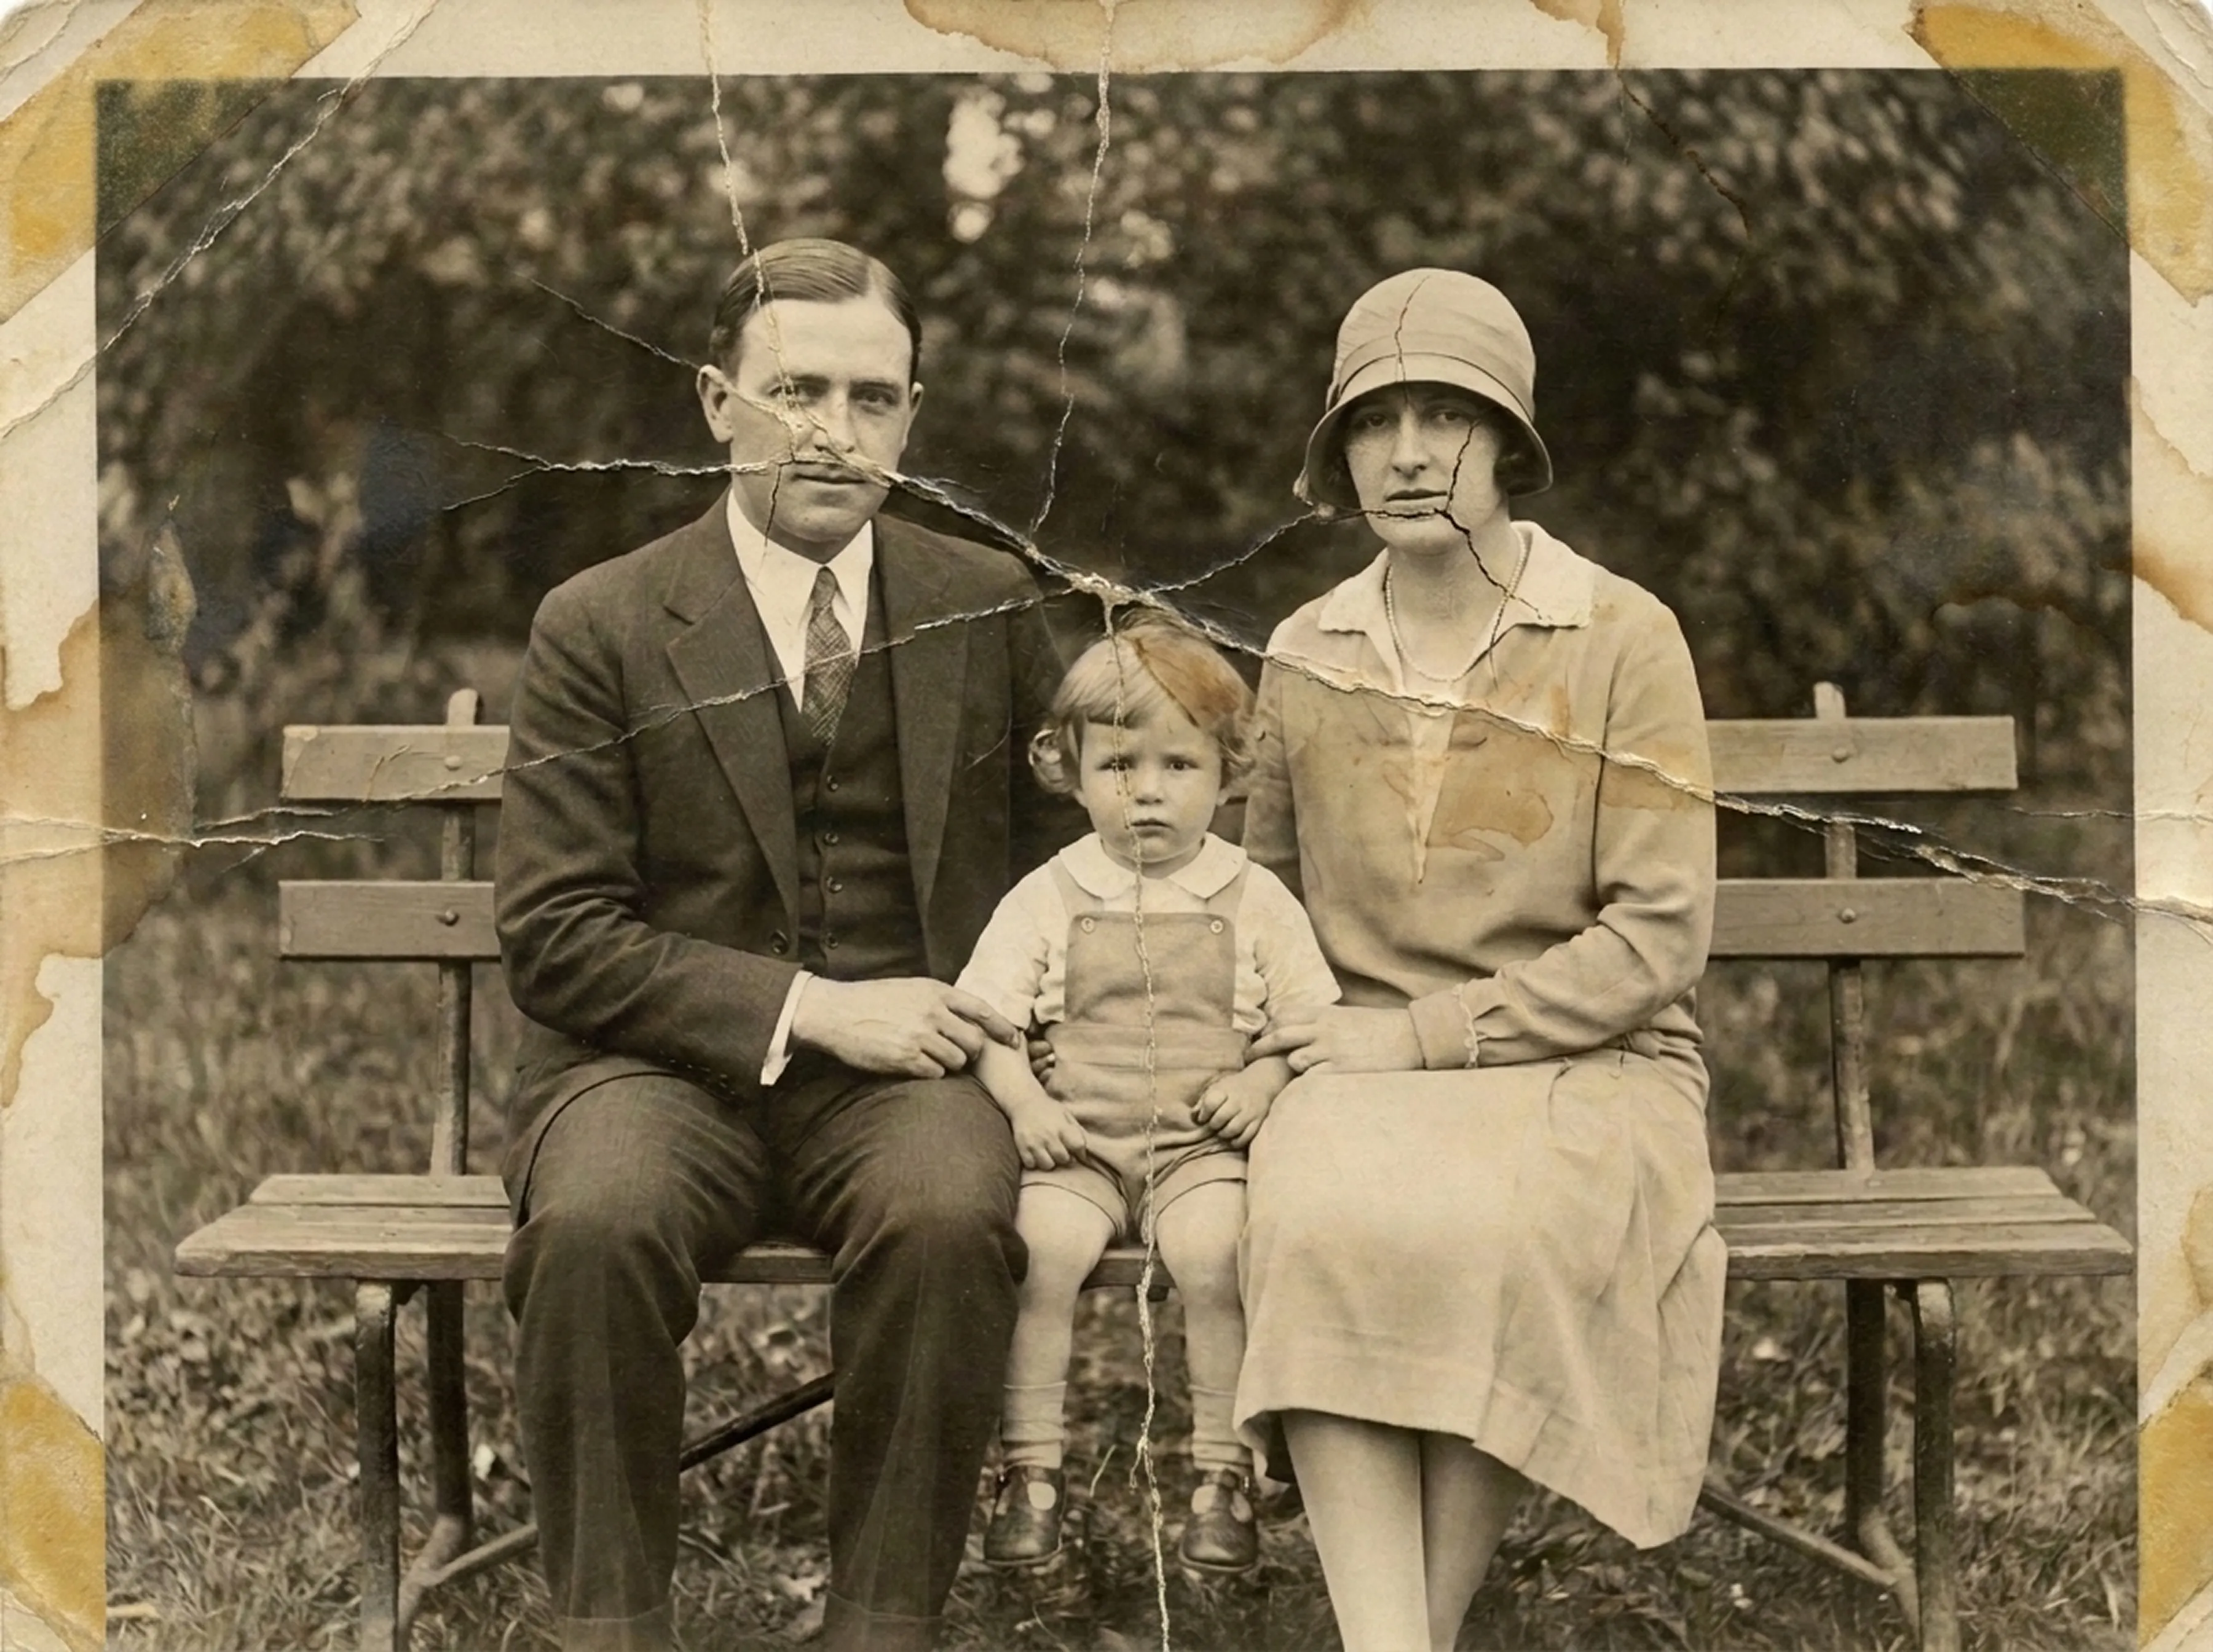
Lay the photo flat in soft, even light and take a picture with your phone's camera, or import an existing scan from your photo library.
Open Restore and turn on Fix Scratches & Tears and Remove Stains. For heavily damaged prints, choose Deep restoration.
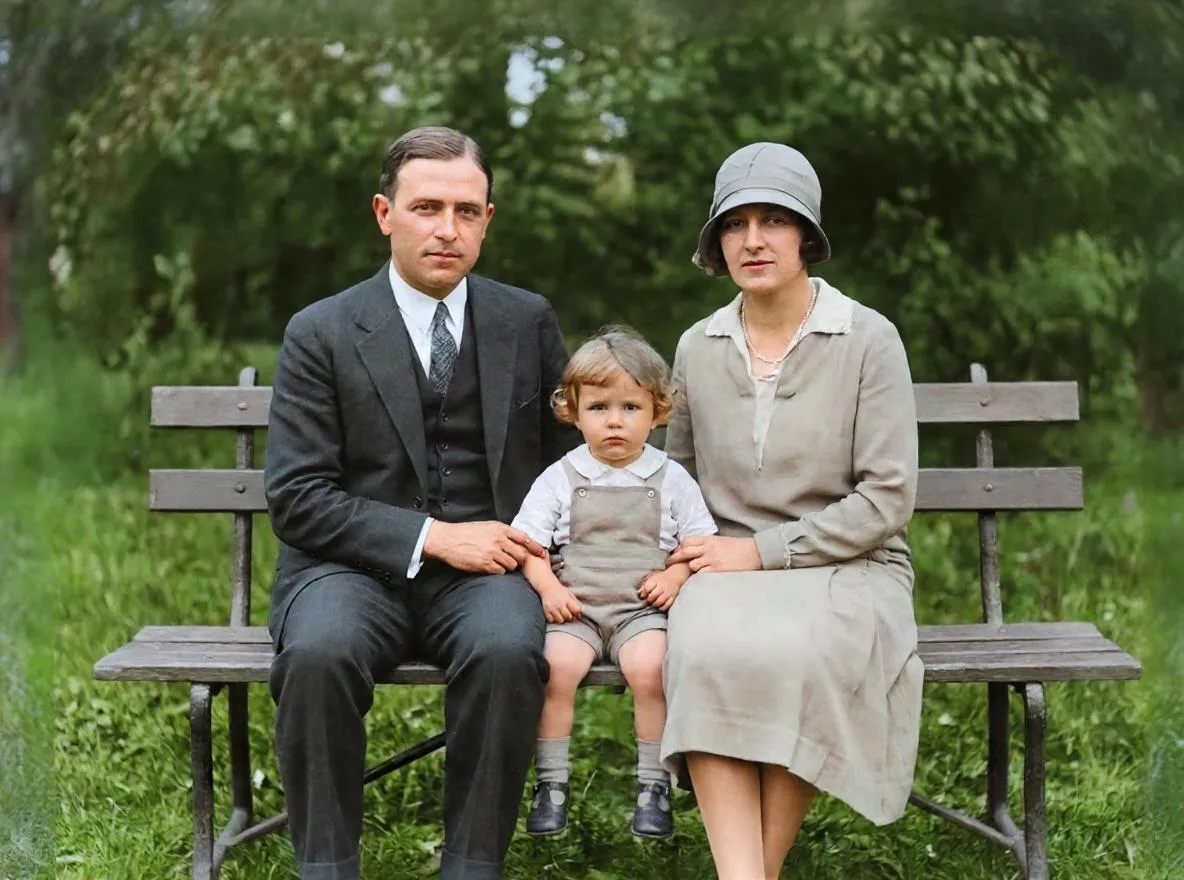
Drag the slider to check every repaired area against the original, then save the clean copy or share it.
Fine scratches, scuffs and dust specks are removed. The texture of skin, fabric and backgrounds is kept.
Lines from photos that were folded, bent or kept in wallets are smoothed away. The image underneath is rebuilt to match.
Torn edges and small missing pieces are filled in from the image around them. Large missing areas can only be estimated.
Water marks, tape residue, mould spots and stains are cleaned up. The result depends on how much of the image is still visible.
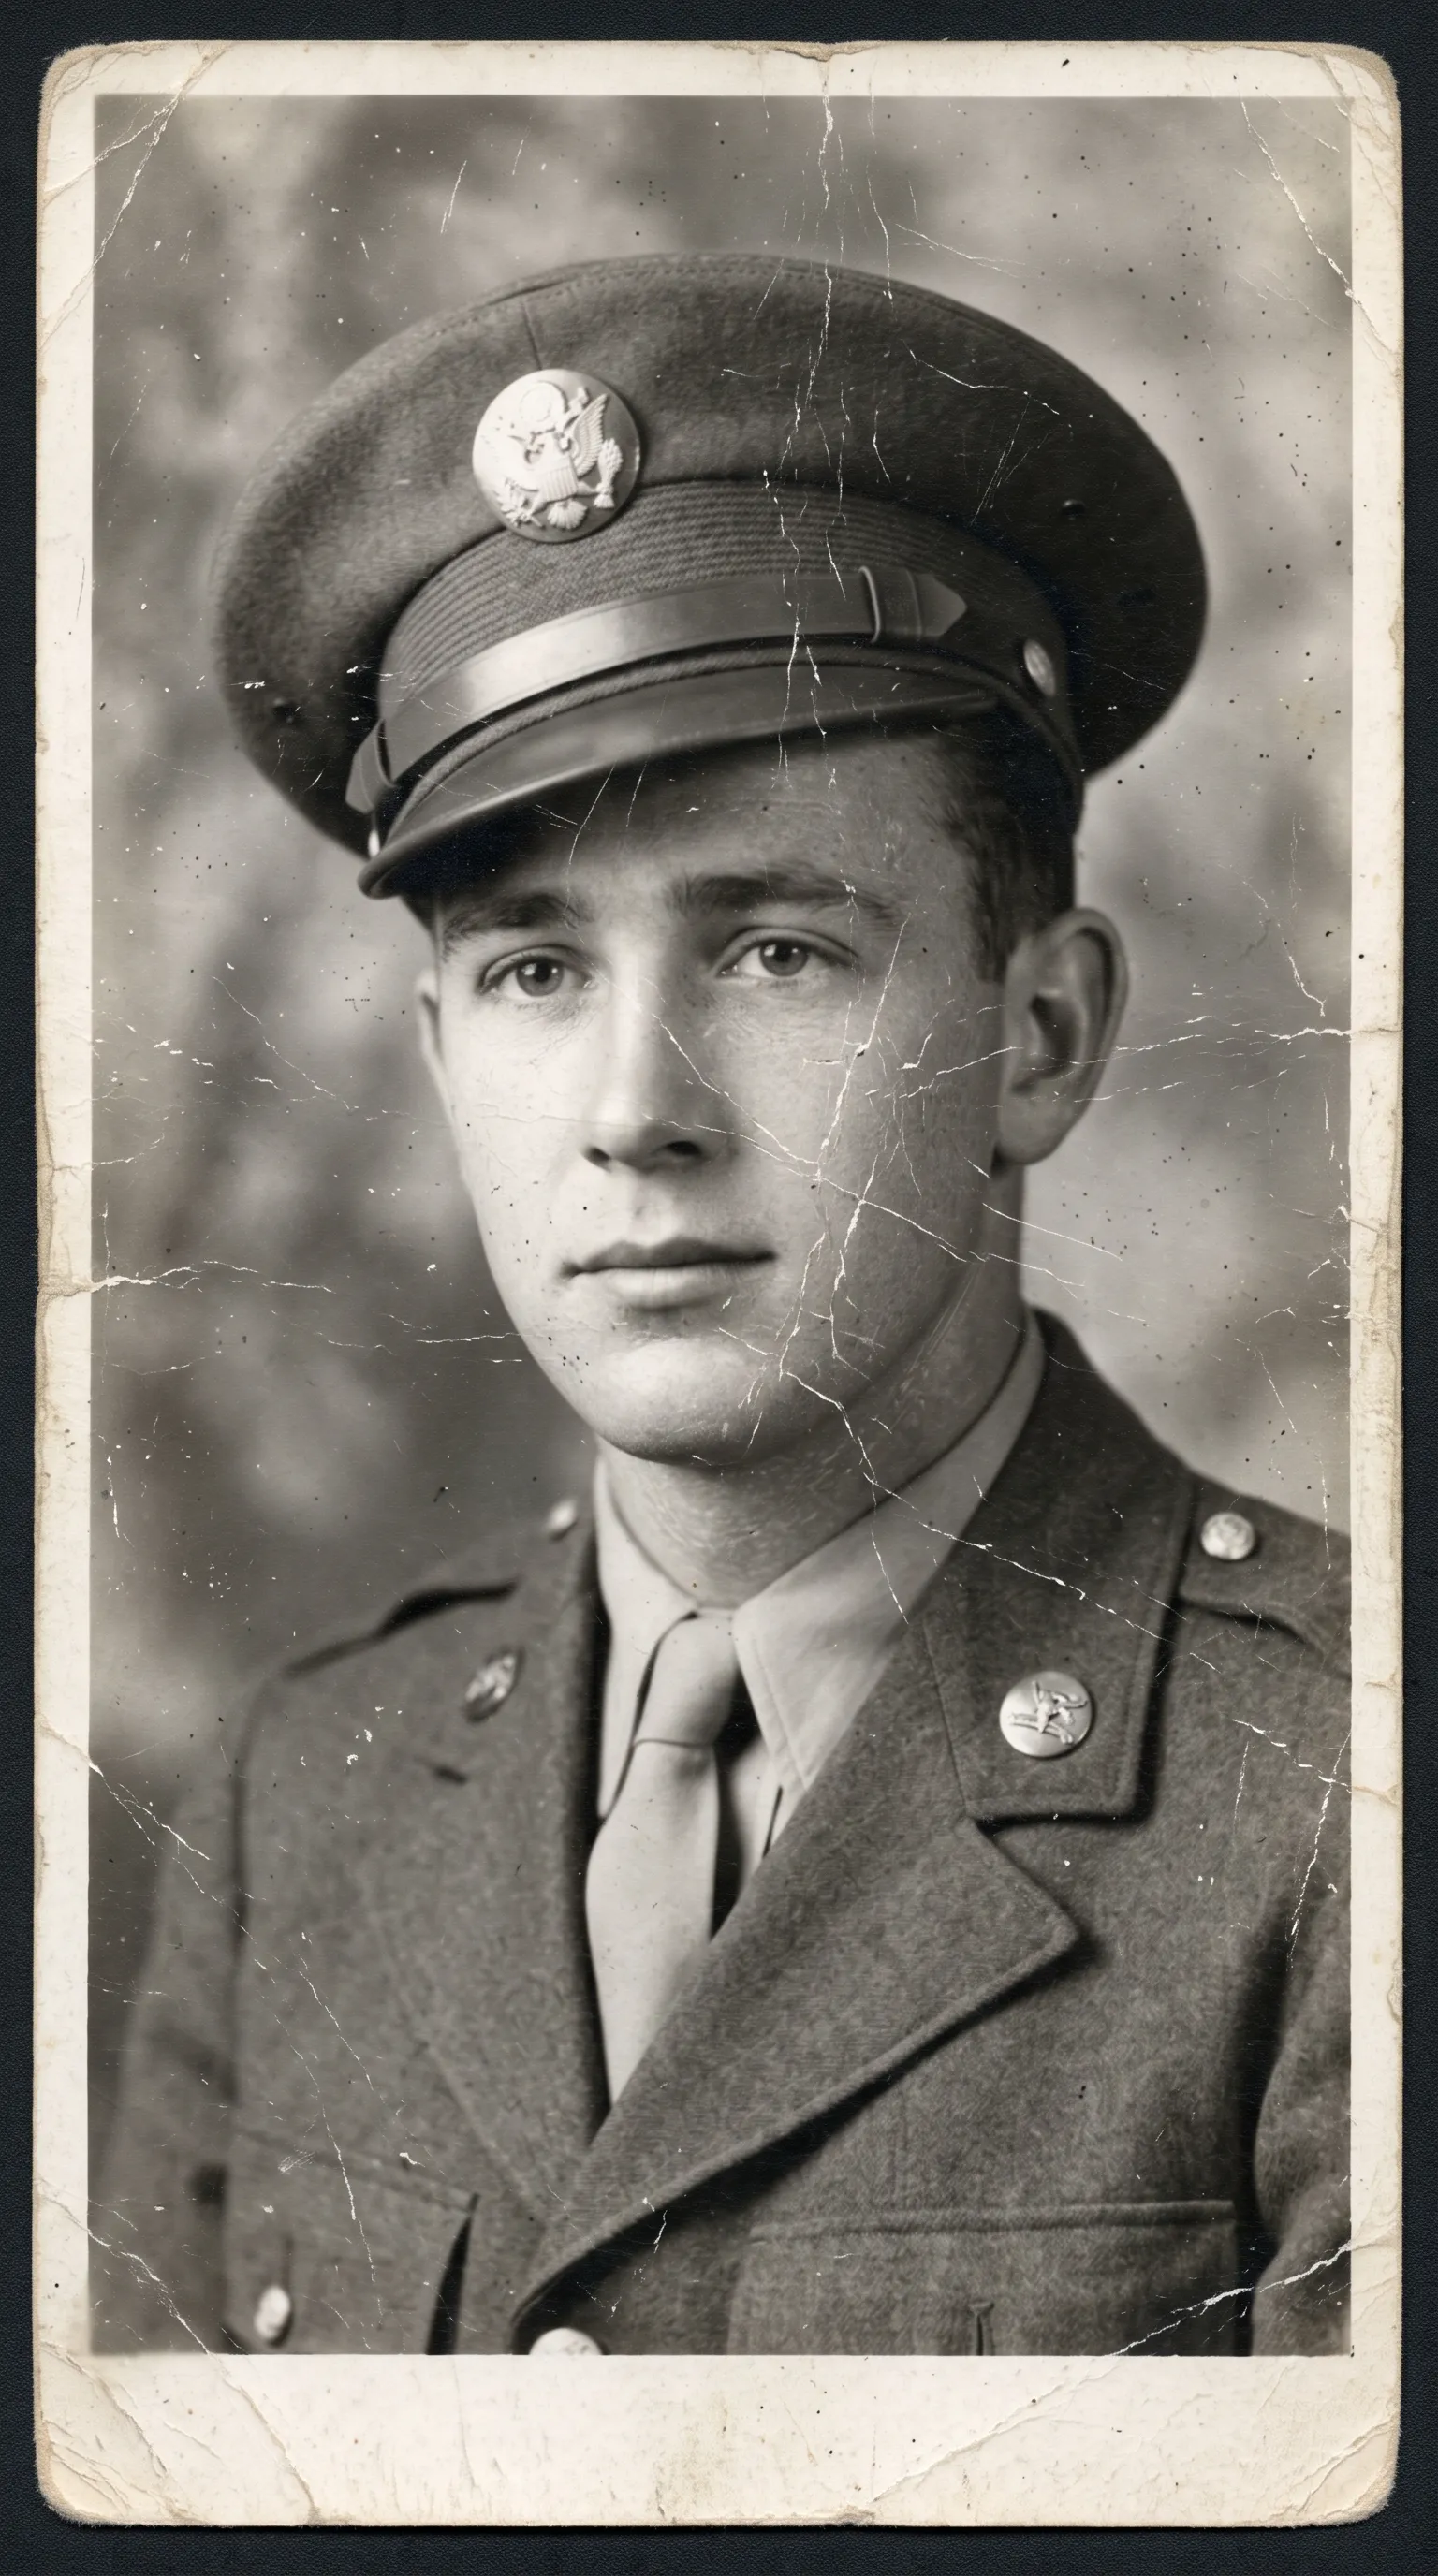
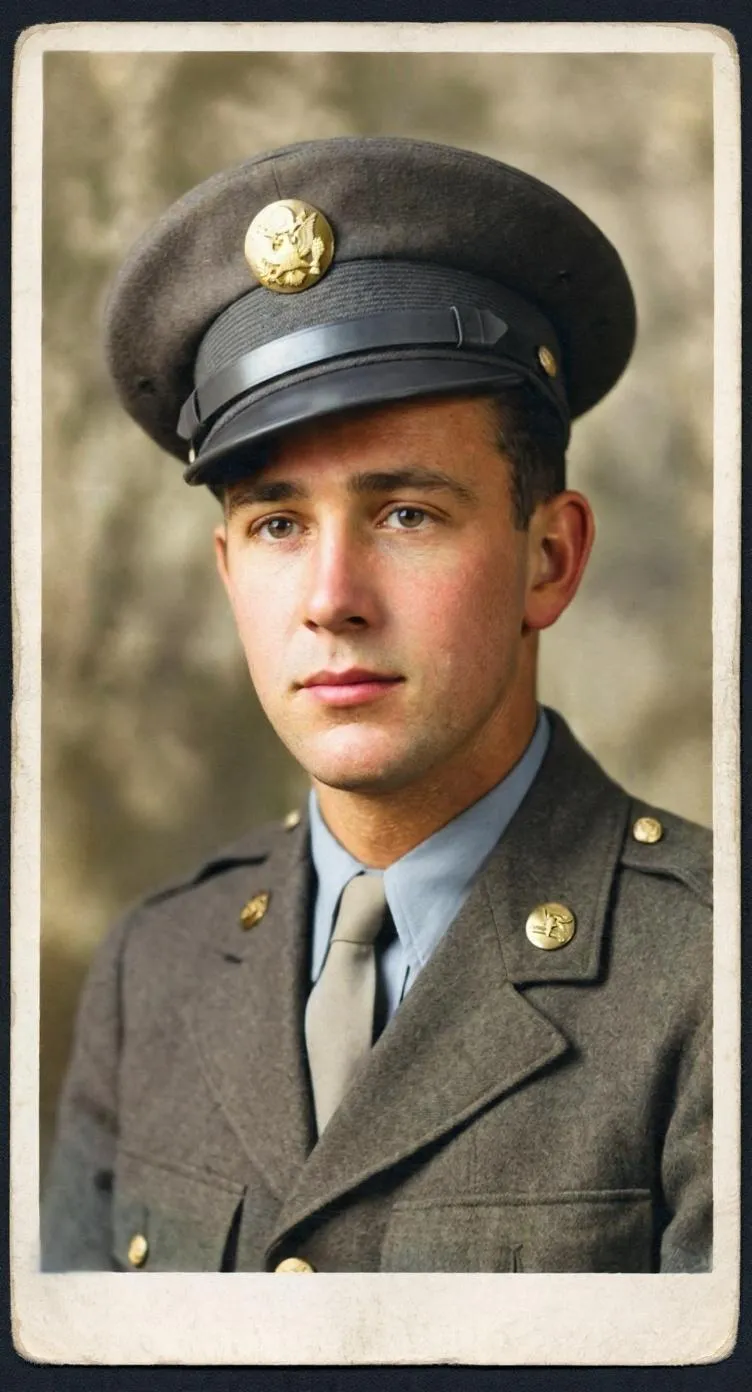
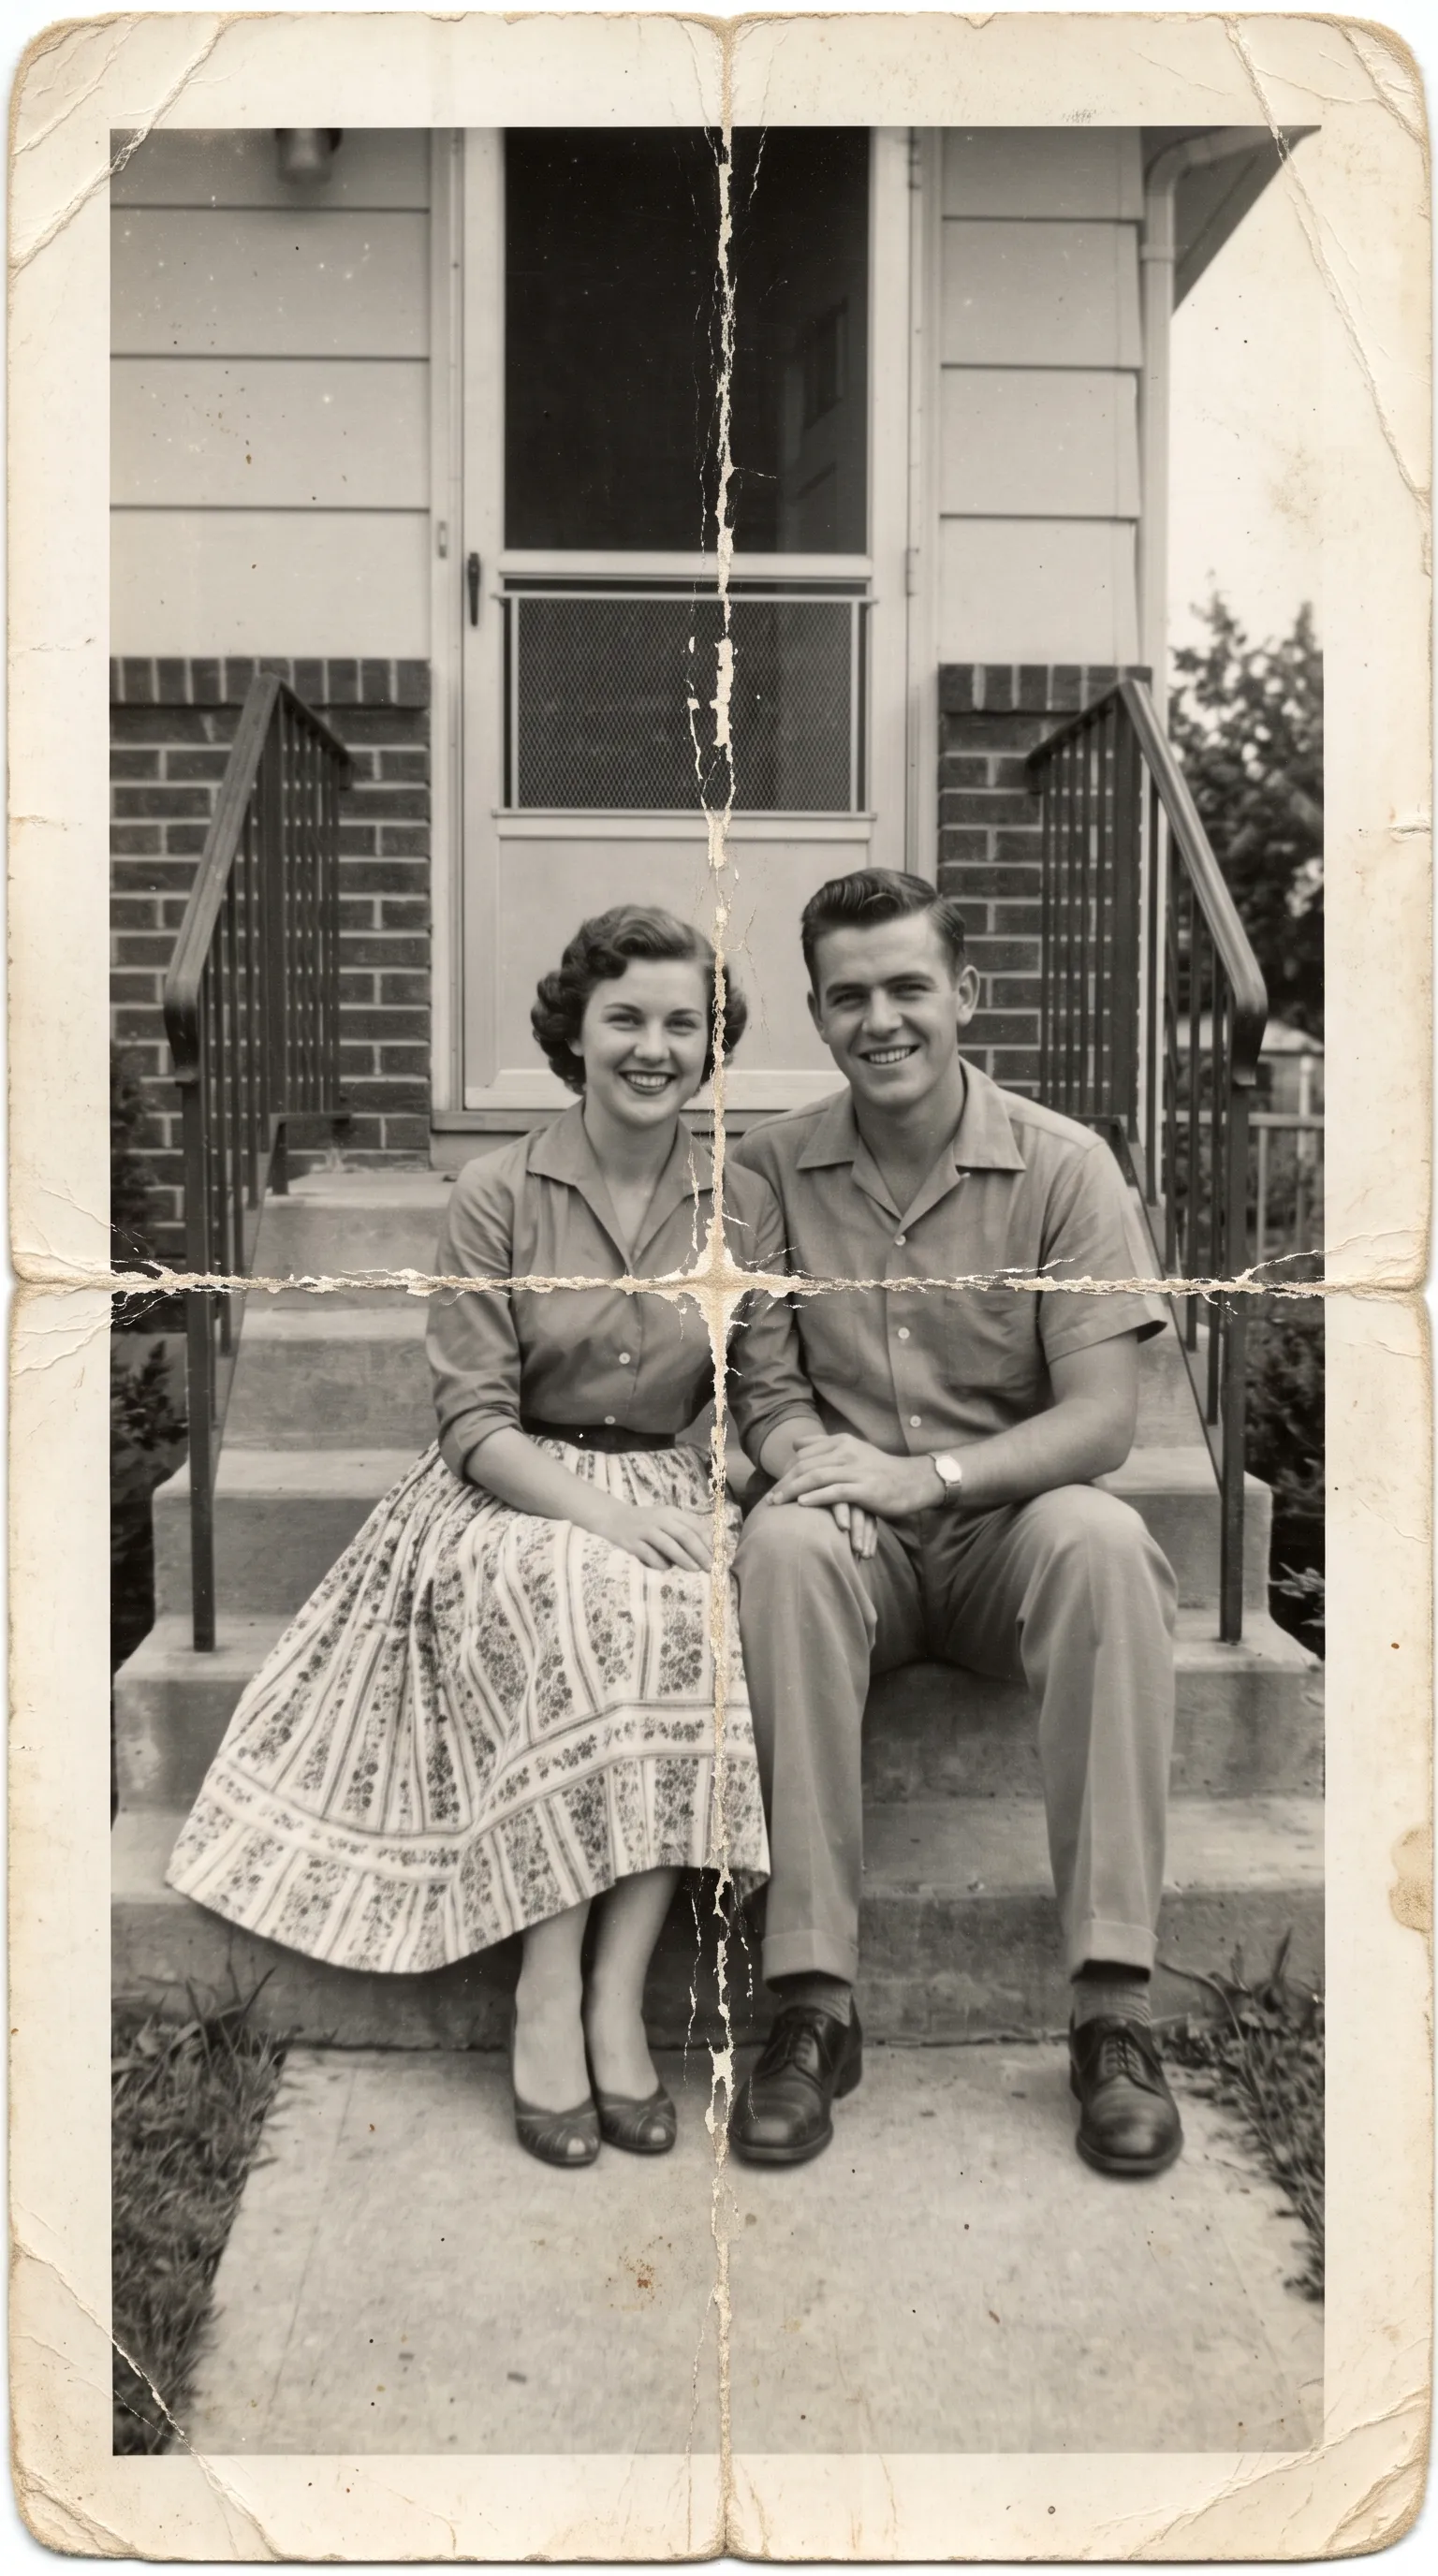
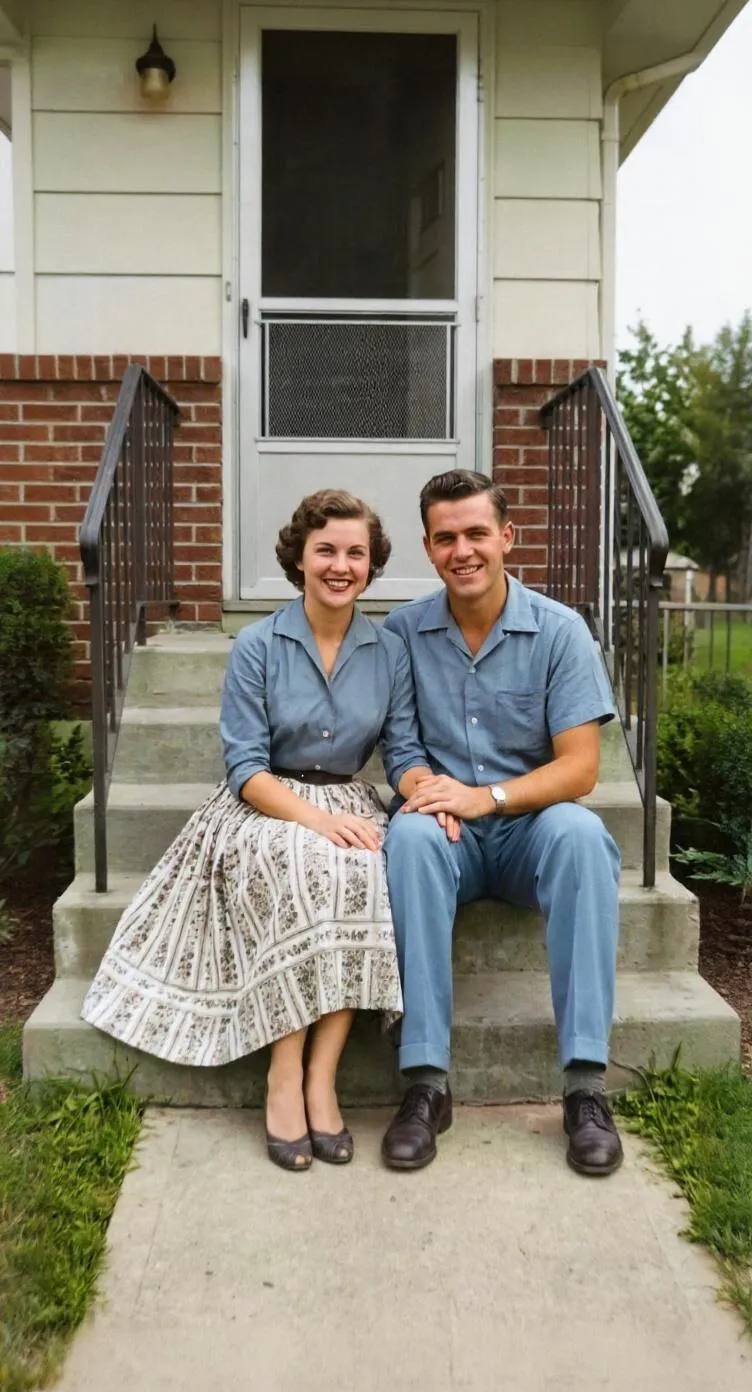
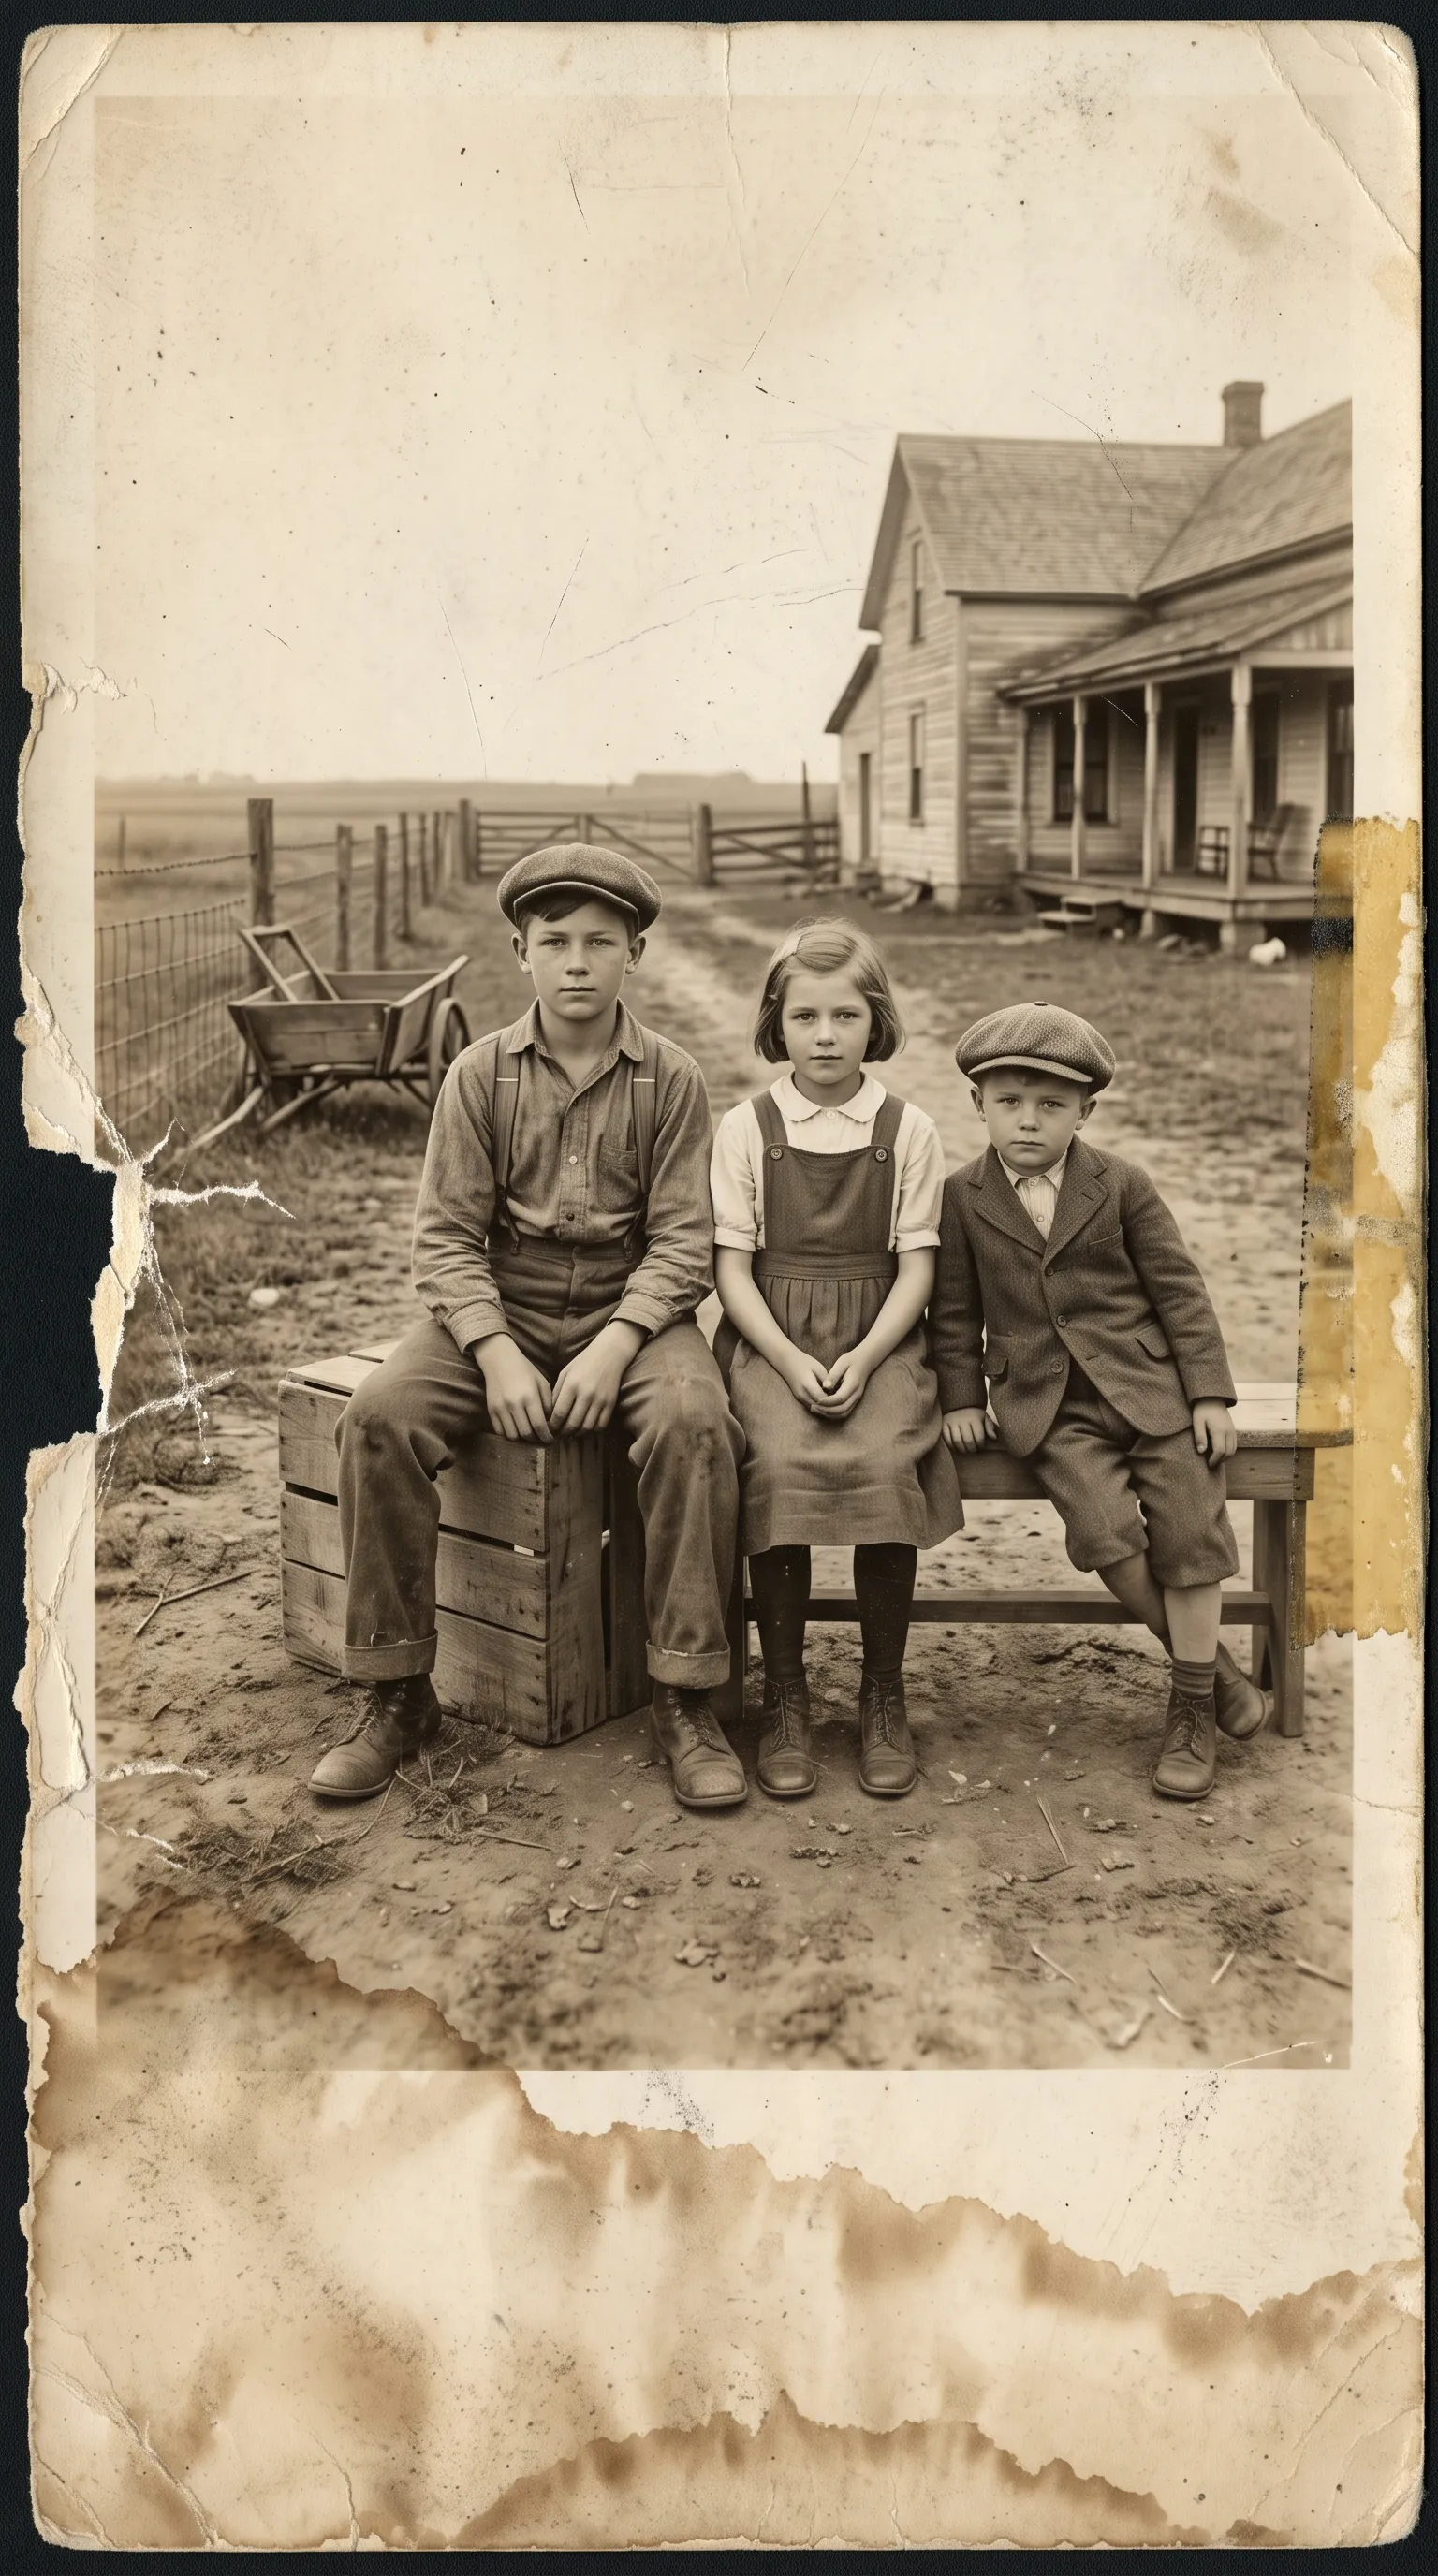
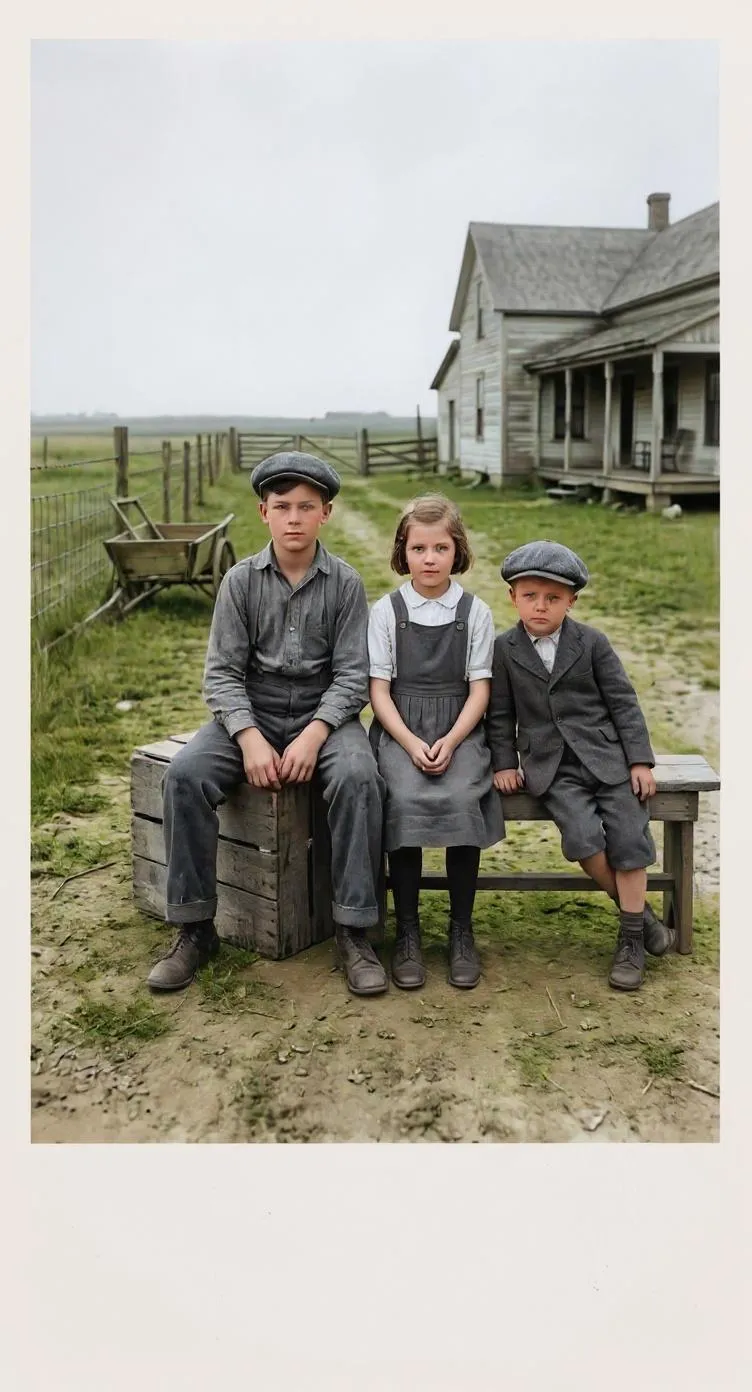
AI repair is very good at surface damage: scratches, dust, creases, stains and small tears. It reads the image around each damaged area and fills it in so the repair blends in.
What it cannot do is recover information that is gone. If a tear has removed most of a face, or water has washed away a whole corner of the picture, there is nothing left for the AI to read. It will still fill the gap, but with an estimate rather than the real detail. That estimate can look convincing, so compare the result with the original using the slider, especially around faces.
The same applies to very faint prints. If you can barely make out the image yourself, the AI is working with very little. In that case, photograph the print as sharply as possible and try restoring the whole photo, which also rebalances fading.
Handle old prints by the edges and keep them away from water, heat and adhesive tape. If a photo is torn, lay the pieces together on a dark, flat surface and photograph them as one image. If a print is stuck to glass, don’t force it apart; photograph it through the glass and avoid reflections. Our guide on scanning old photos with your phone covers light, angle and framing in more detail.
Repair fading, scratches, tears and stains in one tap.
Add realistic color to black-and-white and sepia photos.
Sharpen blurry, low-resolution photos and upscale them.
Turn old portraits into short videos with natural motion.
Recover detail in blurry faces, even in group photos.
Beginner guide
Step-by-step instructions on handling vintage prints, digitizing delicate negatives and using AI tools safely.
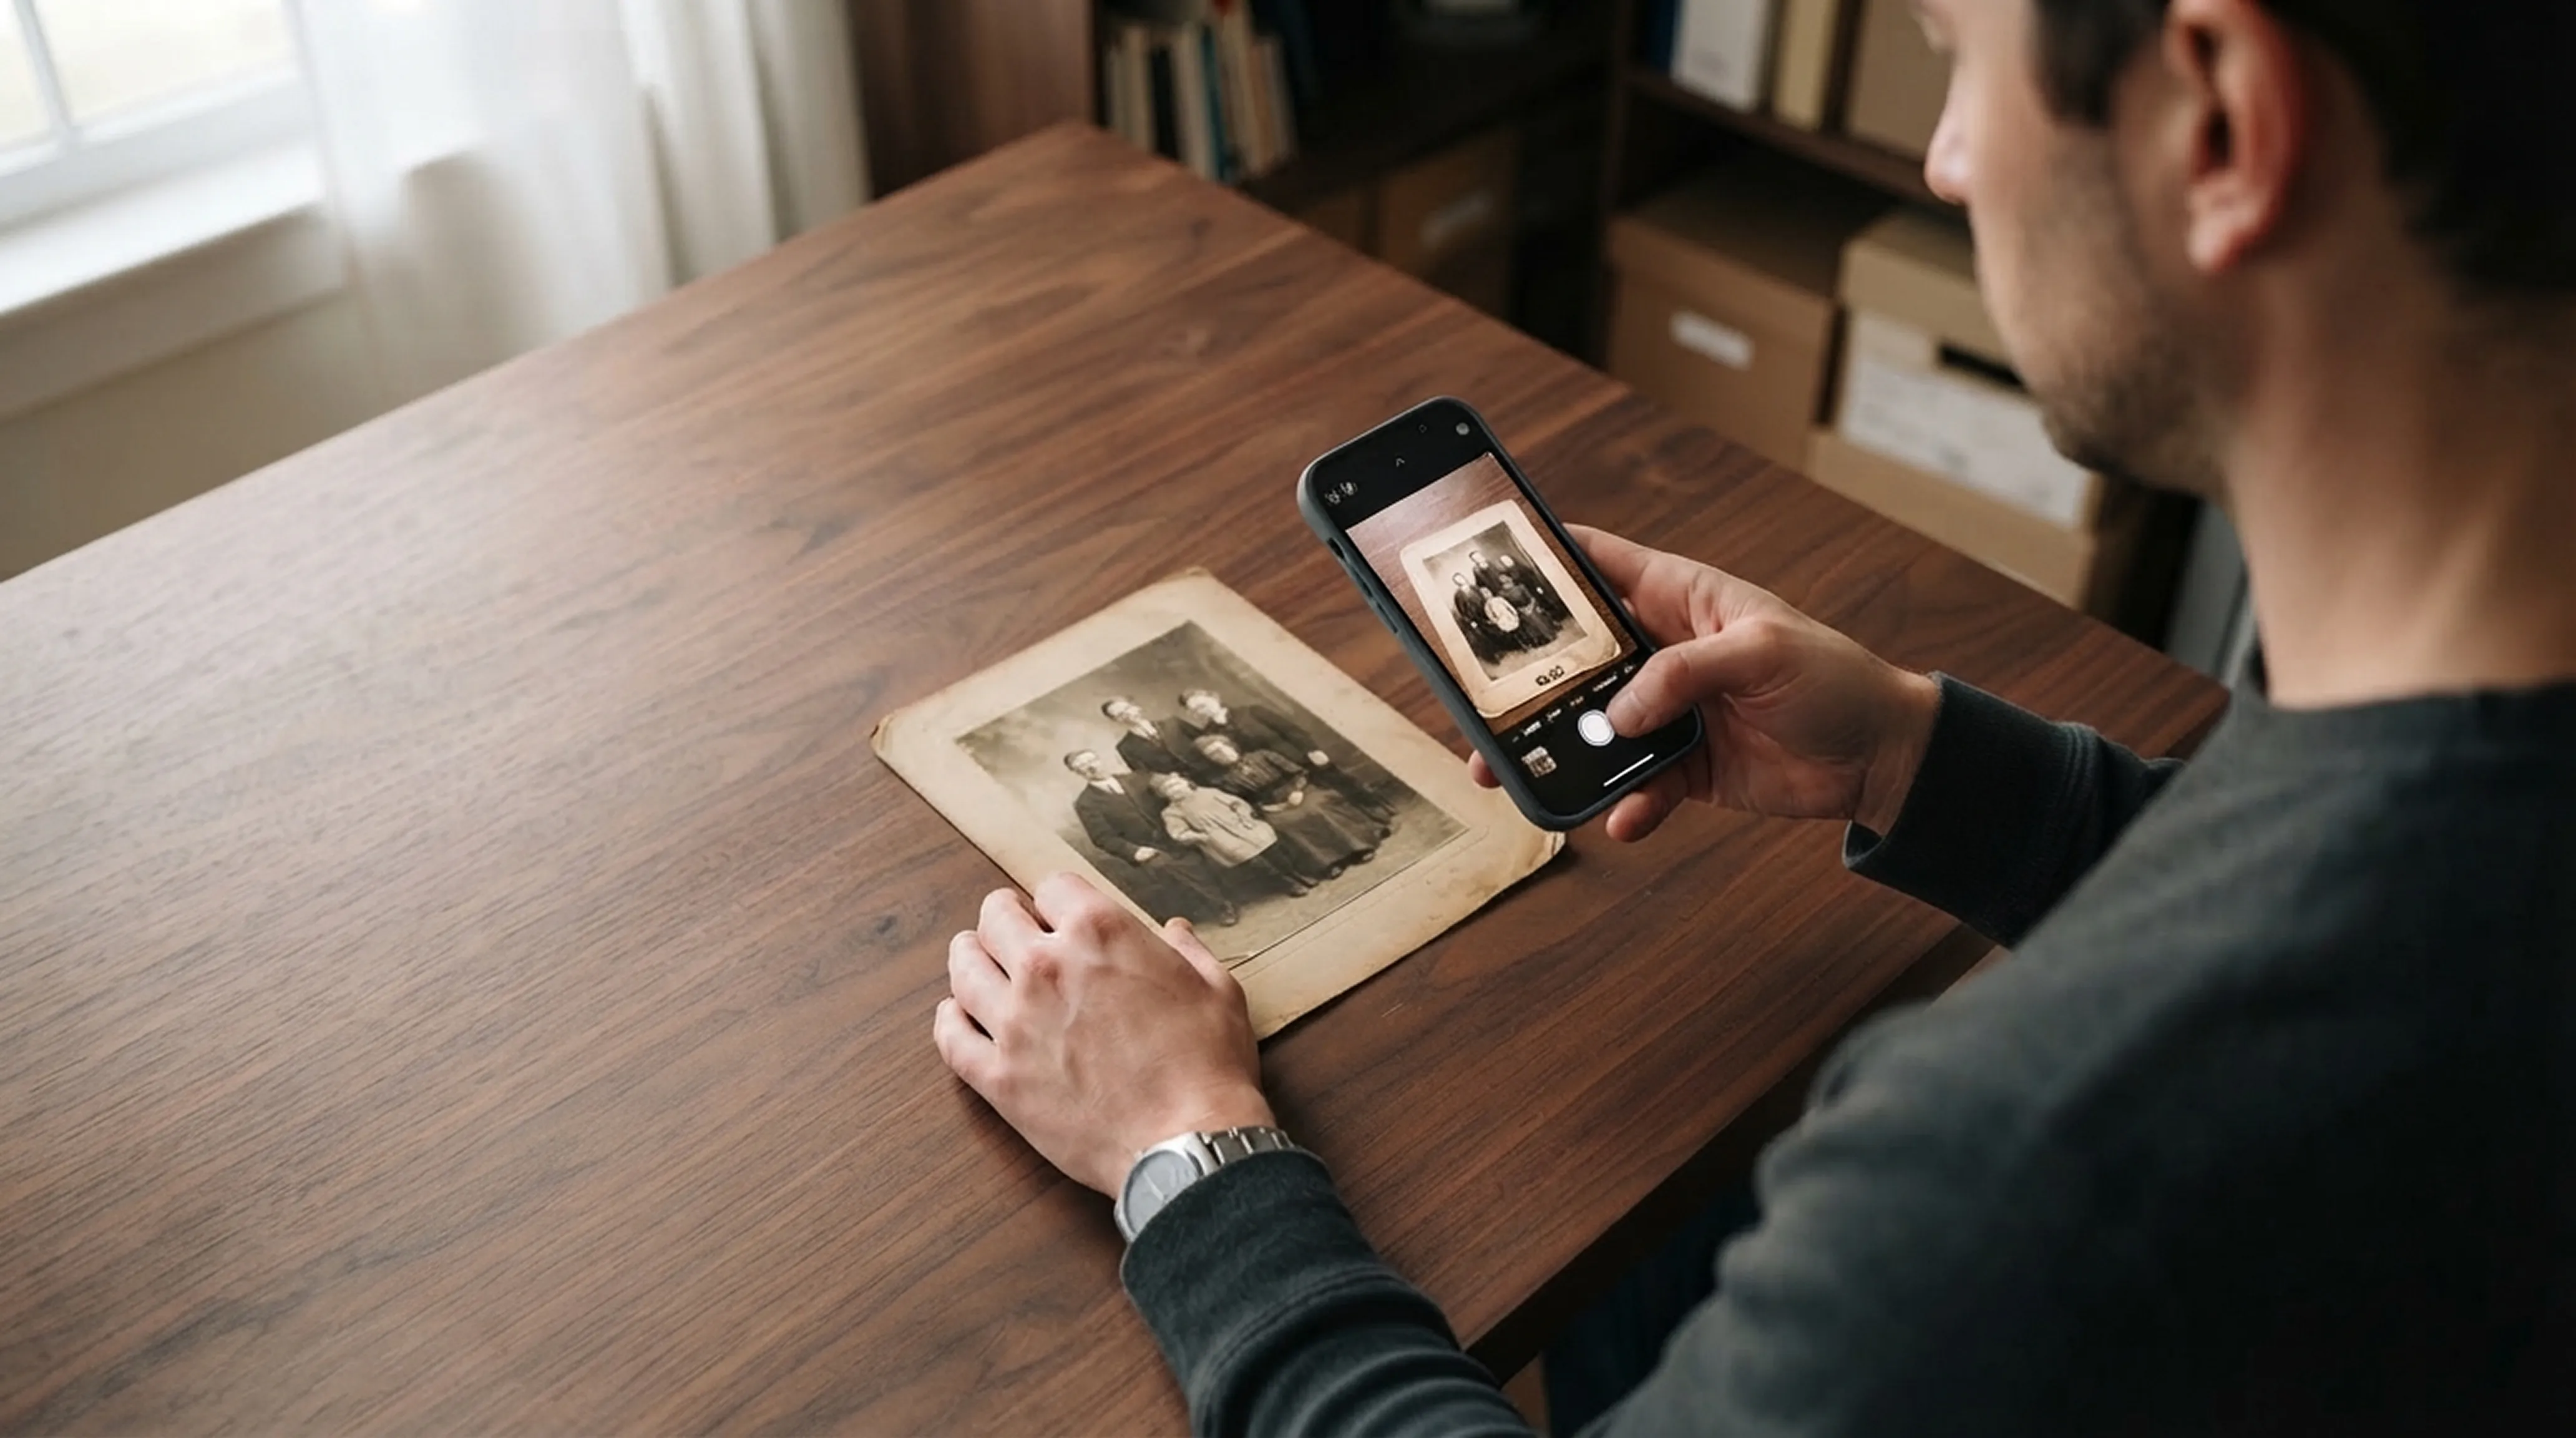
Scanning technique
Lighting tricks, angle secrets and lens cleaning practices for getting flatbed scanner quality from your smartphone.
Common questions about how Retrocap handles this.
Yes. Retrocap's AI fills in torn corners, deep folds and tape marks by rebuilding the missing areas from the surrounding image. Results depend on how much of the original survives.
Often, yes. Water stains, tide marks and discoloration can be cleaned up. If water has washed away part of the image entirely, the AI can only estimate what was there.
Small missing pieces, such as a torn corner or a strip of background, can be rebuilt convincingly. Large missing areas, especially faces, cannot always be recovered, because the information is no longer in the photo.
No. Don't tape, glue or flatten a damaged print with heat before photographing it. Lay it as flat as you can, photograph it and let Retrocap repair the digital copy. Keep the original print safe.
Yes. Retrocap saves the repaired photo as a new copy, so your original photo stays unchanged in your library.
Don’t let precious memories fade inside shoe boxes and dusty albums. Restore, colorize and cherish them today.