
Beginner guide
How to Restore Old Photos: A Complete Beginner’s Guide
By the Retrocap Team · Updated
TL;DR
To restore an old photo, capture a sharp copy of the print in soft daylight, open it in a restoration app such as Retrocap and choose Restore. Pick Standard or Deep and turn on Fix Scratches & Tears, Enhance Faces or Remove Stains to match the damage, then compare the result and save it.
To restore an old photo, you first protect the original print, then make a good digital copy of it, and finally repair the digital copy with an editing tool or an AI app. You never work on the original itself: every repair happens on the scan or phone photo, so the physical print stays safe.
This guide walks you through each step, from handling a fragile print to saving a restored file you can share or print.
If you want to see what AI restoration can do first, our old photo restoration page shows real before-and-after examples.
1. Handle the original print carefully
Old photographs are more fragile than they look. Paper becomes brittle, emulsion can flake and fingerprints leave oils that damage the surface over time.
- Wash and dry your hands, or wear clean nitrile gloves. Hold prints by their edges.
- Never use tape, glue or staples to repair a tear on the original. Adhesives yellow and damage the paper permanently.
- Do not try to flatten a curled print by force. If a photo is rolled or cracked, scan it as it is; the digital copy can be straightened later.
- Remove photos from frames and albums gently. If a print is stuck to glass, leave it and ask a professional conservator for help.
2. Make a good digital copy
The quality of your restoration depends on the quality of your scan. A sharp, evenly lit copy gives any tool more detail to work with.
- Flatbed scanner: Scan prints at 600 DPI or higher. Small prints, such as wallet photos, benefit from 1200 DPI.
- Smartphone: A modern phone camera works well if you avoid glare and shoot straight from above. Our guide on scanning old photos with your phone covers this in detail.
- Negatives and slides: These need a scanner with a transparency adapter or a light box. Handle them by the edges only.
Save a copy of the untouched scan before you change anything. This is your digital original.
3. Identify what needs repair
Look at the photo closely and note the type of damage. Different problems need different fixes.
| Damage | What it looks like |
|---|---|
| Scratches and dust | Thin white or dark lines and specks |
| Tears and folds | Missing pieces, creases, cracked lines across the image |
| Fading | Washed-out contrast, a yellow, red or brown color cast |
| Water damage | Stains, rings, areas where the image has dissolved |
| Blur | Soft faces and details, often from camera shake or a poor focus |
4. Repair the photo with an AI tool
Manual restoration in software such as Photoshop can take hours per photo and requires advanced retouching skills. AI restoration apps now do most of this work automatically.
With Retrocap, the process takes a few taps:
- Open the app and take a photo of your print, or import a scan from your photo library.
- Choose Restore to remove scratches, tears and fading.
- Use Enhance to sharpen blurry faces, or Colorize to add natural color to a black-and-white photo.
- Compare the result with the original using the before-and-after slider.
AI works best when some of the original detail survives. Areas that are completely missing, such as a torn-off corner with part of a face, can be filled in, but the result is the AI’s best estimate rather than the real image.
5. Check the result and save it
Zoom in and compare the restored photo with the original:
- Do faces still look like the person you know?
- Are there any strange textures or invented details?
- Is the color natural for the era of the photo?
If something looks wrong, try again with a better scan or a different tool. When you are happy, save the restored photo in the highest quality available and keep the original scan alongside it.
6. Store and share your restored photos
- Back up both versions, the original scan and the restored photo, in at least two places, such as cloud storage and an external drive.
- Name files clearly, for example
1952-grandma-wedding-restored.jpg, so family members can find them years from now. - Store the physical prints in acid-free sleeves or boxes, away from sunlight, heat and humidity.
Frequently asked questions
Can I restore a photo without damaging the original? Yes. All repairs happen on the digital copy. The original print is only handled while you scan it.
What is the best resolution for scanning old photos? 600 DPI is a good standard for most prints. Use 1200 DPI for small prints you want to enlarge.
Can AI restore any old photo? AI can repair most scratches, tears, fading and blur. Heavily damaged areas with no surviving detail can only be estimated, so the result may not match the original exactly.
Frequently asked questions
Can I restore old photos on my phone?
Yes. Photograph the print with your phone camera in soft, even light and restore it in Retrocap on iPhone (iOS 16.4 or later) or Android (7.0 or later).
What is the difference between Standard and Deep restoration?
Standard works well for light scratches, dust and fading. Deep is designed for heavily damaged prints with many creases, tears or stains.
Can every old photo be restored?
Most damage, such as scratches, creases, stains and fading, can be repaired well. Areas that are completely missing, such as a torn-away face, can only be estimated.
Related guides
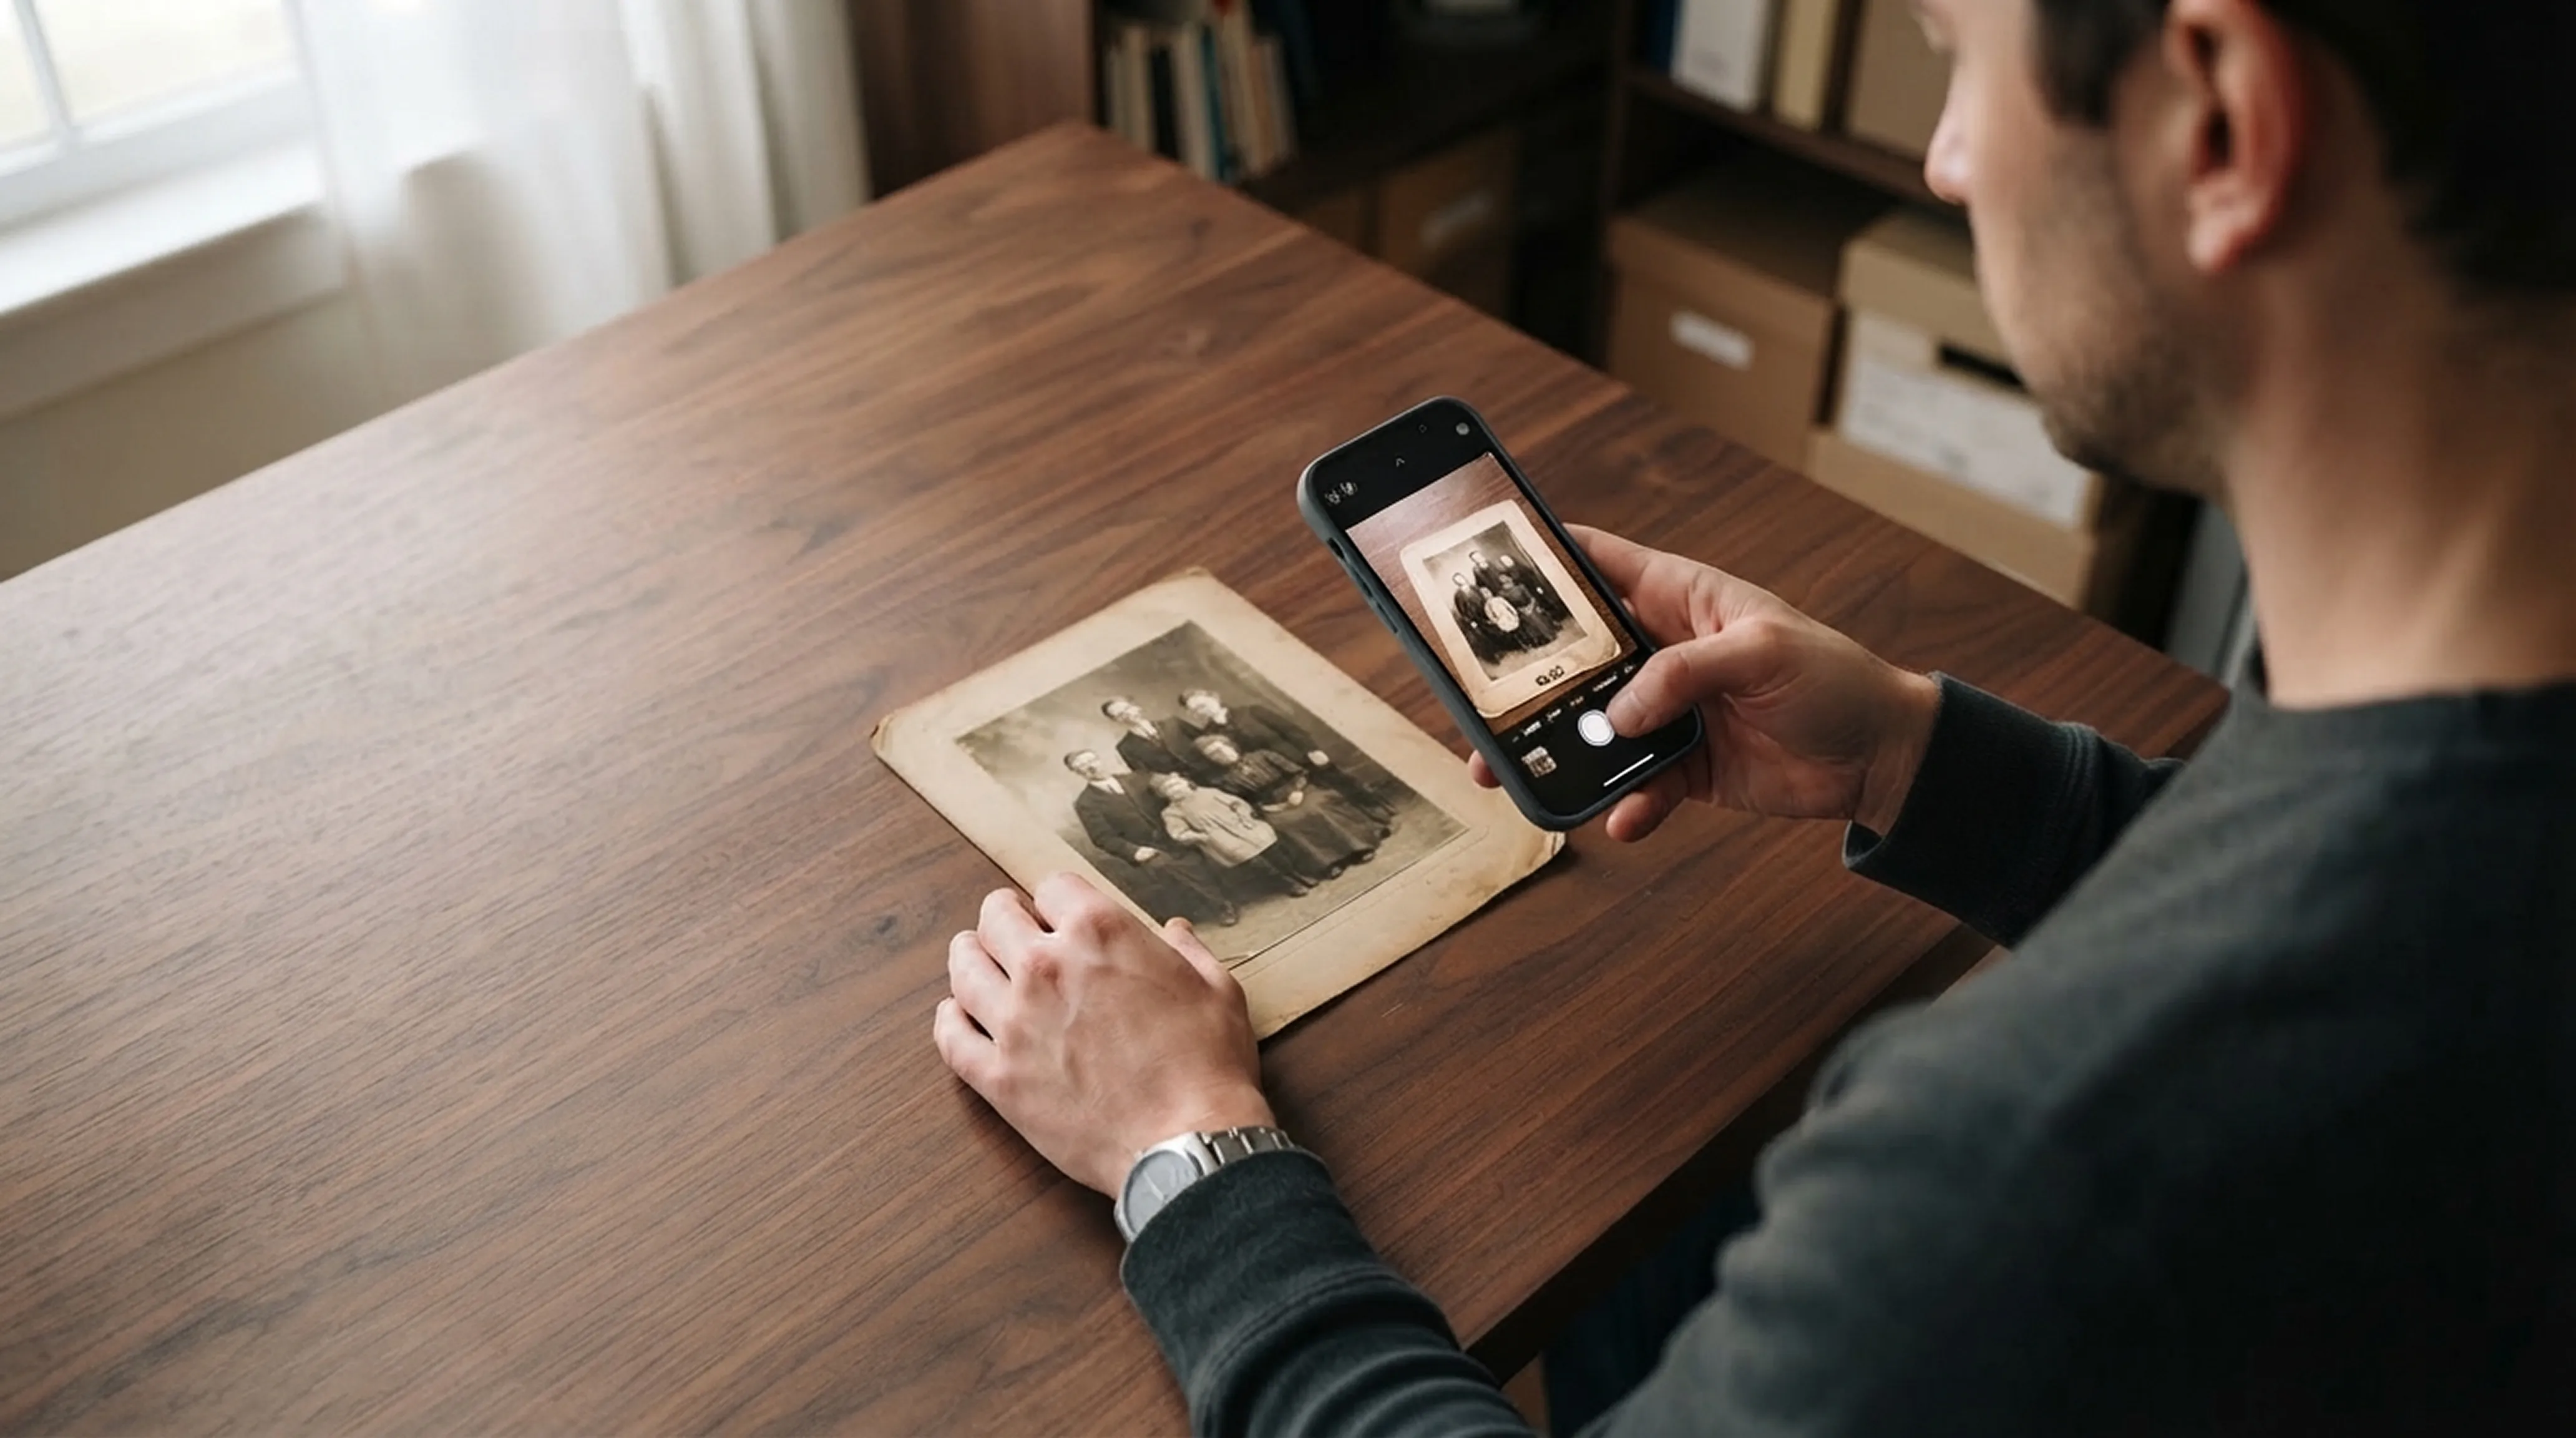
Scanning technique
How to Scan Old Photos with Your Phone Without Glare
Lighting tricks, angle secrets and lens cleaning practices for getting flatbed scanner quality from your smartphone.
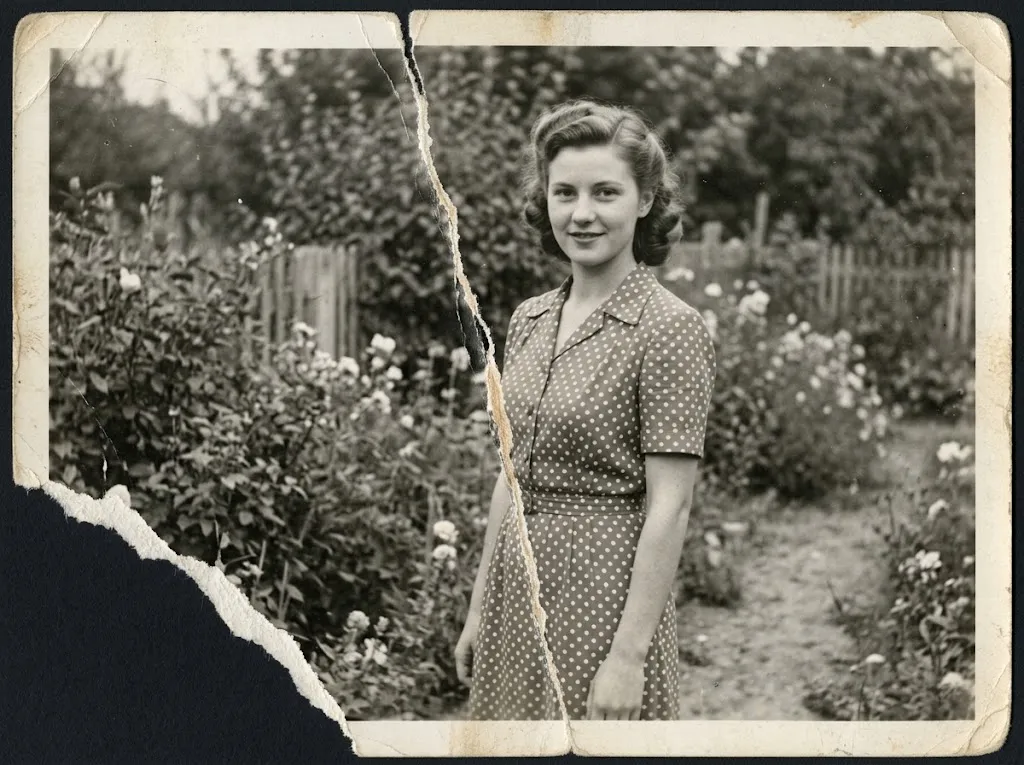 Before
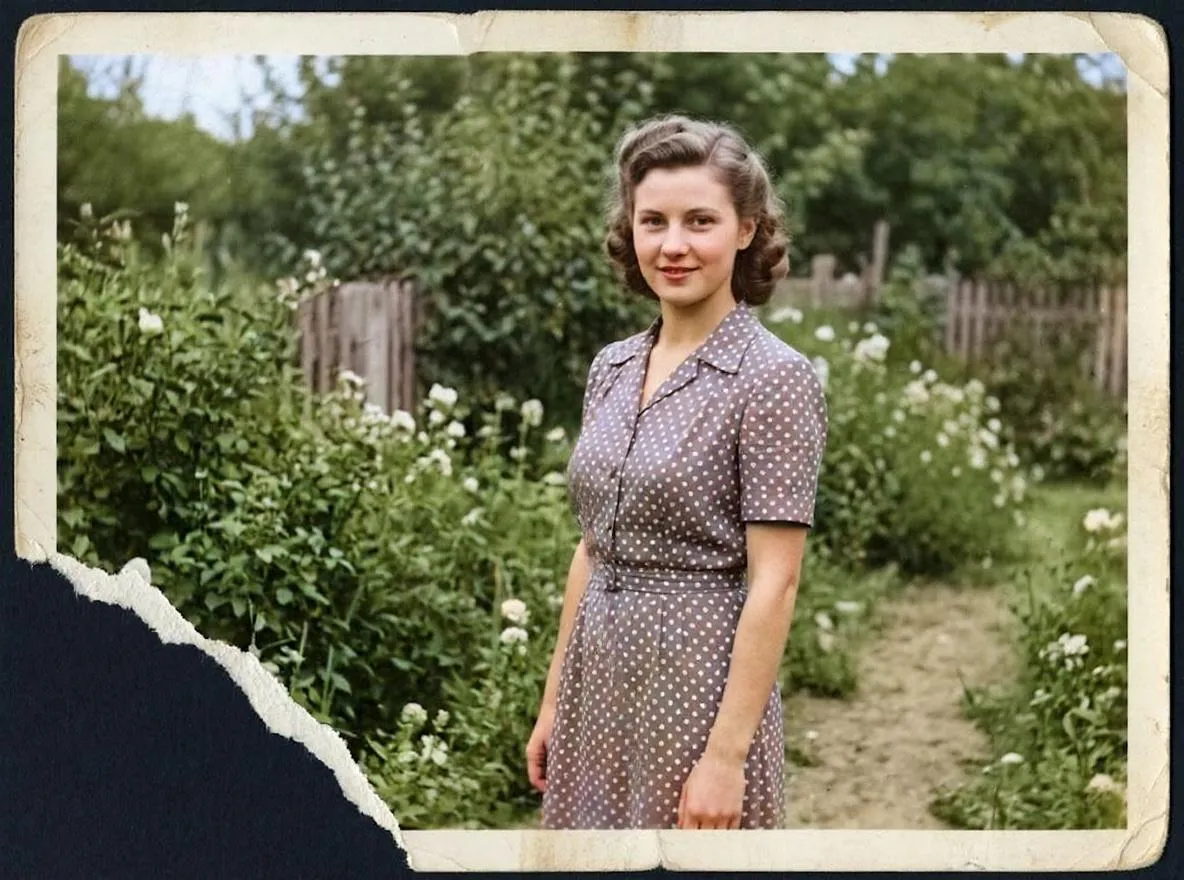 After
AfterRepair
How to Fix a Torn Photo Without Damaging It
Fix a torn photo safely: handle the pieces, photograph them as one image and repair the tear with AI, plus what to do when part of the photo is missing.
 Before
 After
AfterBasics
What Is AI Photo Restoration? How It Works
How AI repairs scratches, tears, fading and blur in old photos, what it can and can't fix, and how it compares to manual retouching in Photoshop.