
Repair
How to Fix a Torn Photo Without Damaging It
By the Retrocap Team · Updated
TL;DR
To fix a torn photo, don't tape or glue it. Lay the pieces together on a dark surface, photograph them as one image in soft light, then open the photo in Retrocap's Restore tool with Fix Scratches & Tears turned on. Use Deep restoration for large tears and compare the result closely.
A torn photo feels like a loss, but in most cases the damage can be repaired digitally without touching the original again. The key is to handle the pieces carefully, capture them as one image and let AI fill in the tear. This guide shows how to do that with Retrocap’s scratch and tear repair, and what to expect when part of the photo is missing.
First: don’t make the damage worse
Before any digital repair, protect the original.
- Don’t use tape or glue. Household tape yellows, its adhesive seeps into the print and removing it later can tear the surface.
- Don’t try to flatten curled pieces with heat such as an iron or hair dryer.
- Handle pieces by the edges with clean, dry hands.
- Keep all pieces together, including small fragments. Even a tiny piece adds detail the AI doesn’t have to guess.
Once you have a good digital copy, store the pieces together in a paper or acid-free envelope, away from light and humidity.
Step 1: Reassemble the pieces
- Choose a dark, flat, matte surface, such as black card or a dark tablecloth. A dark background makes the tear lines easier for the AI to identify.
- Lay the pieces face up and slide them gently together until the edges meet.
- If pieces won’t lie flat, place them under a sheet of clean glass for a moment while you photograph them, as long as you can avoid reflections. Otherwise, photograph them as flat as possible.
Small gaps between pieces are fine. The AI will fill them in.
Step 2: Photograph the photo as one image
- Use soft, even daylight and turn off the flash.
- Hold your phone directly above the print, parallel to it.
- Fill the frame with the reassembled photo.
- Take several shots and keep the sharpest.
If the pieces have curled, light from one side can cast small shadows along the tear. Try turning the print or moving to a spot with more even light. Our guide to scanning old photos with your phone has more tips.
Step 3: Repair the tear in Retrocap
- Open Retrocap and choose your photo.
- Crop away the background so only the photo remains.
- Open Restore and turn on Fix Scratches & Tears.
- Choose Standard for a single clean tear, or Deep for long tears, several pieces or extra damage such as creases and stains.
- If a tear runs across a face, also turn on Enhance Faces.
- If the photo has water marks or tape residue, turn on Remove Stains.
Step 4: Check every repaired area
Drag the before-and-after slider and zoom in along the tear:
- Does the repaired area match the texture around it?
- Do lines in the image, such as a door frame or a shoulder, continue naturally across the tear?
- If the tear crosses a face, does the person still look like themselves?
If a repair looks smudged, try Deep restoration or a sharper copy of the photo.
What if part of the photo is missing?
This is where honest expectations matter. AI repairs tears by reading the image around them. When a piece is gone, it fills the gap with an estimate.
| Missing area | Typical result |
|---|---|
| Narrow gap between pieces | Seamless repair |
| Torn-off corner with plain background | Convincing rebuild |
| Missing strip through clothing or furniture | Usually convincing, details may differ |
| Missing part of a face | Estimated; may not look like the real person |
| Missing person or large section | Cannot be recovered |
If a face is partly missing, compare the result carefully and consider asking someone who knew the person whether it looks right. For important photos, you may want to keep both versions: the honest original and the repaired copy.
After the repair
Once the tear is fixed, you can colorize a black-and-white photo, enhance it for printing or animate a portrait. Always repair first, so the tear doesn’t confuse the next step.
Summary
To fix a torn photo, protect the original, reassemble the pieces on a dark surface, photograph them as one image and run Retrocap’s Restore tool with Fix Scratches & Tears. Use Deep restoration for heavy damage and check every repaired area. Small gaps and torn corners repair well; missing faces can only be estimated.
Frequently asked questions
Should I tape a torn photo back together?
No. Ordinary tape yellows, leaves residue and can pull off the photo's surface over time. Repair the photo digitally and store the original pieces together in an acid-free envelope.
Can a torn photo be fixed if a piece is missing?
Small missing pieces, such as a corner or a strip of background, can be rebuilt convincingly by AI. Large missing areas, especially faces, can only be estimated, so the result may not match what was there.
How do I photograph a photo that is torn into several pieces?
Lay the pieces on a dark, flat surface, push them gently together so the edges meet, and photograph them from directly above in soft light. Repair the gaps digitally.
Which Retrocap setting is best for torn photos?
Use Restore with Fix Scratches & Tears turned on. Choose Deep restoration for long tears or several pieces, and turn on Enhance Faces if a tear crosses someone's face.
Related guides
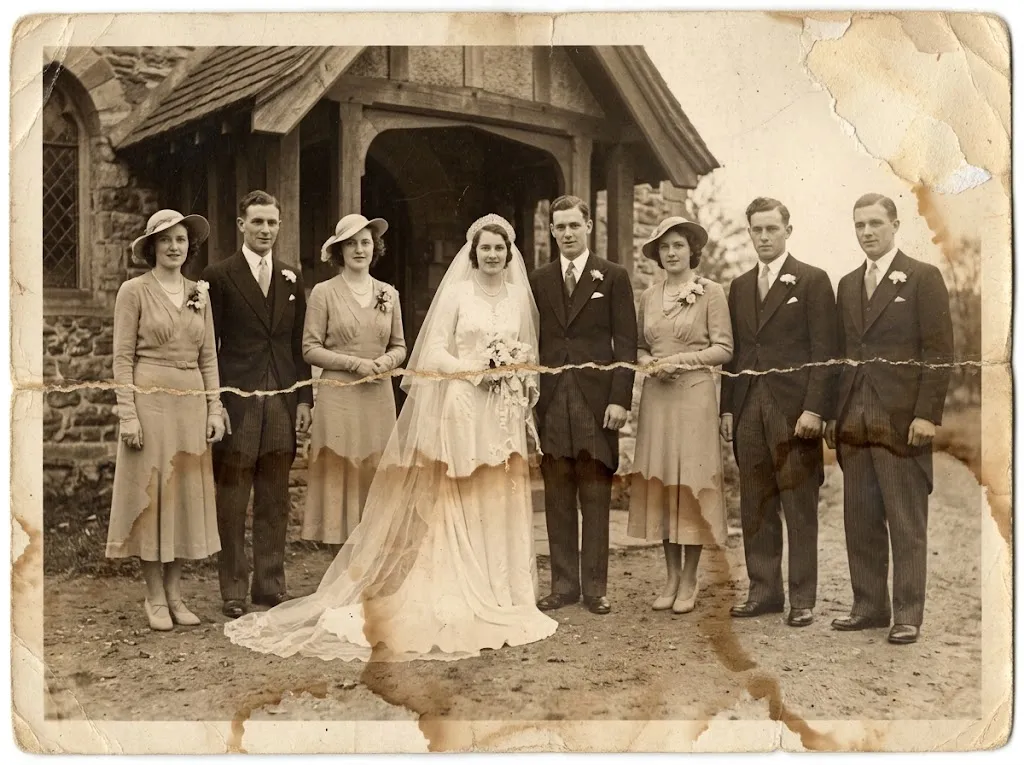 Before
 After
AfterRepair
How to Restore Water-Damaged Photos
What to do with wet or water-damaged photos: dry them safely, photograph the damage and remove water stains and marks with AI restoration.
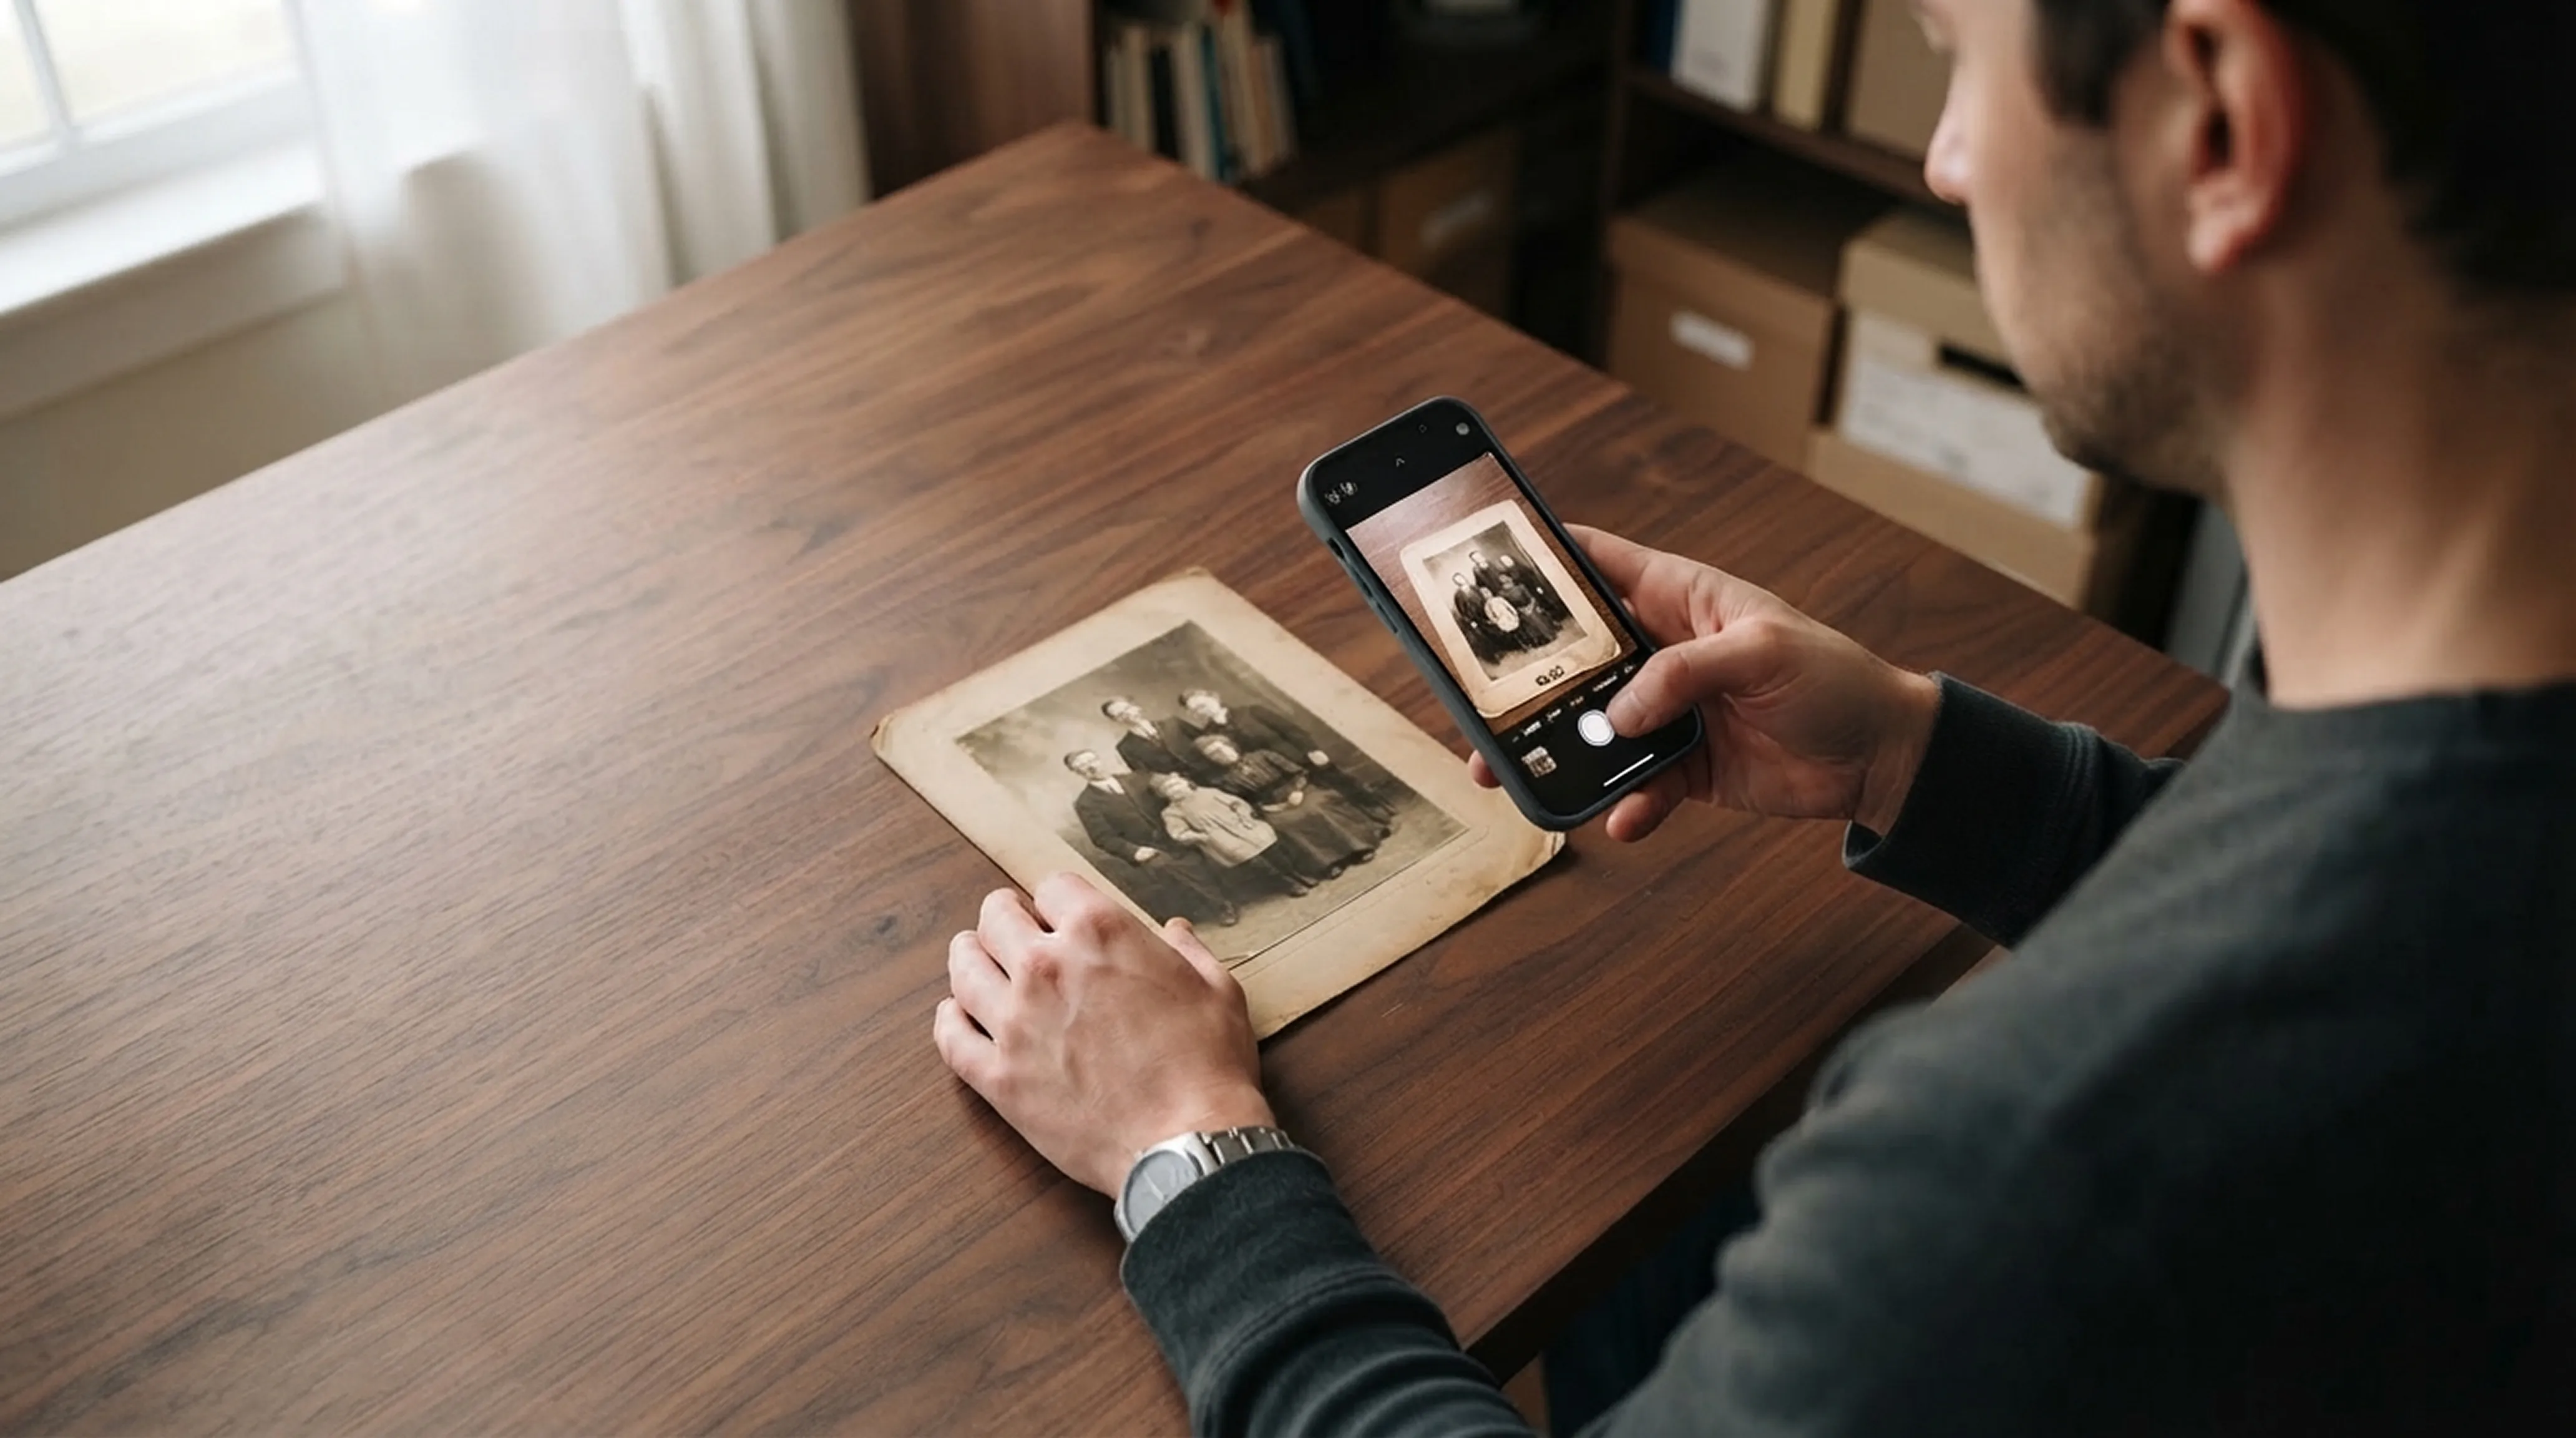
Scanning technique
How to Scan Old Photos with Your Phone Without Glare
Lighting tricks, angle secrets and lens cleaning practices for getting flatbed scanner quality from your smartphone.
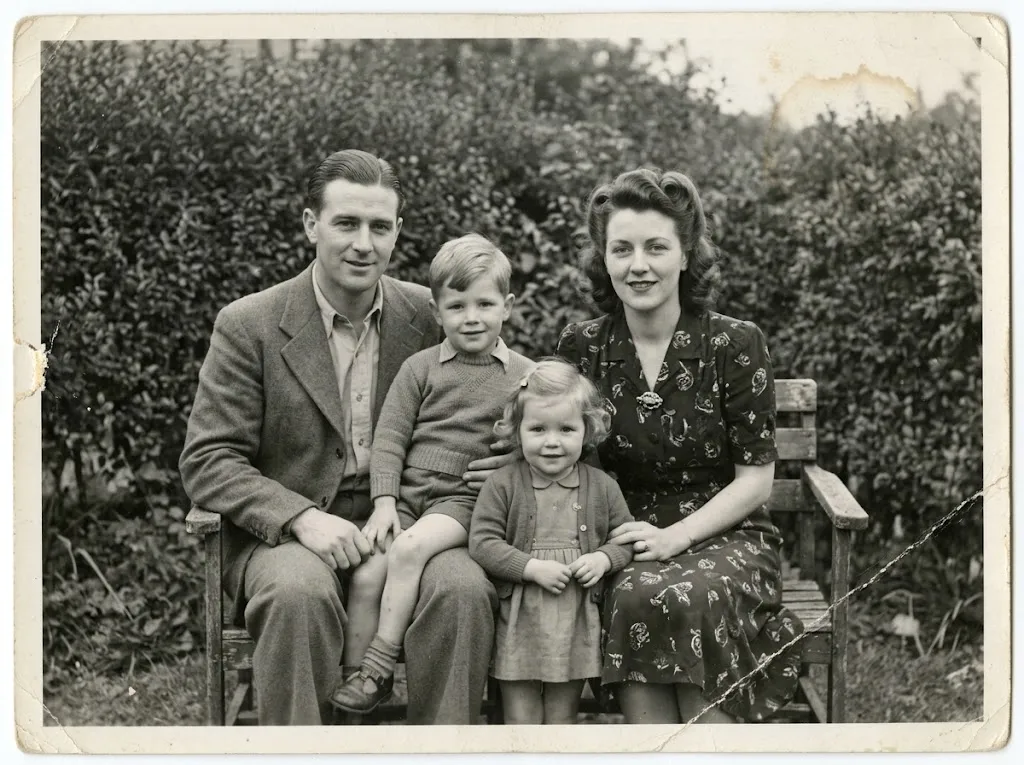 Before
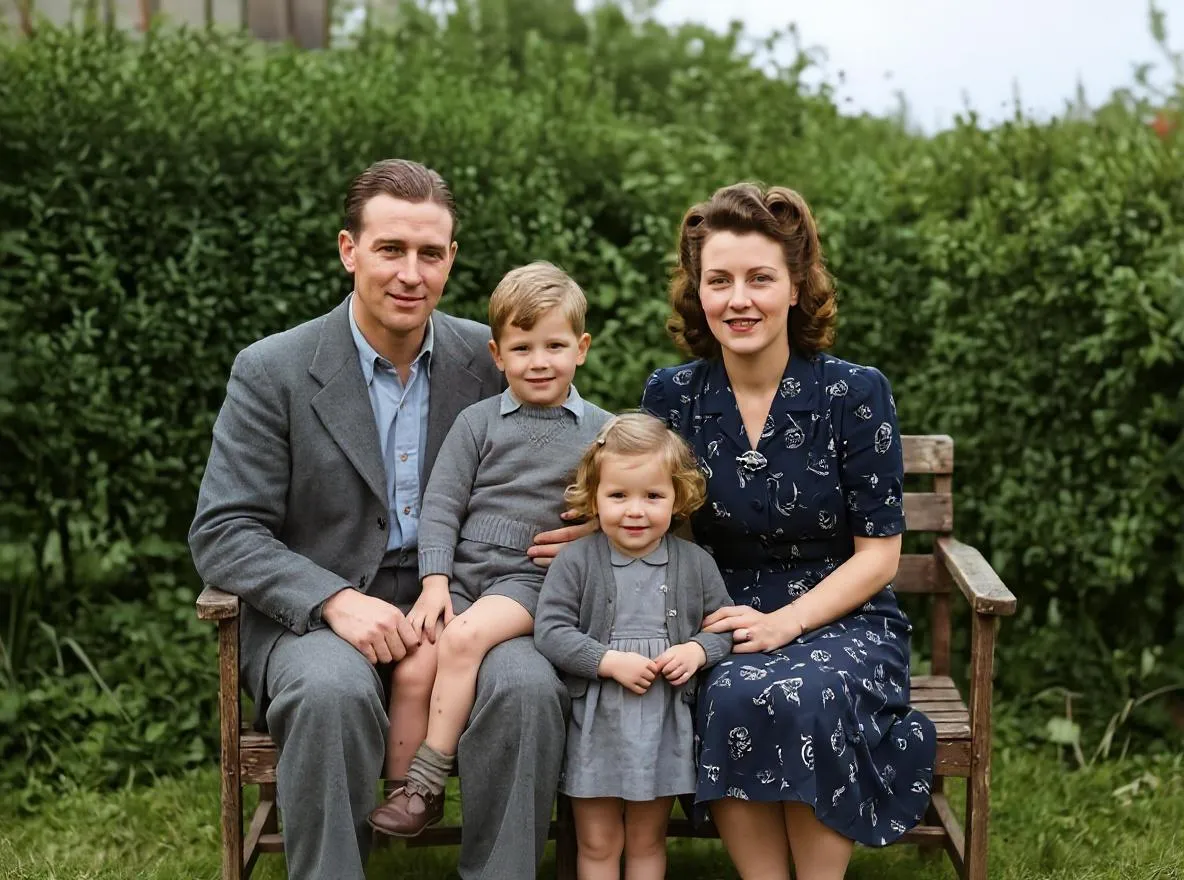 After
AfterBasics
What Is AI Photo Restoration? How It Works
How AI repairs scratches, tears, fading and blur in old photos, what it can and can't fix, and how it compares to manual retouching in Photoshop.