
Basics
What Is AI Photo Restoration? How It Works
By the Retrocap Team · Updated
TL;DR
AI photo restoration uses machine learning models trained on millions of images to repair old photos automatically. It removes scratches, fills small tears, rebalances faded color and sharpens faces in seconds. It works best on surface damage and cannot recover detail that is completely missing from the original.
AI photo restoration is the process of repairing old, damaged photos with machine learning models instead of manual retouching. You give the software a scan or a phone photo of a print, and it removes scratches, fills small tears, corrects faded color and sharpens blurry faces, usually in seconds. Apps such as Retrocap bring this to your phone, so you can restore a photo without a computer or any editing skills.
This guide explains how the technology works, what kinds of damage it can fix, where its limits are and how to get the best results from it.
How AI photo restoration works
Traditional retouching is manual. A retoucher looks at a scratch, samples the clean area next to it and paints over the damage pixel by pixel. It works, but a single heavily damaged photo can take hours.
AI restoration automates that judgement. The models behind it are trained on very large collections of images, including pairs of damaged and clean photos. From those examples they learn patterns such as:
- what a scratch, a crease or a dust spot looks like compared with real detail,
- how skin, hair, fabric, sky and stone usually look,
- how faded or color-shifted prints differ from their original tones.
When you restore a photo, the model looks at each damaged area in context. A white line crossing a sleeve is recognized as a scratch, not part of the fabric, and is filled in with texture that matches the rest of the sleeve. A face that has gone soft is rebuilt with clearer eyes, hairline and skin texture based on what is visible around it.
Most modern restoration apps, Retrocap included, run these models on cloud servers rather than on the phone itself. That is why they need an internet connection: the photo is uploaded, processed by the model and sent back as a new image.
What AI photo restoration can fix
AI restoration is strongest on damage that sits on top of an image that is still mostly intact. Typical examples:
| Damage | How well AI handles it |
|---|---|
| Scratches and dust | Very well. Fine lines and specks are removed cleanly. |
| Creases and folds | Very well. The fold line is filled in from both sides. |
| Fading and color casts | Well. Contrast and tones are rebalanced toward natural color. |
| Small tears and missing corners | Well, if the missing area is small and surrounded by detail. |
| Stains and water marks | Well to moderately, depending on how much image is left under the stain. |
| Blur and low resolution | Moderately to well. Soft focus improves a lot; heavy motion blur less so. |
| Large missing areas, especially faces | Poorly. The AI can only estimate what was there. |
In Retrocap, these repairs are grouped in the Restore tool. You choose a Standard or Deep restoration level and can turn on options such as Fix Scratches & Tears, Enhance Faces and Remove Stains. Separate tools handle colorization, enhancement and upscaling and animation.
What AI photo restoration can’t fix
The most important limit is simple: AI cannot recover information that is no longer in the photo.
If a tear has removed half of someone’s face, or water has washed away the corner of a group photo, there is nothing left for the model to read. It will still fill the gap, and the result may look convincing, but it is an estimate of what might have been there, not a recovery of what was.
Other limits worth knowing:
- Very small faces in large group photos have few pixels to work with. They improve, but fine detail is partly invented.
- Heavy motion blur where the subject is a smear cannot be fully reversed.
- Colorization is an interpretation. Black-and-white photos never recorded color, so AI predicts plausible colors rather than restoring the real ones.
None of this makes AI restoration less useful. It means you should treat the result as a cleaned-up, more readable version of the original, and keep the original as the historical record.
AI restoration vs manual retouching
| AI restoration app | Manual Photoshop retouching | Professional restoration service | |
|---|---|---|---|
| Time per photo | Usually under a minute | 2 to 6 hours | Days to weeks |
| Skill needed | None | Advanced | None, you send the print |
| Control over details | Limited to presets and options | Full | Full, through the restorer |
| Best for | Everyday family photos | Complex, high-value images | Museum-grade work, large prints |
For most people restoring family albums, AI is the practical choice: it is fast, inexpensive and good enough for sharing, framing and printing at common sizes. If you are restoring a single irreplaceable photo for a large print or an exhibition, a professional restorer is still worth considering. Our guide to restoring old photos without Photoshop compares the options in more detail.
How to get the best results
The quality of the input matters more than anything else. A few habits make a big difference:
- Capture the sharpest copy you can. Photograph the print in soft, even daylight, hold your phone parallel to it and fill the frame. Our guide to scanning old photos with your phone covers this step by step.
- Avoid glare. Reflections on glossy prints look like damage to the AI. Take the photo out of glass frames and plastic sleeves first.
- Restore before you colorize or animate. Scratches and stains can confuse colorization and move strangely in animations.
- Use the stronger setting only when needed. Start with a standard restoration; switch to a deeper one for heavily damaged prints.
- Compare with the original. Use a before-and-after slider and zoom in on faces before you share or print.
Is AI photo restoration safe for my photos?
Because most restoration apps process photos in the cloud, it is worth checking what happens to them. In Retrocap, photos are sent securely to an AI processing partner, used only to create your results and never sold, and you can delete your photos and data from the app at any time. Whatever app you use, read its privacy policy before uploading personal family photos.
The bottom line
AI photo restoration turns hours of manual retouching into a few taps. It is excellent at removing scratches, creases, stains and fading, and good at sharpening faces and filling small gaps. It cannot bring back what is truly gone, so keep your originals and compare every result. For most family photos, that combination of speed and quality makes it the easiest way to give old pictures a second life.
Frequently asked questions
Is AI photo restoration accurate?
For surface damage such as scratches, dust, creases and fading, AI restoration is very accurate because the information is still in the photo. When large areas are missing, the AI has to estimate what was there, so always compare the result with the original.
Does AI photo restoration change faces?
Good restoration tools are designed to keep a person's real features. When a face is very small or heavily damaged, the AI fills in more detail, so the result can drift slightly. Check faces closely with a before-and-after slider.
Is AI restoration better than Photoshop?
AI restoration is much faster and needs no skills, which makes it the better choice for most family photos. A skilled retoucher in Photoshop still has more control for museum-grade work or very large prints.
Do I need a scanner for AI photo restoration?
No. A clear photo of the print taken with a modern phone camera in soft, even light is enough for most restorations.
Related guides
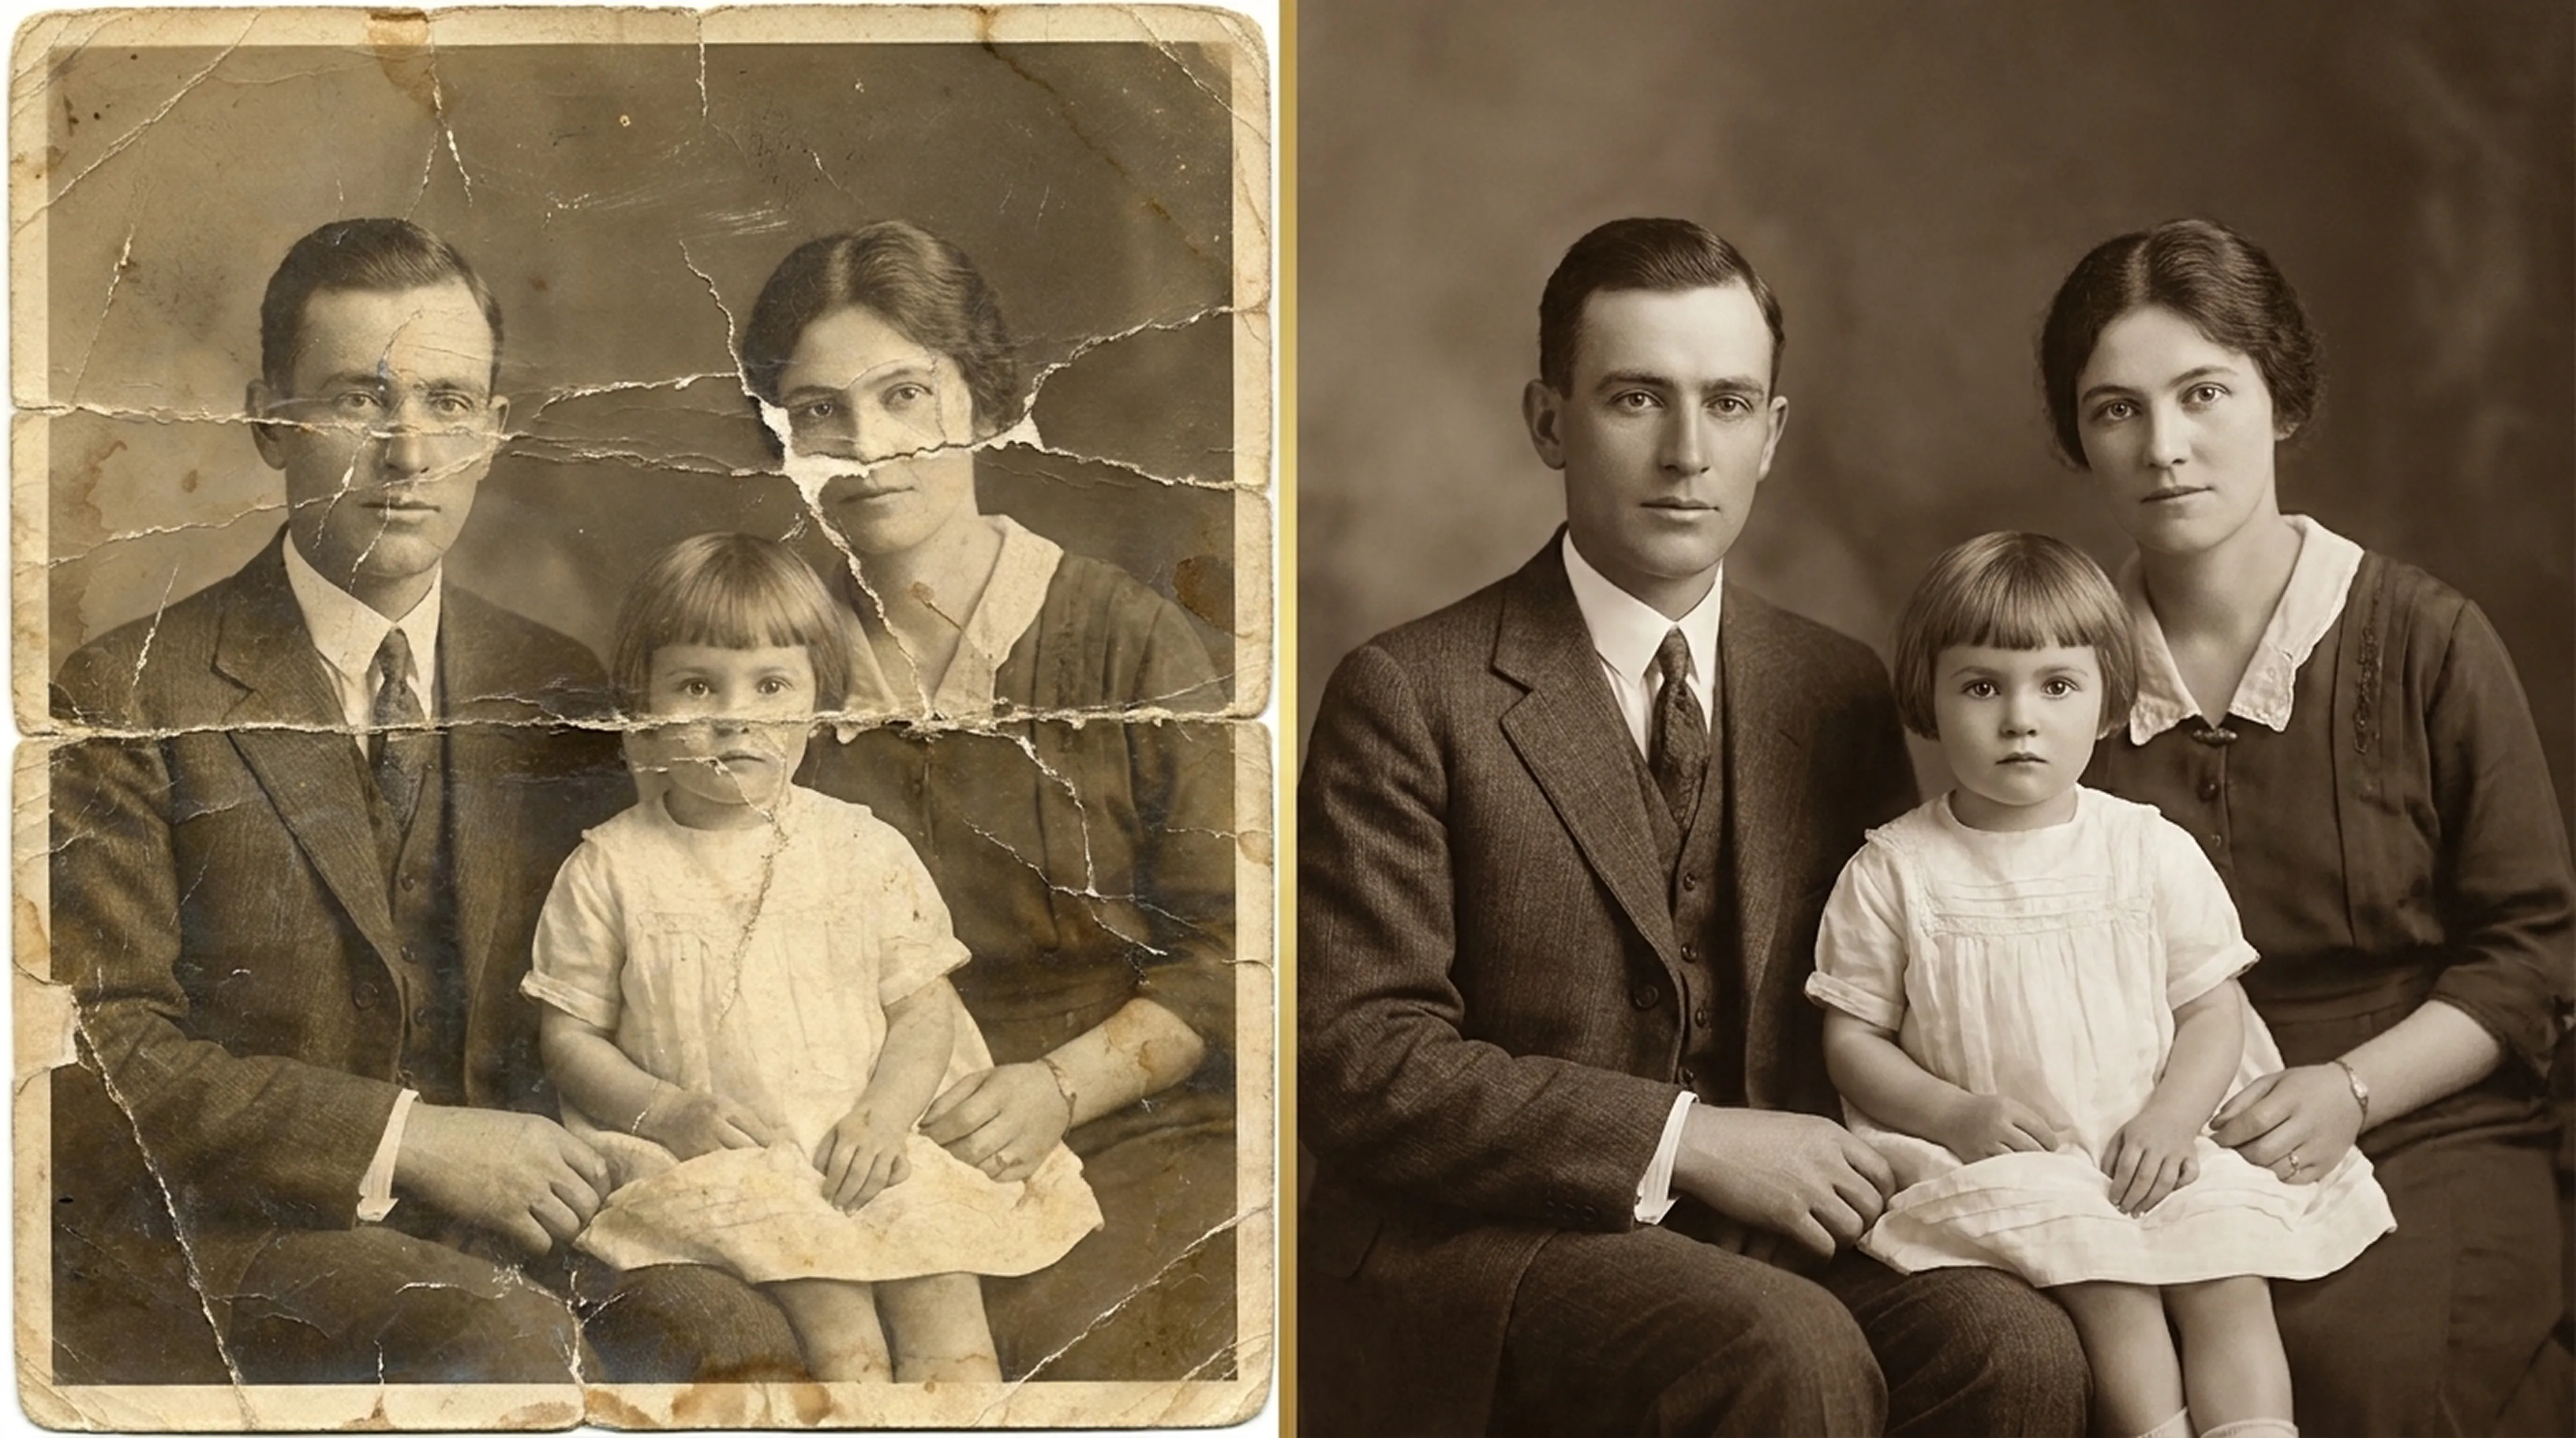
Beginner guide
How to Restore Old Photos: A Complete Beginner’s Guide
Step-by-step instructions on handling vintage prints, digitizing delicate negatives and using AI tools safely.
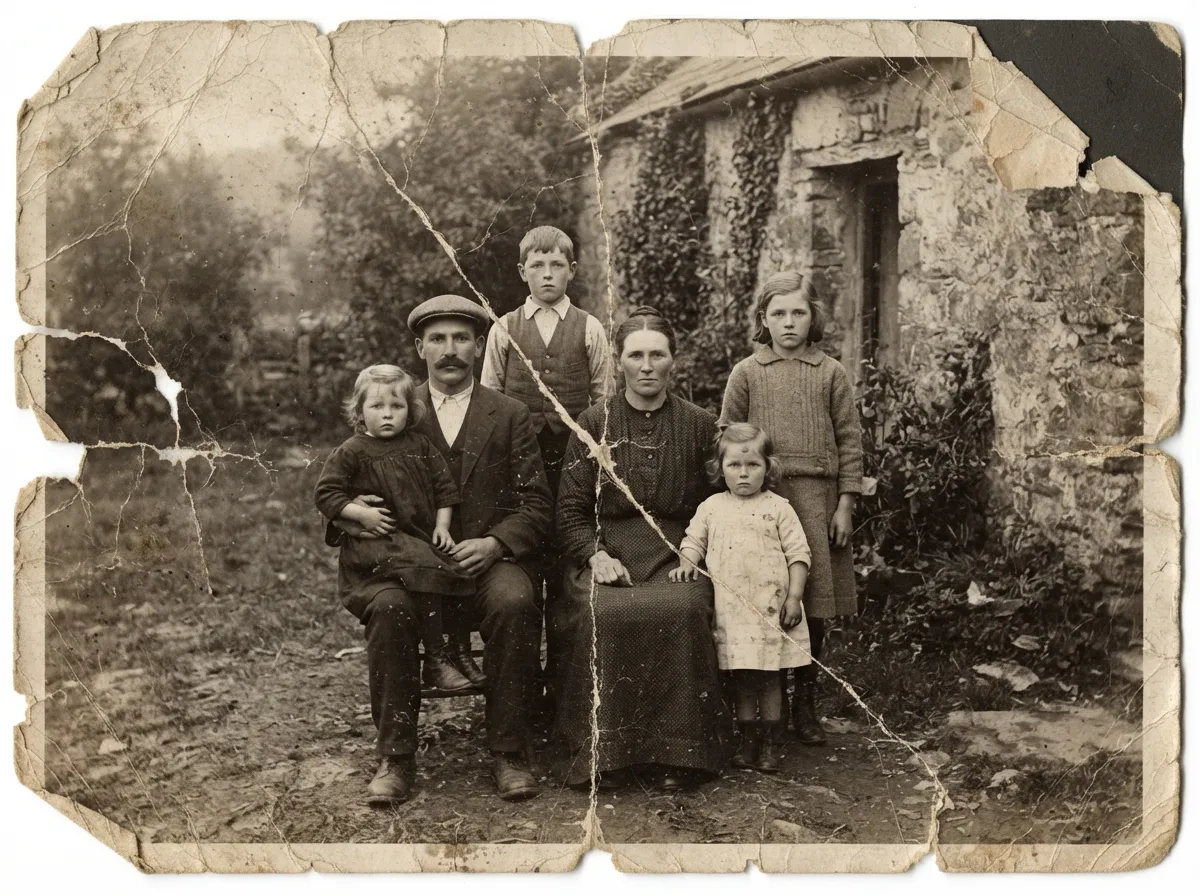 Before
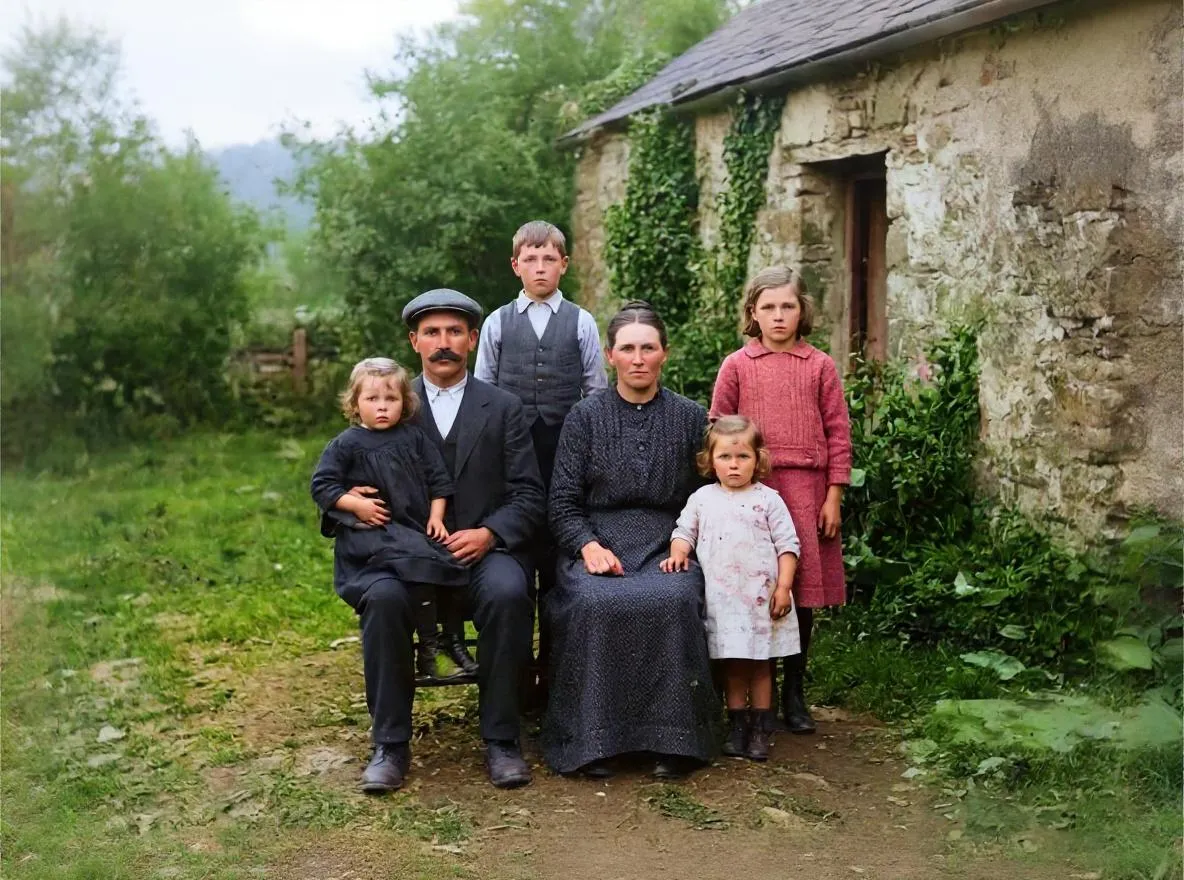 After
AfterBasics
How to Restore Old Photos Without Photoshop
No Photoshop skills needed. Compare AI apps, Photoshop and professional restorers by time, cost and results, and follow a simple no-Photoshop workflow.
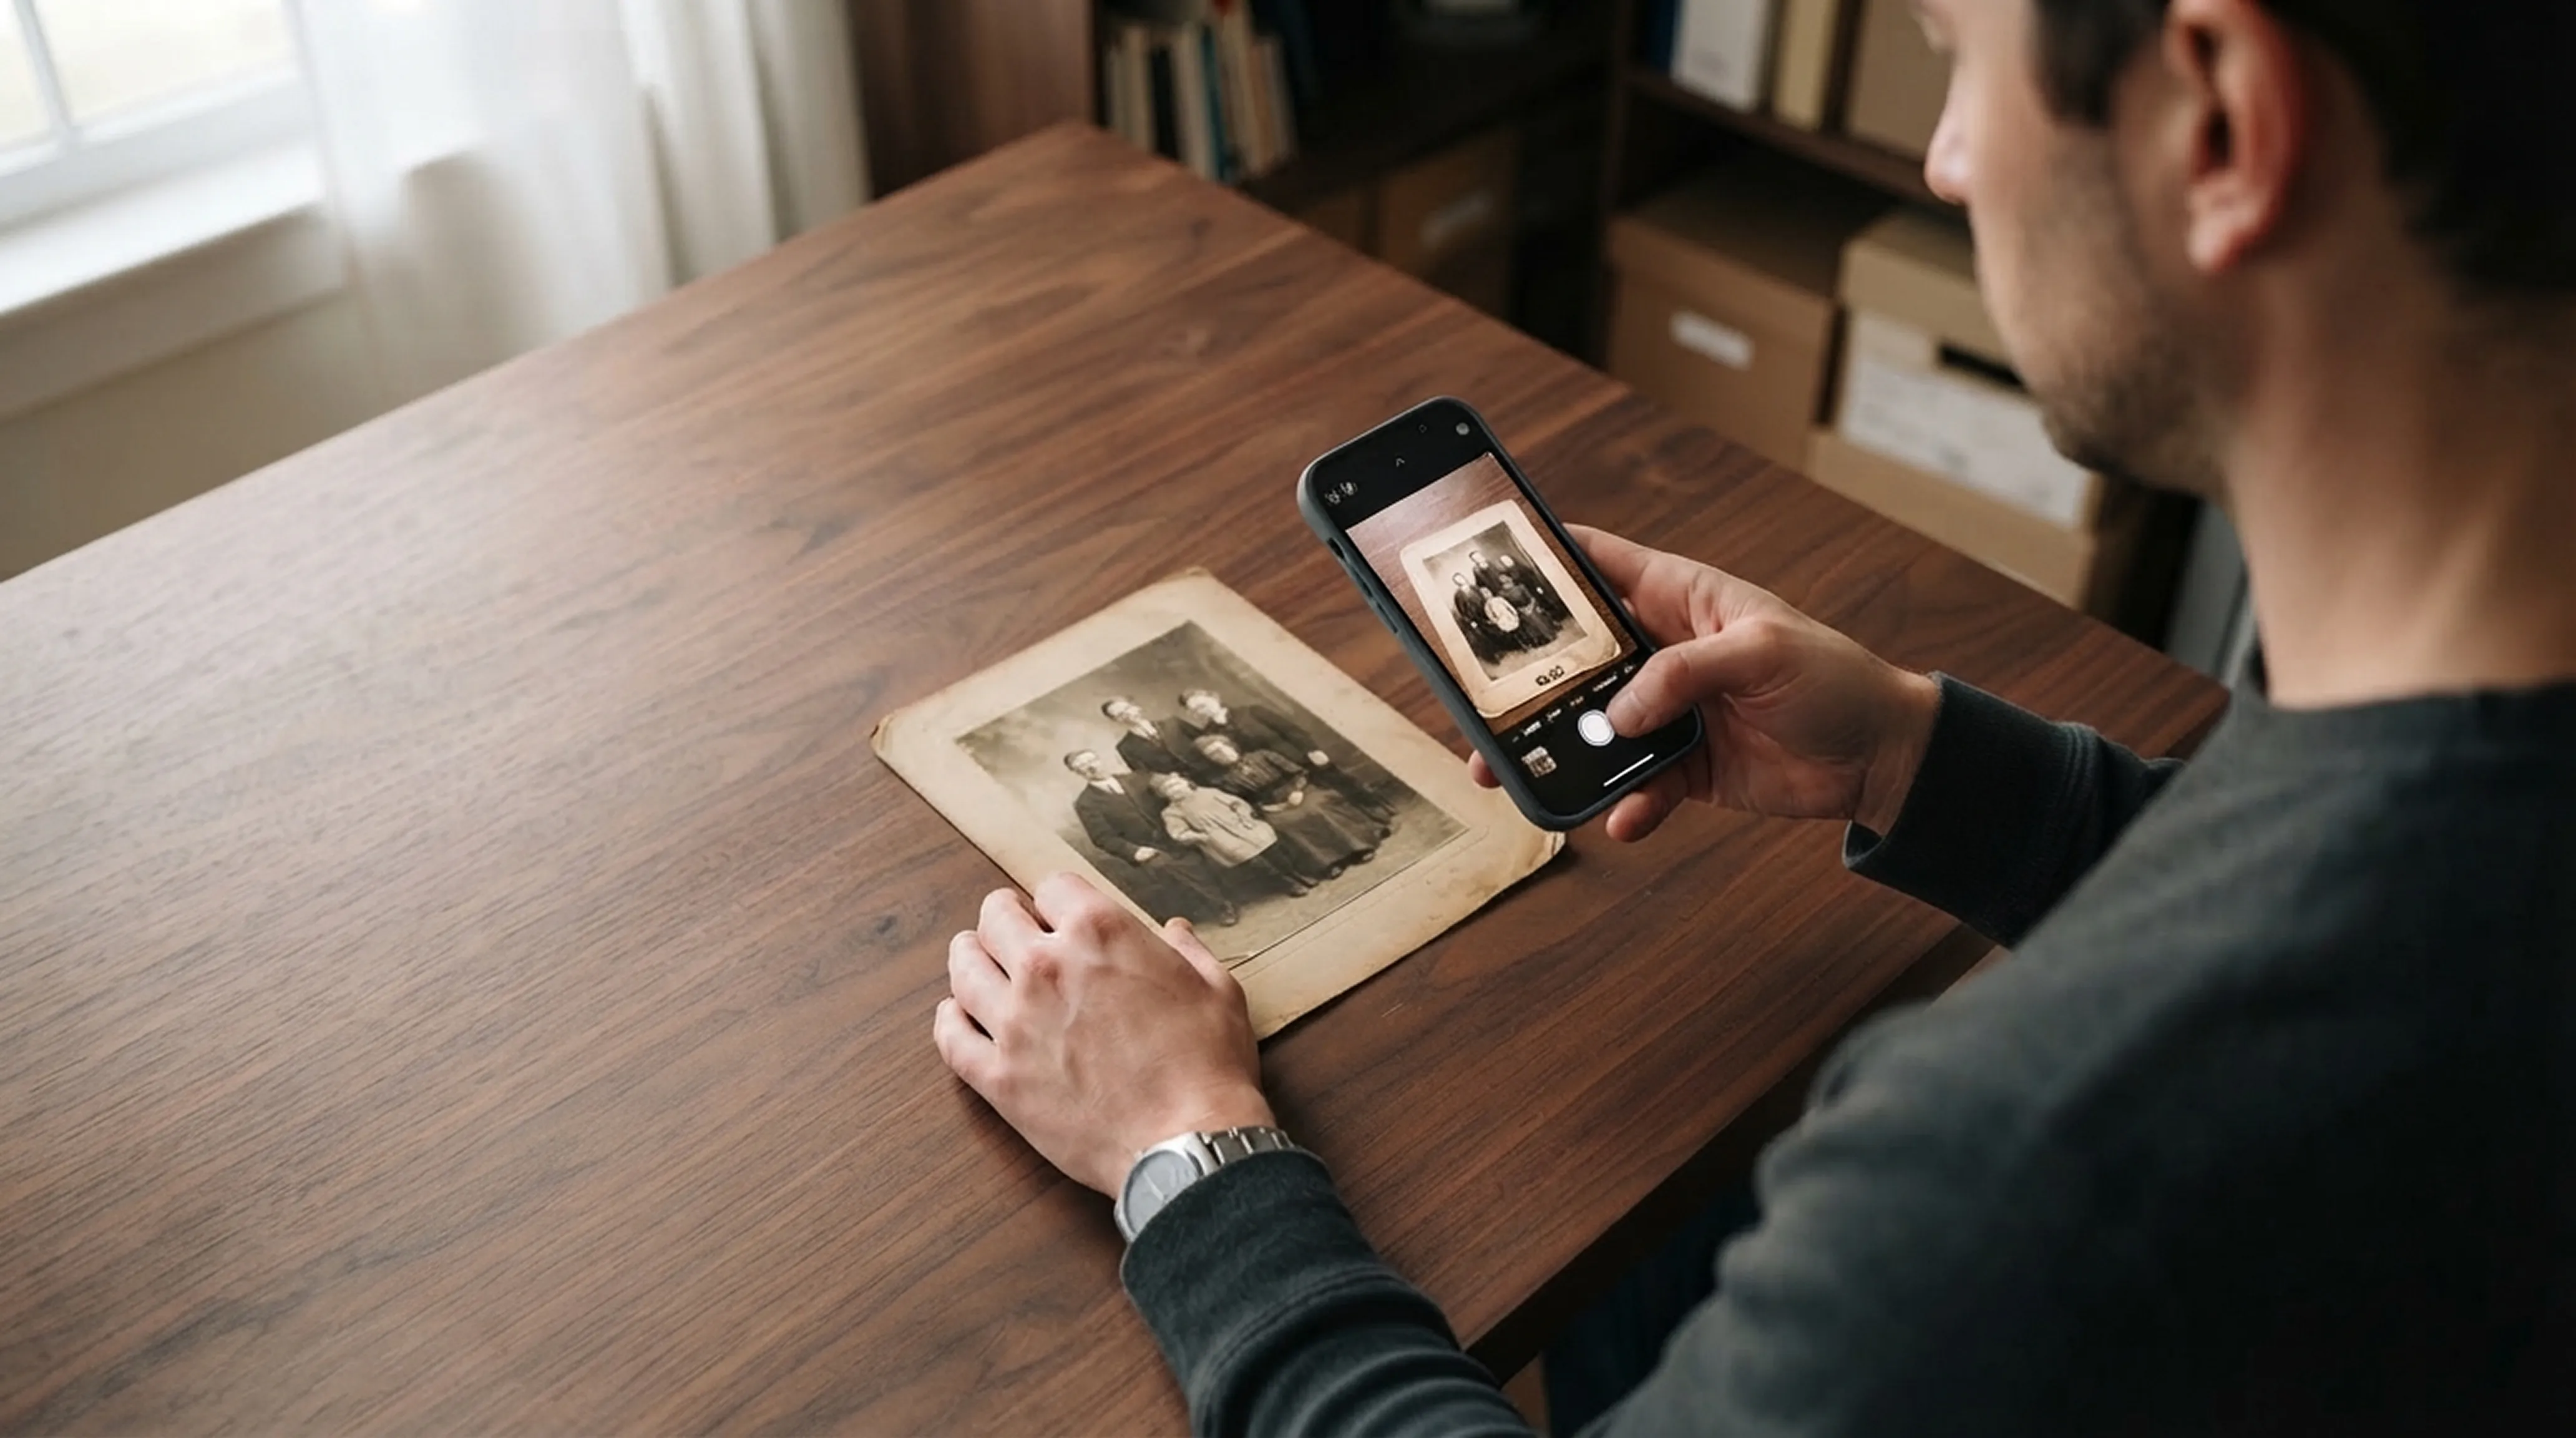
Scanning technique
How to Scan Old Photos with Your Phone Without Glare
Lighting tricks, angle secrets and lens cleaning practices for getting flatbed scanner quality from your smartphone.