
Repair
How to Restore Water-Damaged Photos
By the Retrocap Team · Updated
TL;DR
If photos are still wet, separate them, rinse off dirt in clean cold water and air-dry them face up. Never peel stuck photos apart by force. Once dry, photograph each print in soft light and repair the water marks in Retrocap using Restore with Remove Stains and Fix Scratches & Tears turned on.
Floods, leaks and damp storage are some of the most common reasons family photos get damaged. The good news is that many water-damaged photos can be saved: first by drying them correctly, then by repairing the stains and marks digitally. This guide covers both steps, using Retrocap’s stain and scratch repair for the digital part.
Part 1: Save the physical photos
If your photos are still wet, act quickly. Mould can start to grow within a couple of days, and wet prints stick to each other and to album pages.
If photos are wet
- Separate them carefully while they are still wet. Wet emulsion is soft, so handle them by the edges.
- Rinse off dirt in a tray of clean, cold water if the photos were in muddy or dirty water. Don’t rub the surface.
- Air-dry face up on a clean, lint-free towel, or hang them by a corner with a clip. Keep them out of direct sunlight.
- Don’t use heat. Hair dryers, radiators and ovens can warp prints and make the image layer stick.
If photos are stuck together
Don’t force them apart when dry; the image layer can tear off. A brief soak in cold water sometimes loosens them. If they still don’t separate, stop and consult a photo conservator, especially for irreplaceable images.
If you can’t dry them right away
Archivists often recommend sealing wet photos in zip-lock bags, with wax paper between them, and freezing them. Freezing slows mould and gives you time to thaw and air-dry them in small batches later.
Photos in albums
Remove wet photos from albums if you can do so without tearing. Self-adhesive “magnetic” album pages are particularly damaging when wet. If prints won’t come out, photograph the whole page first, so you have a record before trying anything else.
Part 2: Capture a good digital copy
Once the photos are completely dry:
- Flatten curled prints gently by leaving them under a few heavy books between sheets of clean paper for a day or two.
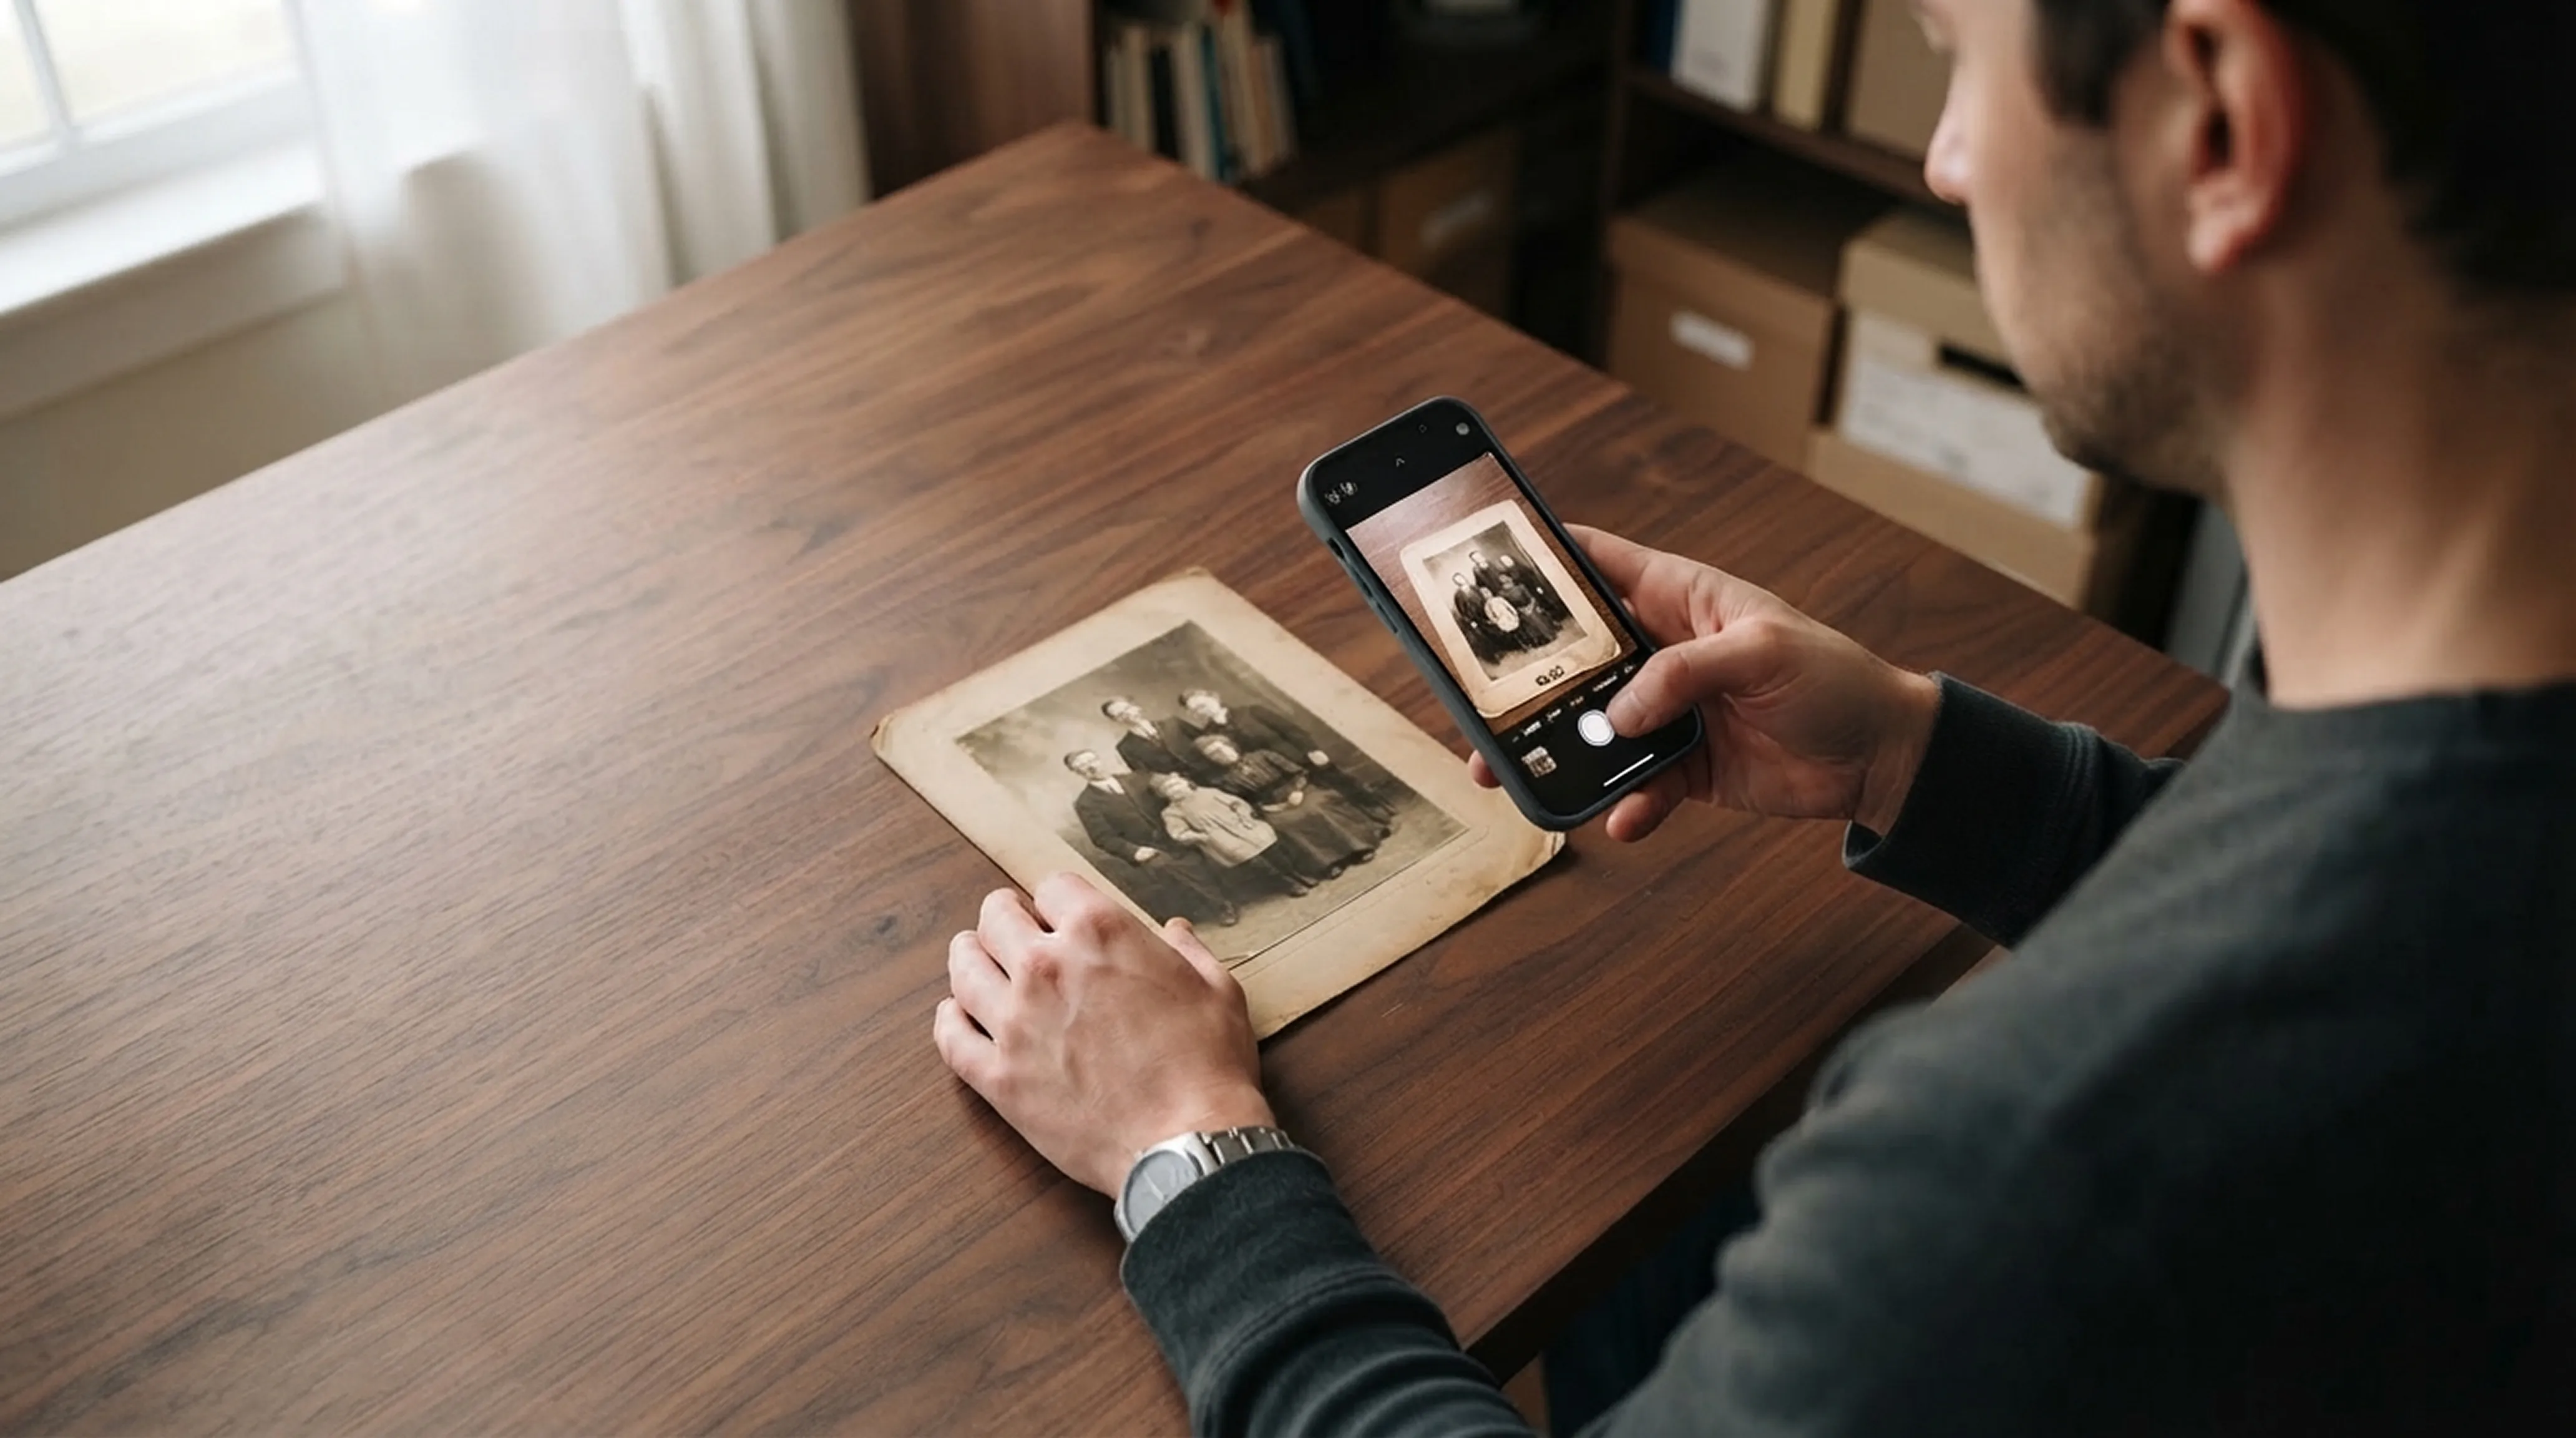
- Photograph each print in soft, even daylight without flash, holding your phone parallel to the print.
- Watch for glare. Water-damaged prints often have uneven, shiny patches that reflect light. Change the angle slightly if you see bright spots.
Our guide to scanning old photos with your phone explains lighting and framing in more detail.
Part 3: Repair the water damage with AI
- Open Retrocap and choose the photo.
- Crop it so only the print remains.
- Open Restore and turn on Remove Stains for tide marks, discoloration and spots.
- Turn on Fix Scratches & Tears if the print also cracked, creased or lost small pieces of the surface.
- Choose Deep restoration for heavy water damage.
- Turn on Enhance Faces if faces have gone soft or patchy.
What AI can and can’t recover
Water damage comes in several forms, and they respond differently to digital repair.
| Type of damage | What AI can do |
|---|---|
| Tide lines and water rings | Usually removed cleanly |
| Yellow or brown discoloration | Rebalanced toward natural tones |
| Mould spots | Small spots removed well; widespread mould is harder |
| Cracked or lifted emulsion | Cracks filled in; lifted areas depend on what remains |
| Image washed away entirely | Cannot be recovered, only estimated |
The deciding factor is how much of the original image is still visible. If you can see the details under the stain, the AI usually can too.
After the repair
Water damage often comes with fading. If the colors still look washed out after restoring, try Enhance with Color Correction or Fix Exposure. For black-and-white prints, you can also colorize the restored photo.
Summary
Restoring water-damaged photos starts with the physical prints: separate, rinse and air-dry them without heat, and freeze them if you can’t dry them right away. Once dry, photograph each print without glare and use Retrocap’s Restore tool with Remove Stains and Fix Scratches & Tears. Stains and tide marks usually clean up well; areas the water has washed away can only be estimated.
Frequently asked questions
Can water-damaged photos be restored?
Often, yes. Tide marks, discoloration and staining can usually be cleaned up digitally. If water has washed away part of the image itself, the AI can only estimate what was there.
What should I do with photos that are stuck together?
Don't pull them apart dry, as the image layer can tear off. Soaking them briefly in clean cold water may loosen them. If they don't separate easily, ask a photo conservator for help.
Should I dry wet photos with a hair dryer?
No. Heat can warp prints and make the image layer stick to other surfaces. Air-dry photos face up on a clean towel or hang them by the corners, away from direct sun.
What if I can't dry all my photos right away?
Archivists often recommend sealing wet photos in plastic bags and freezing them until you have time to thaw and air-dry them. This slows down mould and further damage.
Related guides
 Before
 After
AfterRepair
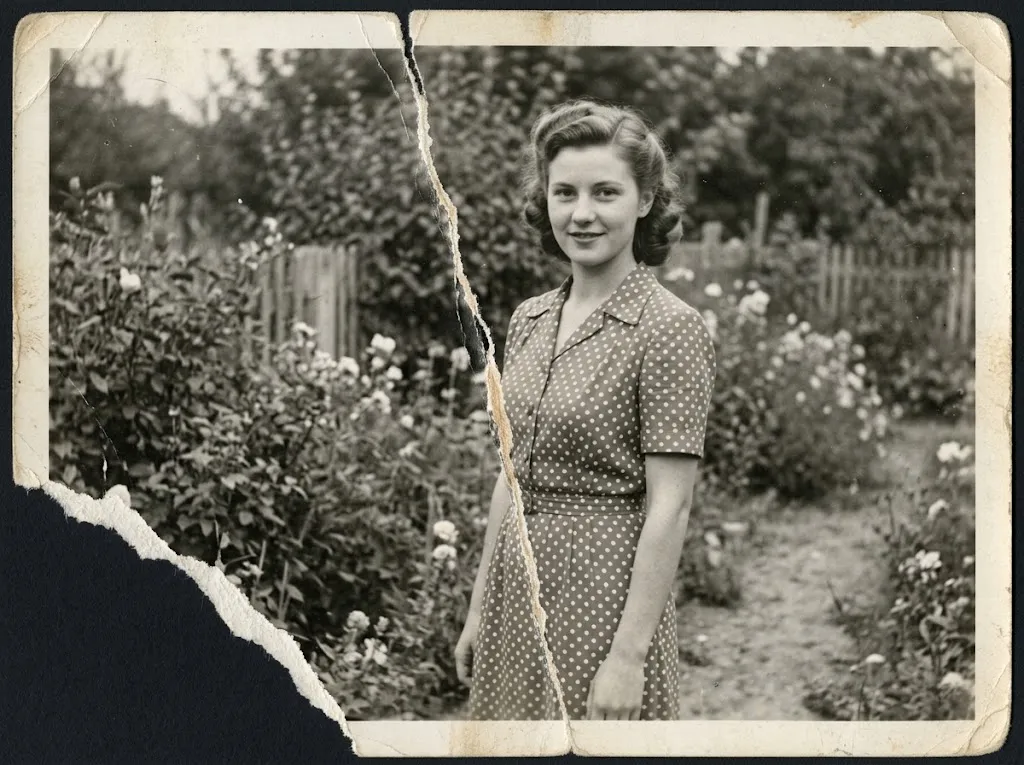
How to Fix a Torn Photo Without Damaging It
Fix a torn photo safely: handle the pieces, photograph them as one image and repair the tear with AI, plus what to do when part of the photo is missing.
 Before
 After
AfterRestoration
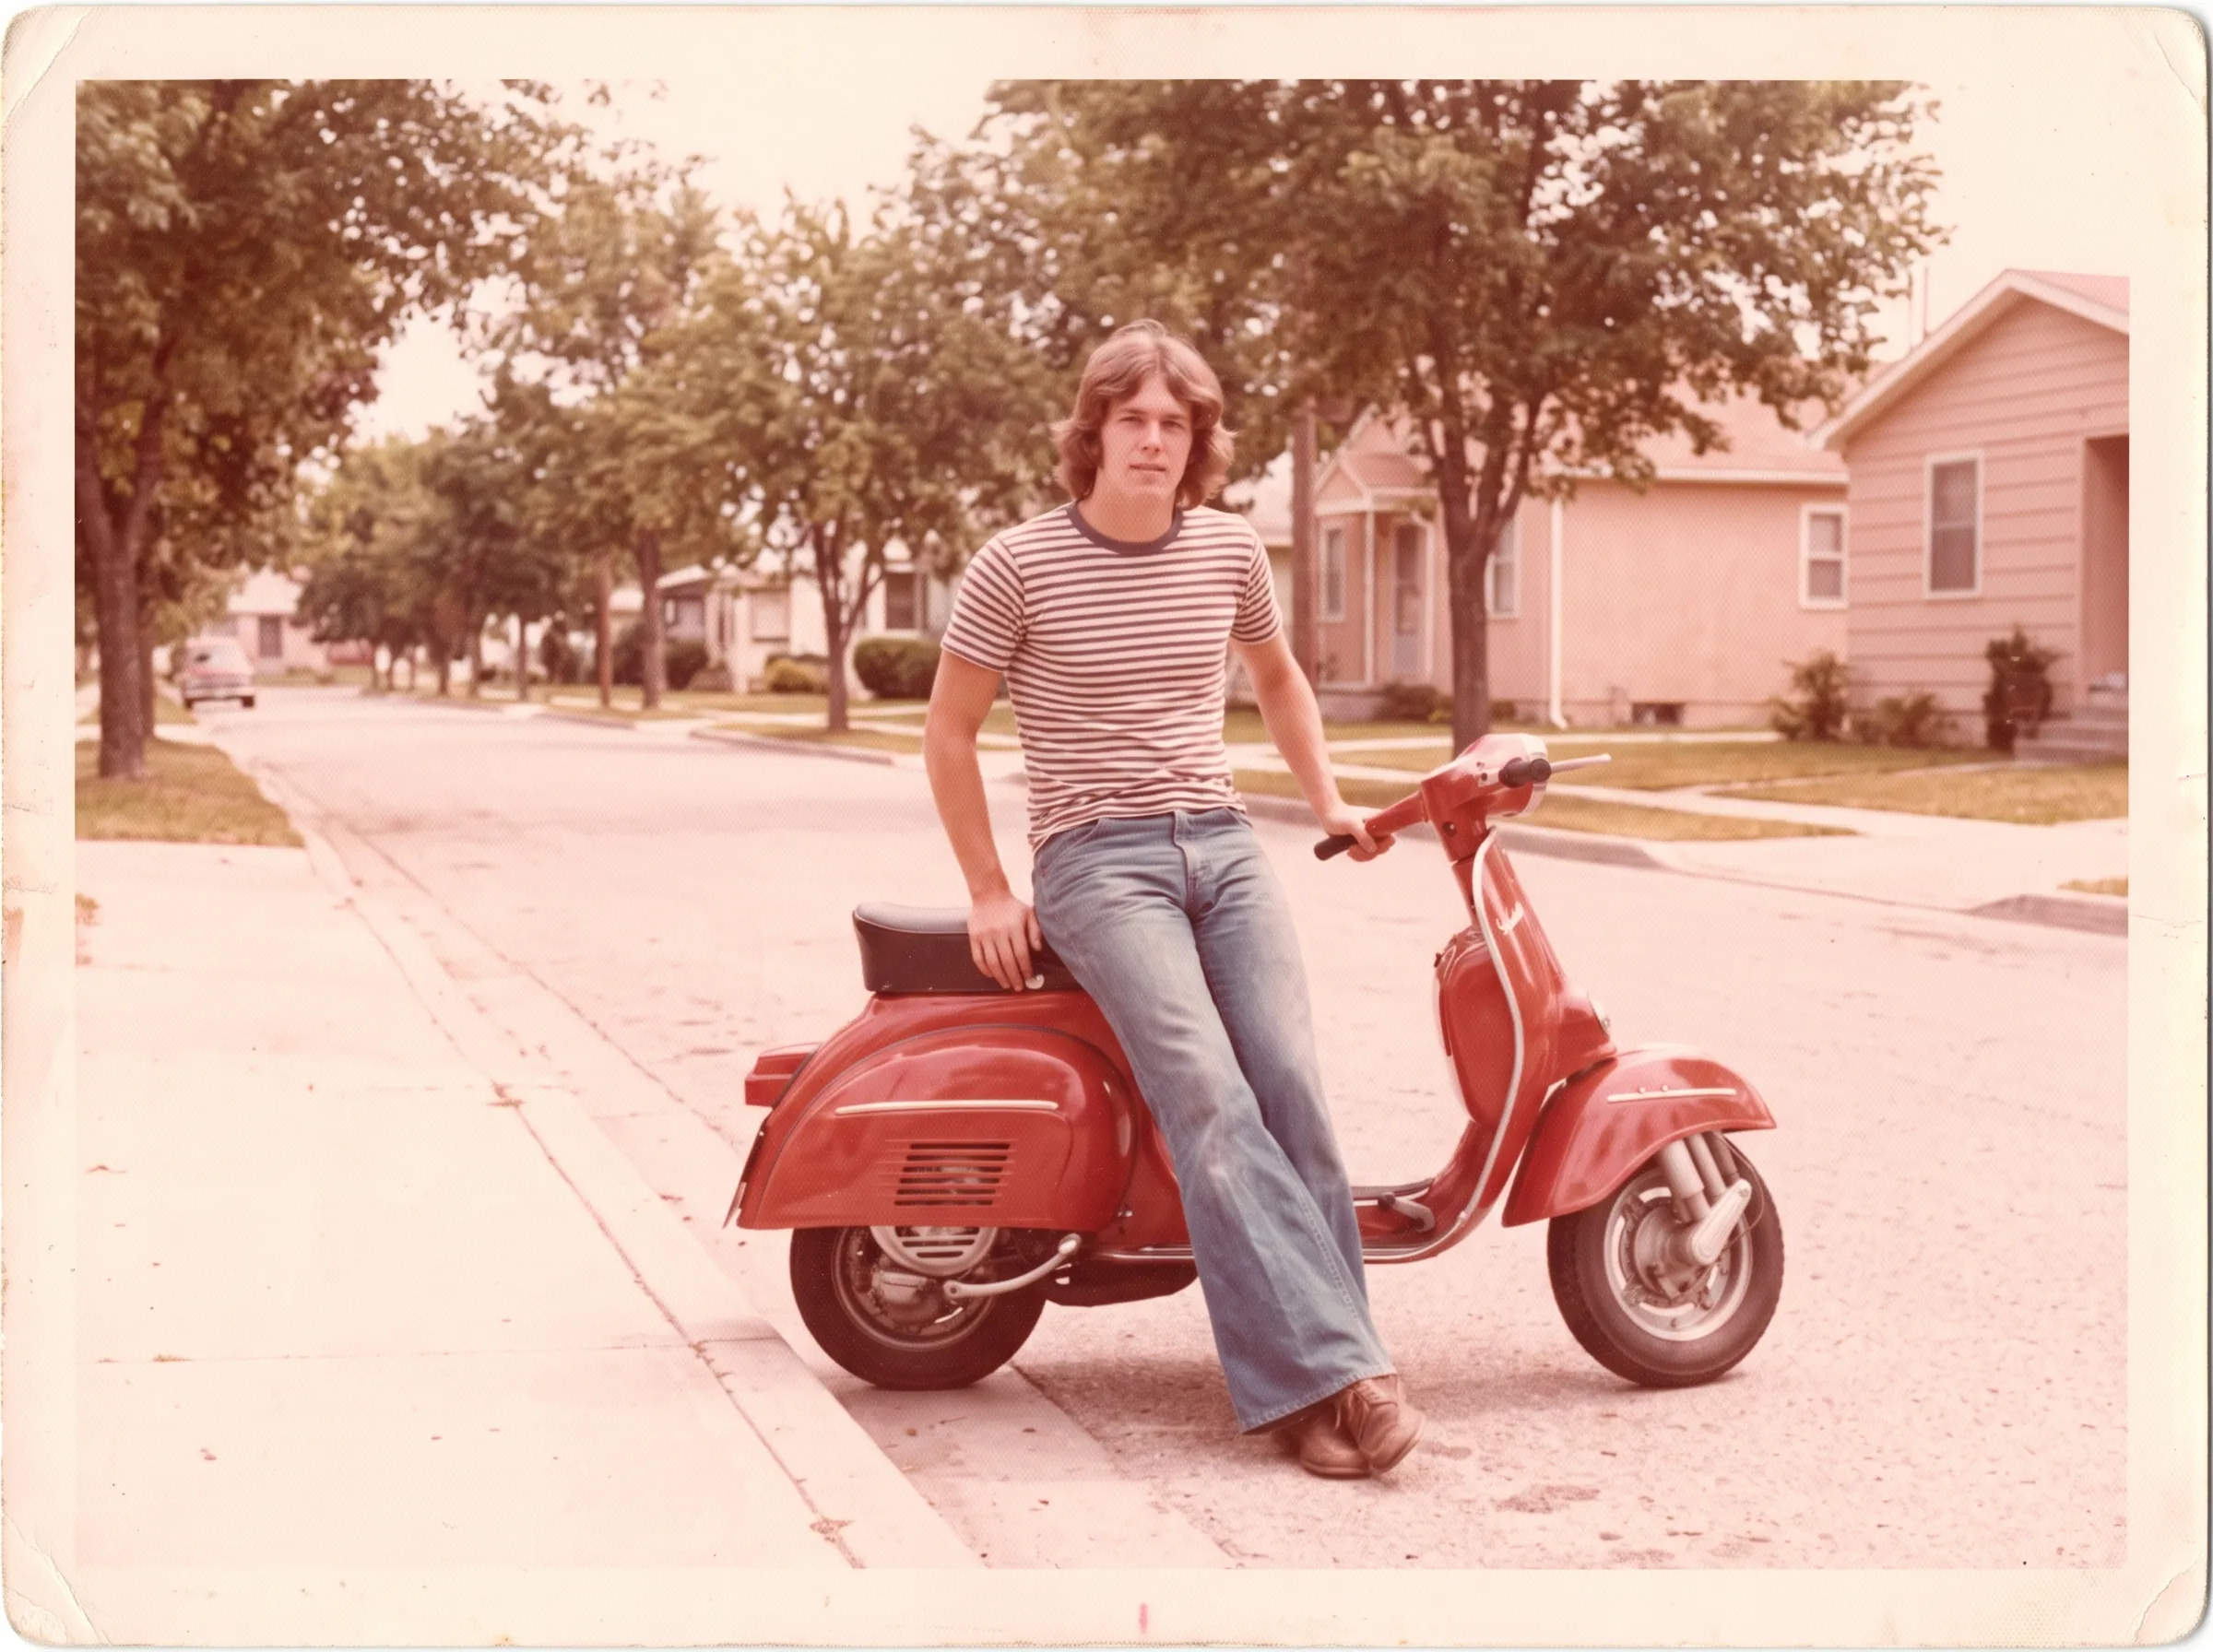
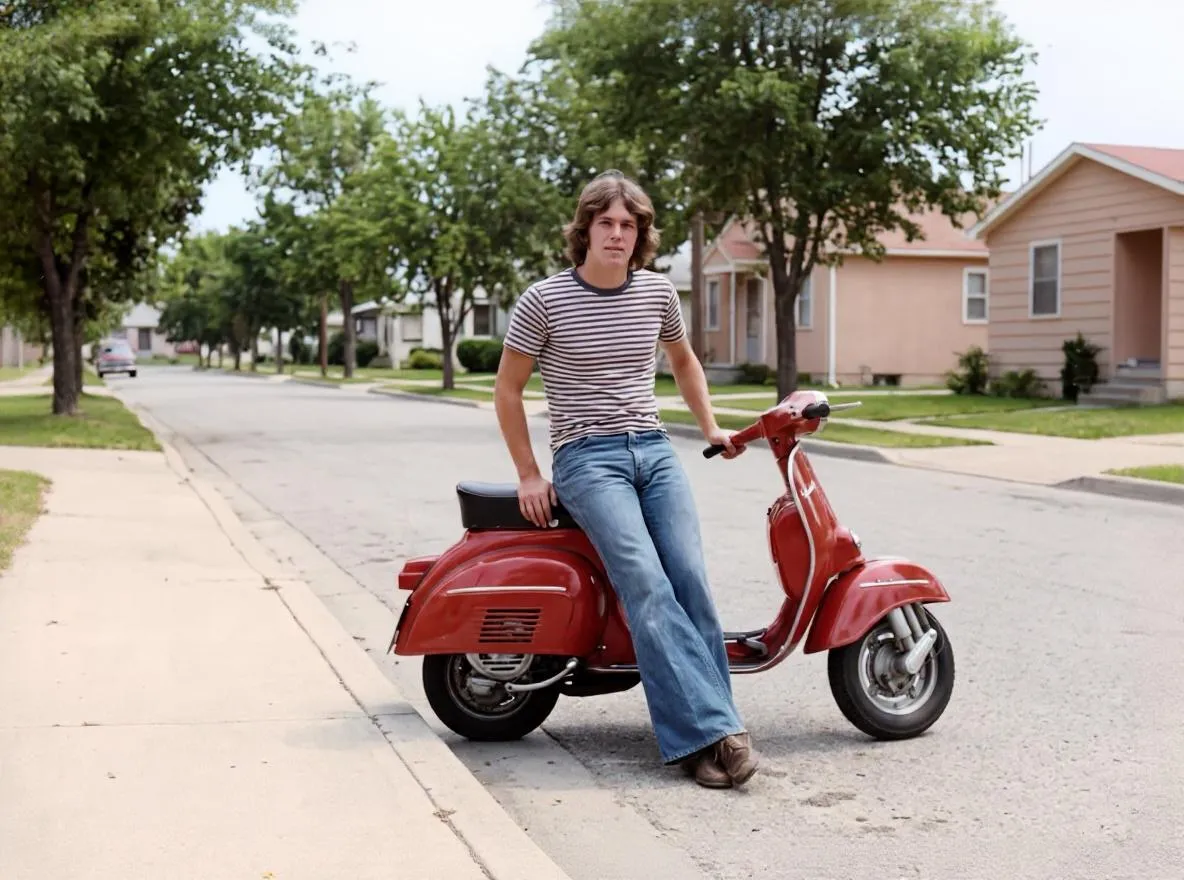
How to Restore Faded Photos and Fix Color Casts
Why old photos fade and turn red, yellow or pale, and how to bring back contrast and natural color with AI restoration and color correction.
Scanning technique
How to Scan Old Photos with Your Phone Without Glare
Lighting tricks, angle secrets and lens cleaning practices for getting flatbed scanner quality from your smartphone.