
Colorization
How to Colorize Sepia Photos with AI
By the Retrocap Team · Updated
TL;DR
To colorize a sepia photo, photograph it in neutral daylight, restore any scratches or fading first, then open Retrocap's Colorize tool and choose a Natural, Vivid, Vintage or Cool style. There's no need to convert the photo to black and white first; the AI reads the light and dark areas under the brown tone.
Many “black-and-white” family photos aren’t black and white at all. They’re brown, warm and slightly faded: sepia. That tone has its own charm, but it can also hide faces and detail. AI colorization can turn a sepia print into a natural color photo, or you can simply restore it and keep the warmth. This guide explains both options with Retrocap’s colorizer.
What makes a photo sepia?
Sepia tones come from two different sources:
- Intentional toning. From the late 1800s into the early 20th century, many prints were chemically toned to give them a warm brown color and, in many cases, to make the image more stable.
- Ageing. Black-and-white prints can yellow or brown over time as the paper and image layer react with light, air and acidic storage.
Either way, what you see is a single color tint over a range of light and dark tones. That range is what colorization works from.
Keep the sepia or add color?
There’s no right answer; it depends on the photo and what you want to do with it.
| Keep the sepia tone | Colorize |
|---|---|
| You want the period feel | You want faces and clothing to look more lifelike |
| The photo is for a historical display | The photo is a gift or for sharing with younger family members |
| Faces are already easy to see | The brown tone hides detail |
You can always do both: keep a restored sepia version and create a color version alongside it.
Step 1: Capture neutral colors
Indoor lighting adds its own yellow or orange tint, which can make a sepia photo look even browner. Photograph the print in neutral daylight, without flash, holding the phone parallel to the print. Our guide to scanning old photos with your phone has more tips.
Step 2: Restore before you colorize
Sepia prints are often old enough to have scratches, creases, spots and fading. These can confuse colorization: a crease across a face might pick up the wrong tone.
- Open Retrocap and choose the photo.
- Use Restore with Fix Scratches & Tears and Remove Stains as needed.
- Choose Deep for heavily damaged prints.
If the photo is pale and washed out, see our guide to restoring faded photos.
Step 3: Colorize in Retrocap
- Open the Colorize tool and choose your restored photo.
- Pick a color style:
- Natural: soft, true-to-life tones; a good first choice for portraits.
- Vivid: richer color for outdoor scenes and clothing.
- Vintage: warm, slightly faded tones that keep a period feel; a natural fit for many sepia prints.
- Cool: a cooler balance for winter, seaside and evening scenes.
- Compare the result with the original using the slider.
You don’t need to convert the photo to black and white first. The AI reads the light and dark areas under the brown tint.
Step 4: Compare styles
Different photos suit different styles. A studio portrait from the 1910s may look best in Vintage, while a garden photo from the 1930s may come alive in Natural or Vivid. Try two or three styles and keep the one that feels right.
A note on accuracy
Sepia photos recorded brightness, not color. AI colorization predicts likely colors for skin, hair, sky and plants, and makes plausible choices for things like clothing and furniture. Those choices may differ from reality. If you know the real colors from family memories, mention them when you share the photo, and keep the original sepia version as the record.
After colorizing
A colorized portrait is a great starting point for an animation. If you plan to print the photo, use Enhance with Upscale x2 first.
Summary
To colorize a sepia photo, capture it in neutral daylight, restore any damage and then use Retrocap’s Colorize tool in a Natural, Vivid, Vintage or Cool style. There’s no need to convert it to black and white first. Compare styles, remember that colors are an interpretation, and keep the original sepia print.
Frequently asked questions
Can sepia photos be colorized?
Yes. Retrocap colorizes sepia, brown-toned and faded prints as well as black-and-white photos. The AI reads the light and dark areas under the tint.
Do I need to convert a sepia photo to black and white first?
No. You can colorize the sepia photo directly. Restoring it first is more important than converting it.
Which color style is best for sepia photos?
Natural is a good first choice for portraits. Vintage keeps a warm, period feel that suits many sepia prints. Try more than one style and compare.
Are the colors historically accurate?
No. Sepia and black-and-white photos never recorded color, so AI predicts plausible colors. Treat the result as an interpretation and keep the original.
Related guides
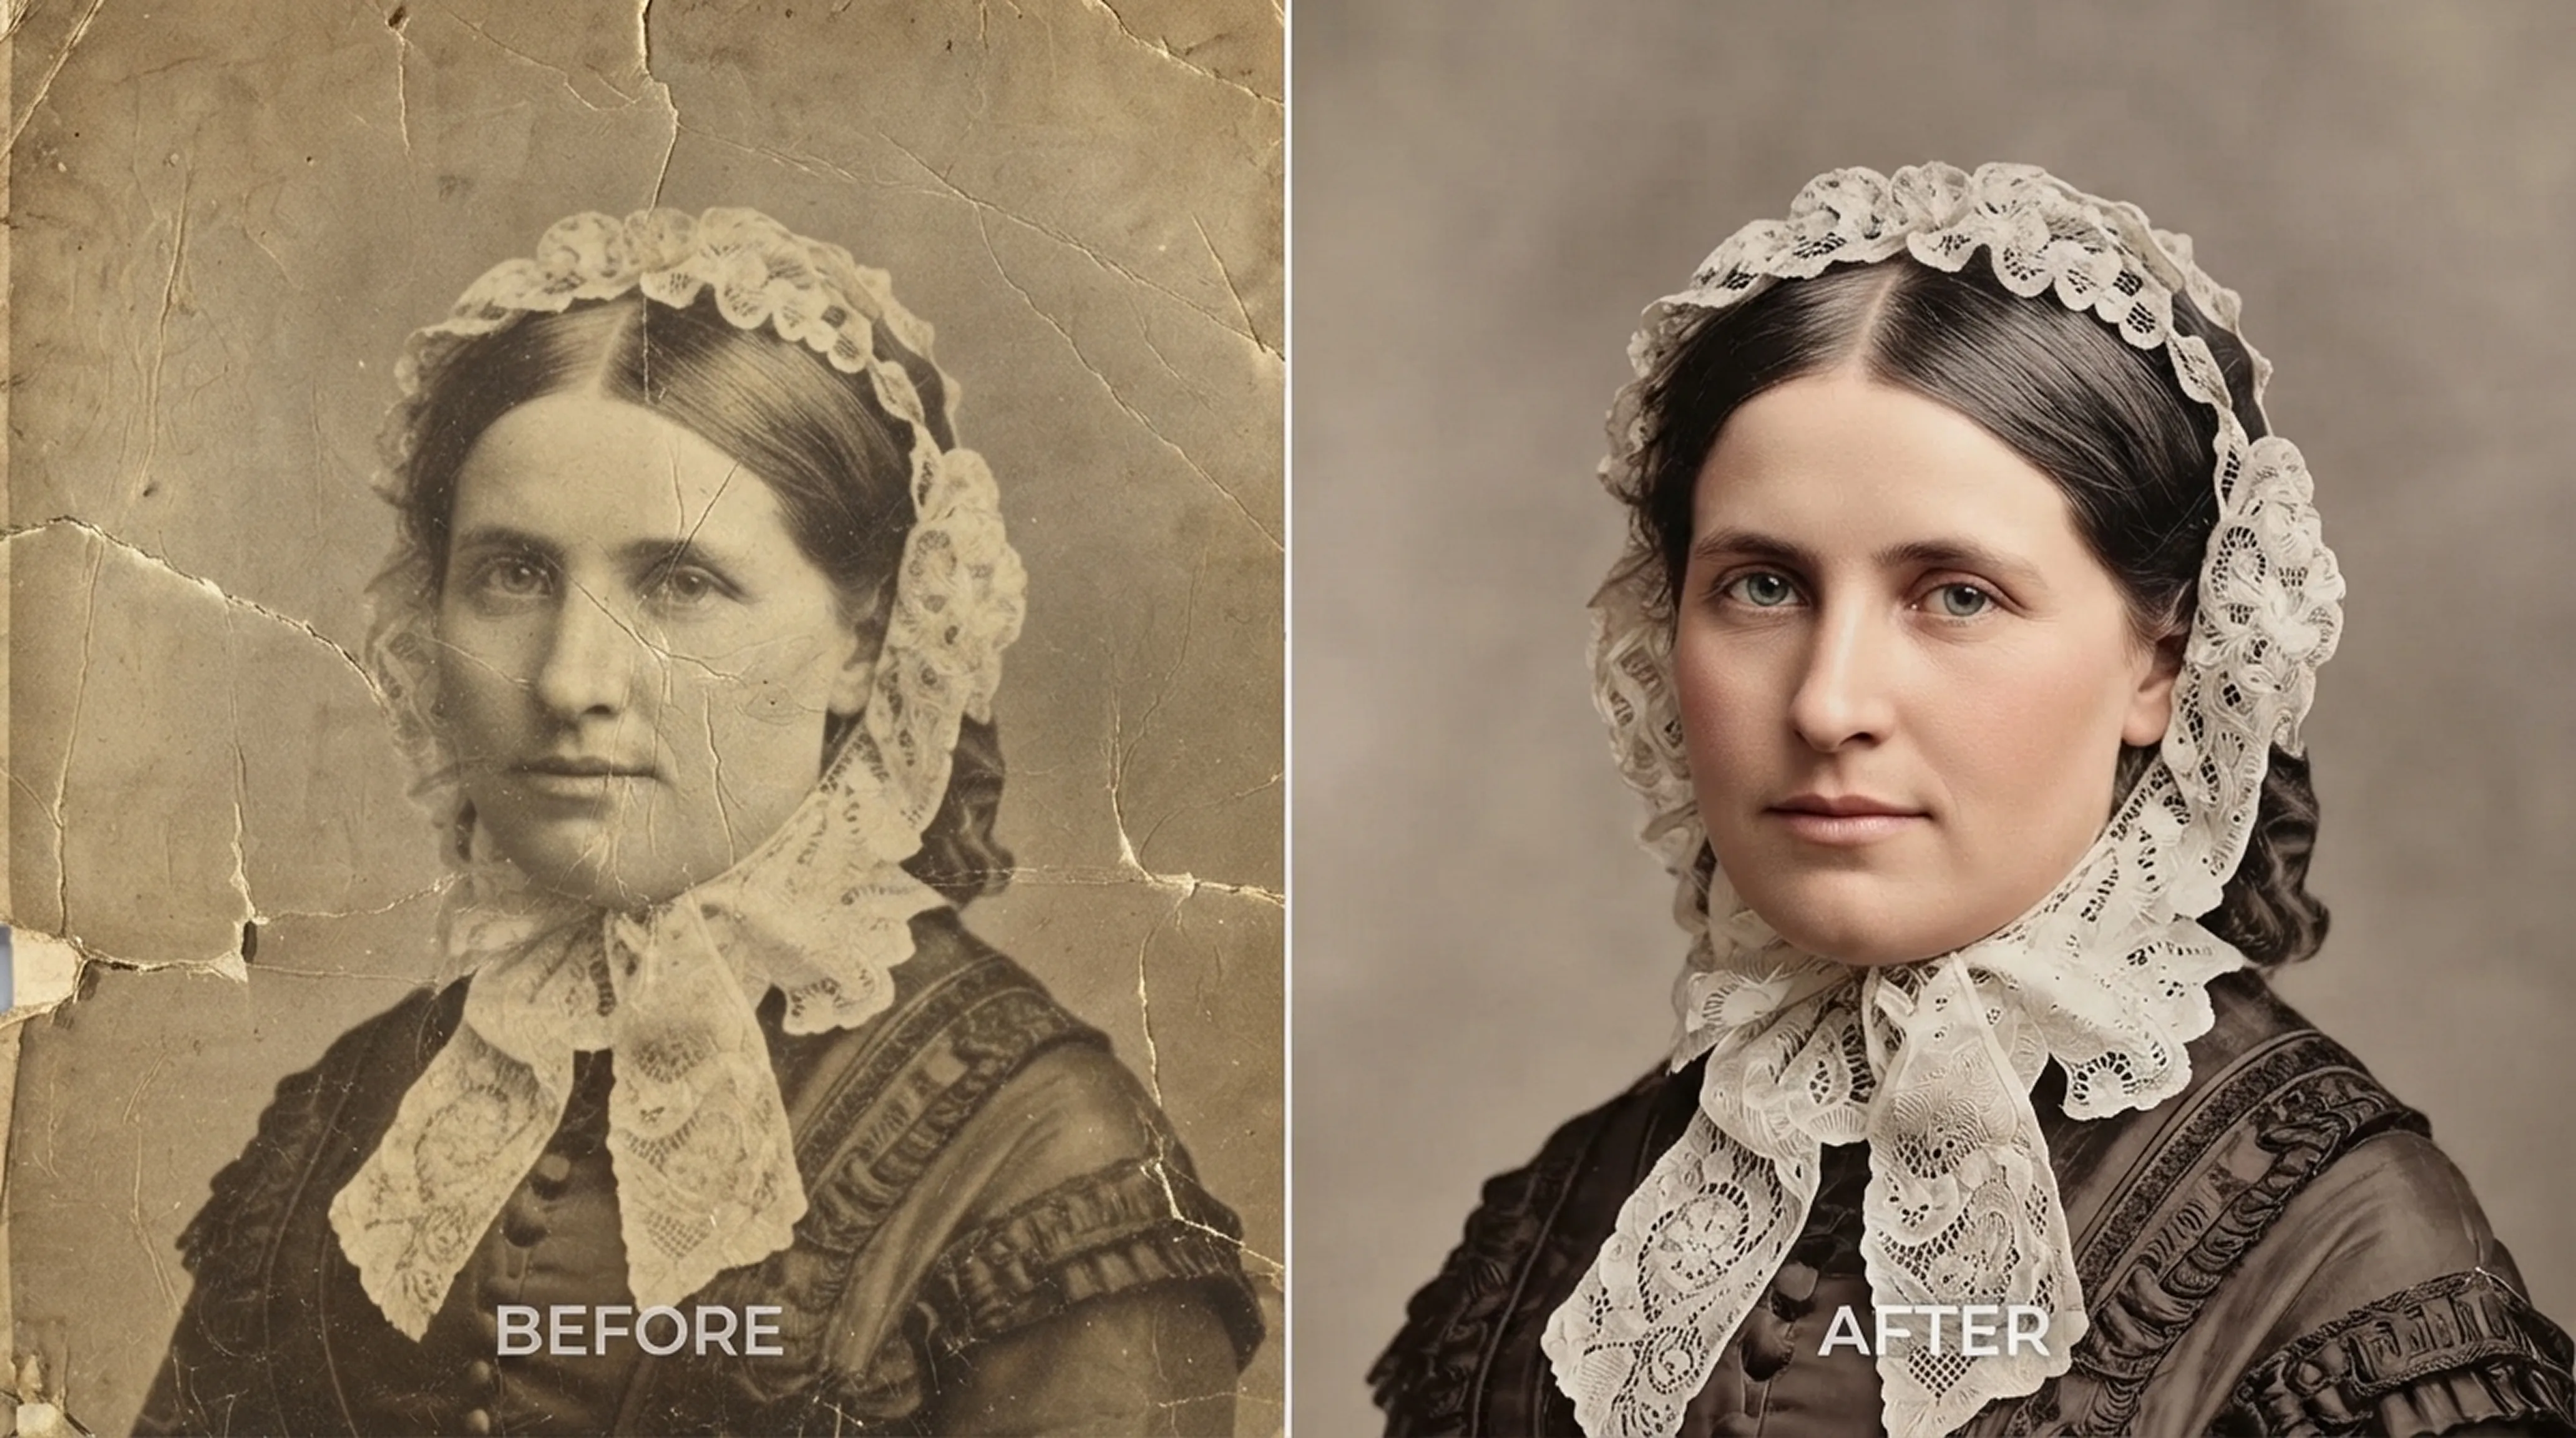
Colorization
How to Colorize Black and White Photos Realistically
What AI colorization can and can’t know about the past, and how to choose the right style for each era.
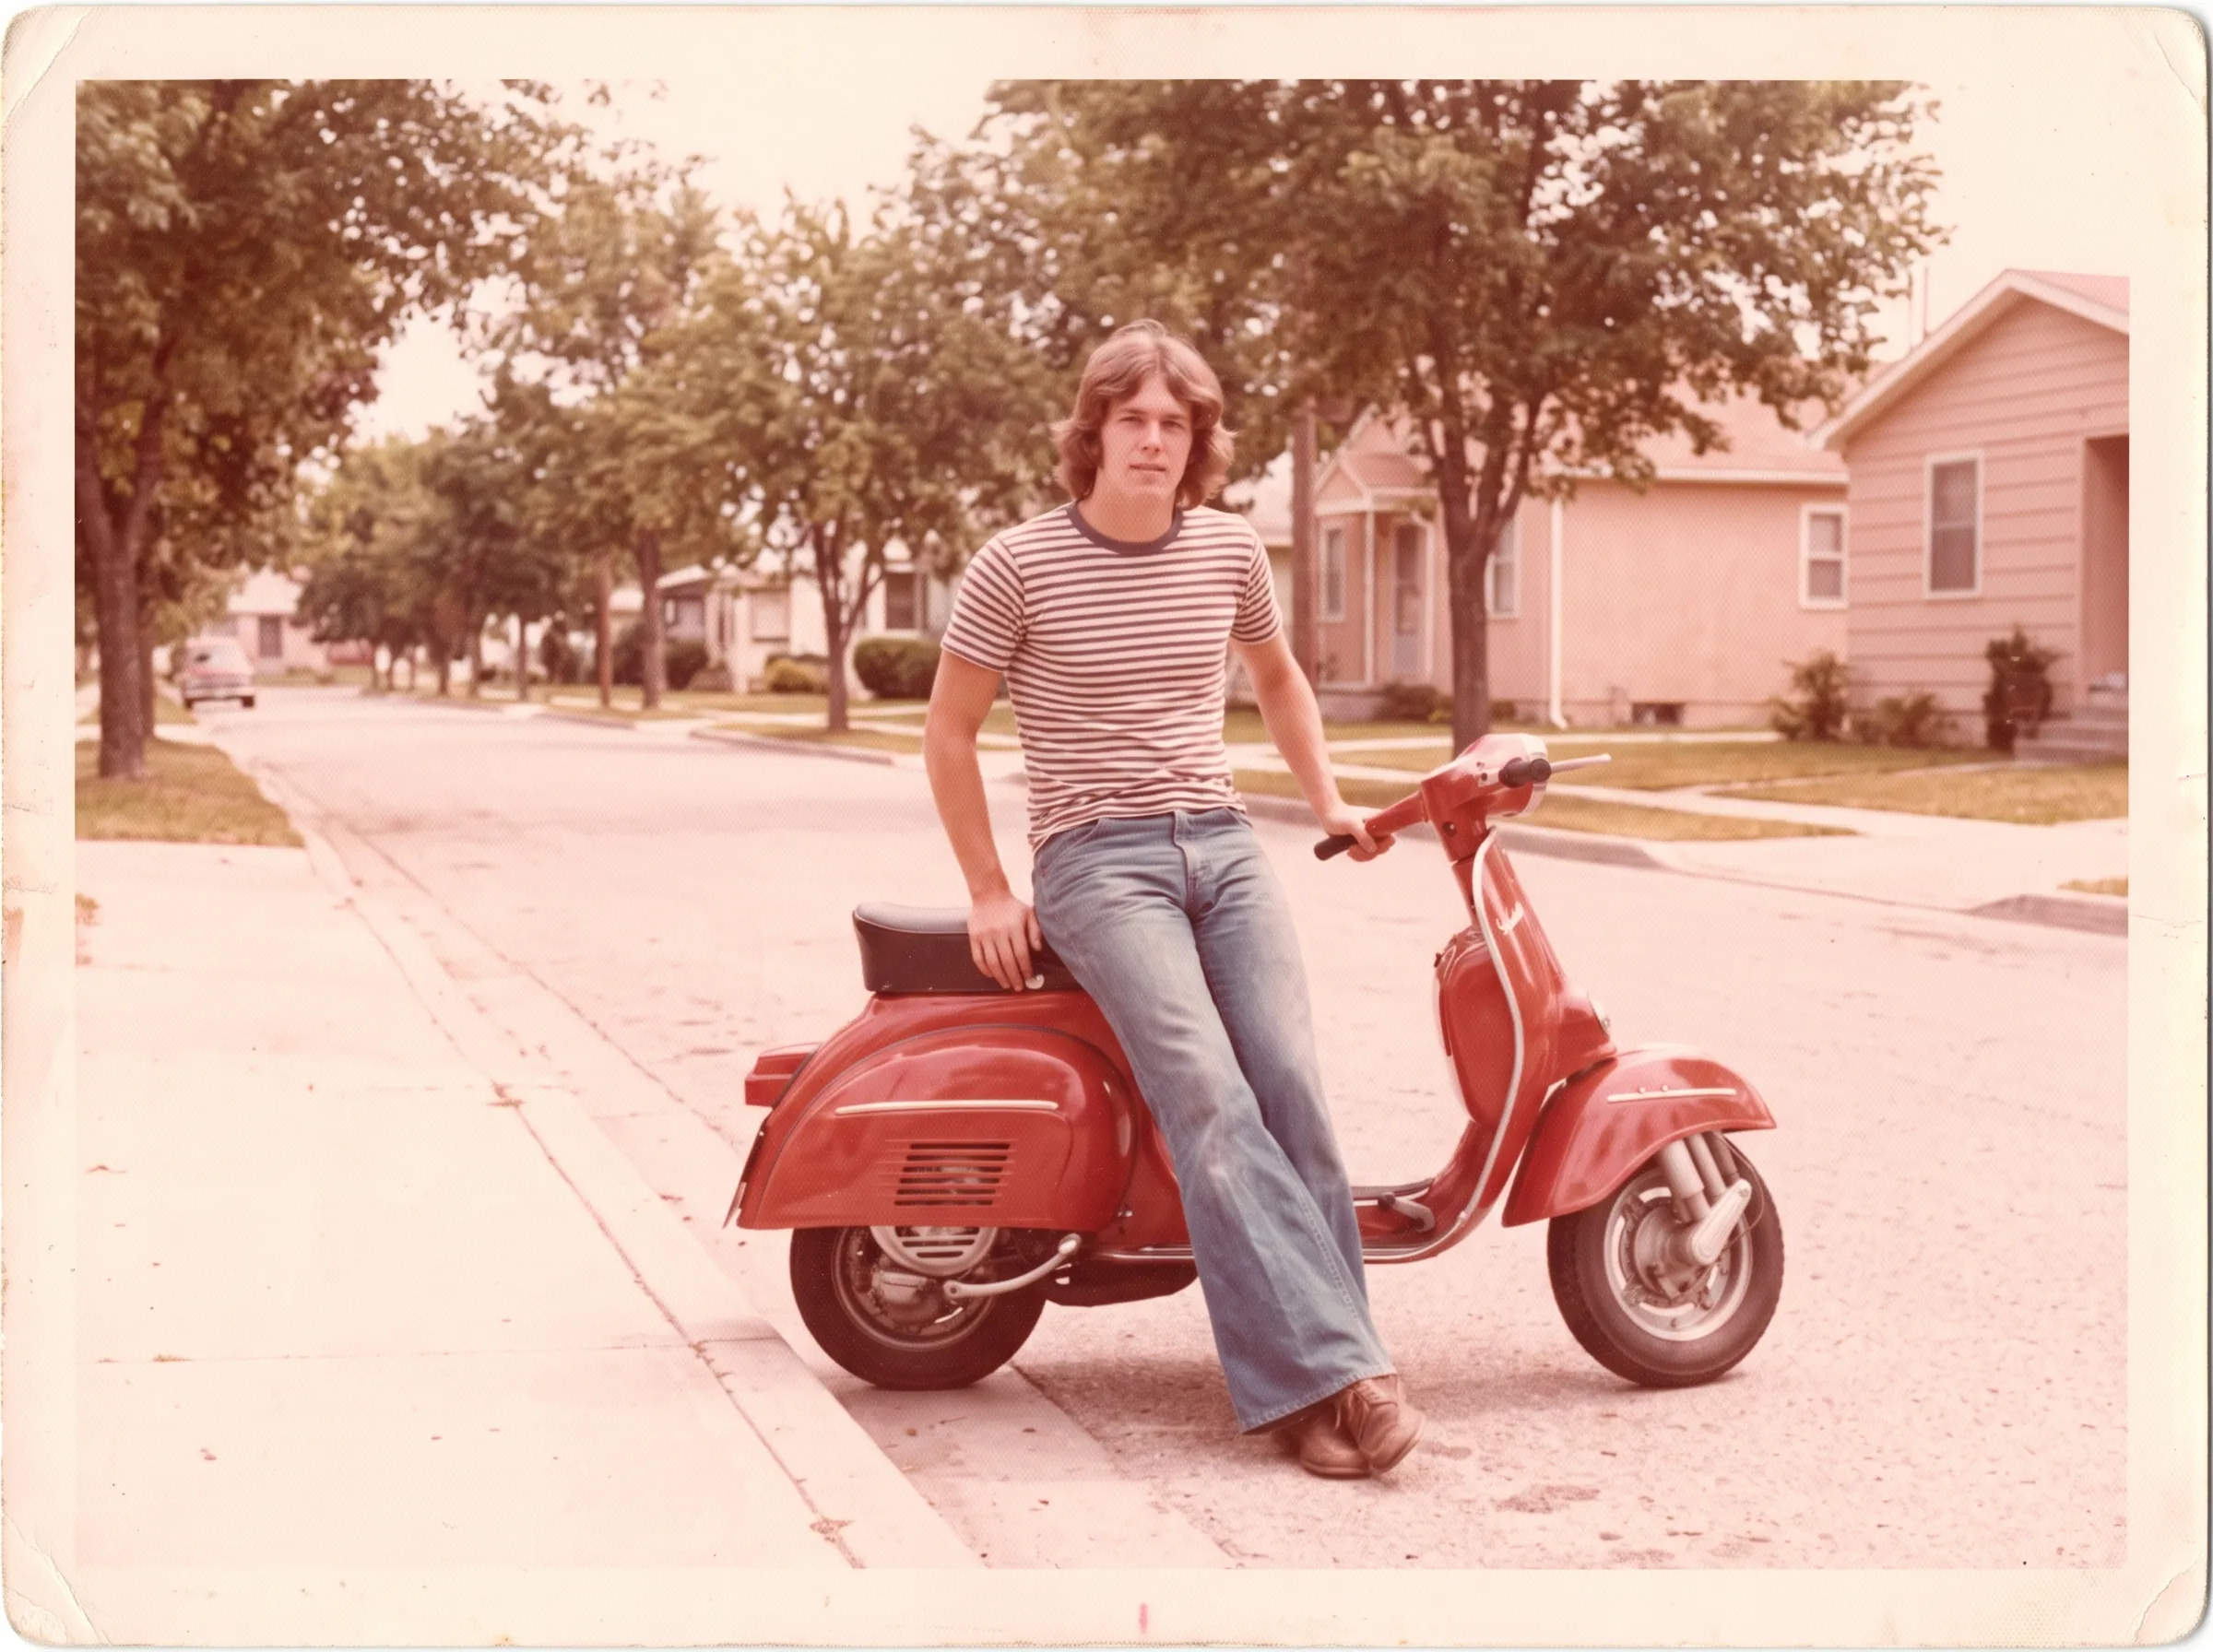 Before
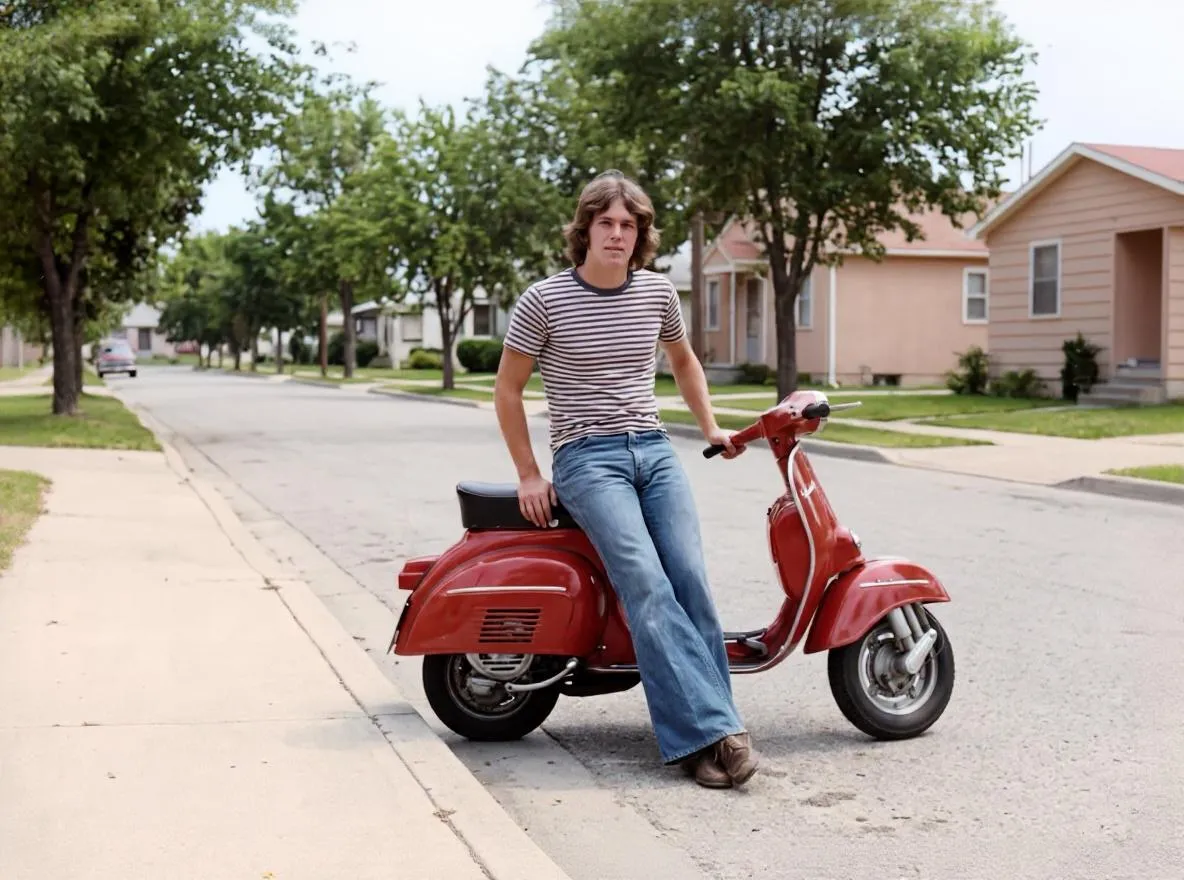 After
AfterRestoration
How to Restore Faded Photos and Fix Color Casts
Why old photos fade and turn red, yellow or pale, and how to bring back contrast and natural color with AI restoration and color correction.
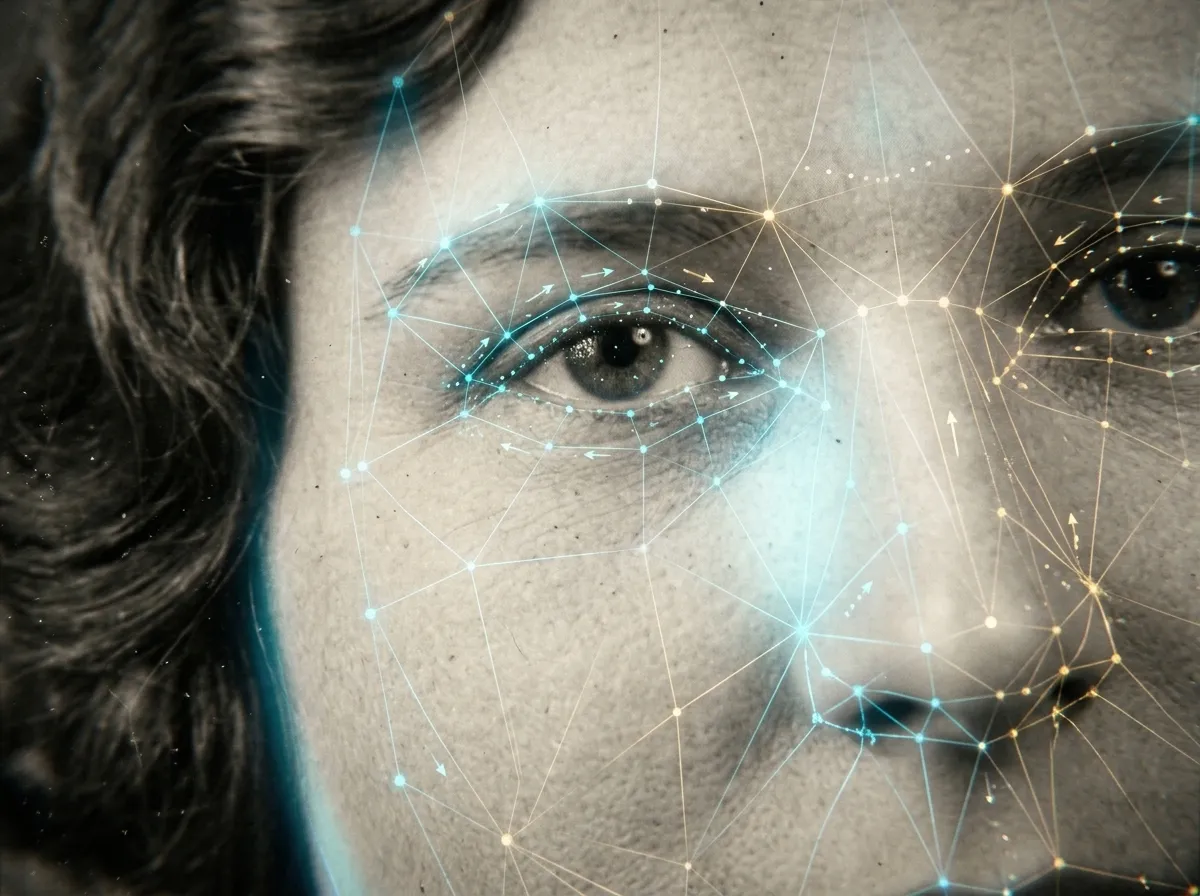
Animation
How to Animate Old Photos
Turn an old family portrait into a short video with natural movement. Which photos animate best, how to do it in Retrocap and how to share it respectfully.